As the first daffodils peek through the soil and a gentle warmth returns to the air, I know spring is truly on its way. For me, this season officially kicks off when those iconic peanut butter eggs start appearing on supermarket shelves. However, there’s a secret I’ve been keeping, one that elevates this classic Easter treat to an entirely new level: homemade no-bake peanut butter eggs. Forget the store-bought versions; these delectable truffles are not only incredibly simple to make but also burst with a flavor that store-bought varieties can only dream of. Every Easter, these creamy, chocolate-covered delights become the undisputed star of our dessert table, drawing rave reviews from family and friends alike. That’s why crafting them each year has become a cherished tradition.

- Pin this recipe for later!
Homemade Peanut Butter Eggs Recipe: Your Ultimate Easter Treat
Are you searching for a quick, engaging, and utterly delicious treat to create with your children this Easter? Look no further! This recipe for homemade Reese’s peanut butter eggs is precisely what you need. Imagine the iconic flavor of peanut butter cups, but reimagined in a playful egg shape, perfect for a festive Easter twist. These homemade delights are incredibly straightforward, requiring only five simple ingredients, making them an ideal project for even the youngest bakers. My children absolutely adore the hands-on fun of dipping the peanut butter eggs into the warm, melted chocolate, and I appreciate how effortless the chocolate cleanup is. The joy and deliciousness they bring to our celebrations make them a must-have every year!

Get Creative: Fun Decorating Tips for Your Peanut Butter Eggs
While these homemade Reese’s eggs are undeniably delicious in their purest form, don’t hesitate to unleash your inner artist and have a blast decorating them! A dash of vibrant sprinkles can add a pop of color and an extra touch of festivity, especially when creating these with children. Alternatively, a delicate drizzle of melted white chocolate across the dark chocolate coating creates an elegant contrast and a sophisticated finish. You could also use different colored melting chocolates, food-grade edible glitter, or even tiny candy pearls to truly make each egg unique. The possibilities are endless, allowing you to personalize these treats for any occasion!

Homemade Peanut Butter Eggs Recipe
20 minutes
20 minutes
18
eggs
Ingredients
- 1 cup creamy peanut butter *
- ¼ cup unsalted butter (½ stick)
- 1½ cups powdered sugar
- 1 teaspoon pure vanilla extract
- 12 ounces melting chocolate (1 bag)**
Equipment
- Kitchen Scale (optional, for precise shaping)
- Baking Sheet
- Parchment Paper or Wax Paper
- Medium Saucepan or Microwave-Safe Bowl
- Fork or Dipping Tools
Instructions
- In a medium saucepan over low heat, or in a microwave-safe bowl heated in 30-second intervals, gently combine 1 cup of creamy peanut butter and ¼ cup of unsalted butter. Stir continuously until both ingredients are fully melted and smoothly incorporated. Once melted, remove from heat and stir in 1½ cups of powdered sugar and 1 teaspoon of pure vanilla extract. Continue stirring until the mixture becomes thick and well combined, forming a cohesive dough-like consistency.1 cup creamy peanut butter,
¼ cup unsalted butter,
1½ cups powdered sugar,
1 teaspoon pure vanilla extract
- Prepare a baking sheet by lining it with wax paper or parchment paper. Using a spoon or a small cookie scoop (a 1½-inch scoop is ideal for about 18 eggs), drop spoonfuls of the peanut butter mixture onto the prepared baking sheet. With clean hands, gently shape each portion into an oval egg shape. For best results and easier dipping, ensure the eggs are uniformly sized. Transfer the baking sheet to the refrigerator and chill the shaped peanut butter eggs for at least 30 minutes, or until they are firm enough to handle without losing their shape.

- In a separate microwave-safe bowl, melt 12 ounces of melting chocolate. Heat the chocolate in 30-second intervals, stirring thoroughly after each interval, until the chocolate is completely melted and beautifully smooth. Be careful not to overheat the chocolate, as it can seize.12 ounces melting chocolate
- Carefully use a fork or specialized dipping tool to submerge each chilled peanut butter egg into the melted chocolate, ensuring it’s fully coated. Lift the egg, gently tapping the fork against the side of the bowl to allow excess chocolate to drip off. Promptly return each chocolate-dipped egg to the parchment-lined baking sheet. Repeat this process for all eggs. The cold temperature of the peanut butter eggs will help the chocolate set quickly. Allow the chocolate to fully harden at room temperature or in the refrigerator before serving.

Notes for Success
**Using a good quality melting chocolate, such as chocolate wafers or candy melts, is key. This type of chocolate is specifically designed to set hard and shiny without the need for tempering, making your life much easier!
Additional Tips:
- I found that using a 1½-inch cookie scoop yielded exactly 18 beautifully uniform peanut butter eggs. If you’re using regular spoons to portion the filling, don’t worry, the exact number of eggs may simply vary. Aim for consistency in size for even chilling and dipping.
- The chilled state of your peanut butter eggs is crucial for a smooth and quick chocolate coating. Once dipped, ensure you swiftly return them to the parchment paper to allow the chocolate to set firmly without pooling excessively.
- Occasionally, a small amount of chocolate might accumulate around the base of the eggs as it dries. This is perfectly normal! Once the chocolate has fully set, you can easily trim away any excess with a sharp knife for a perfectly neat finish. My recipe provides just the right amount of melting chocolate for 18 eggs, so try not to waste any!
- If you find your peanut butter mixture too sticky to shape, add a little more powdered sugar, a tablespoon at a time, until it’s workable. If it’s too dry and crumbly, add a tiny bit more melted butter or peanut butter.
Storage Instructions: Once the chocolate coating has completely set and hardened, carefully transfer your homemade peanut butter eggs into an airtight container. If you need to stack them, separate each layer with a sheet of parchment paper to prevent sticking. These delicious treats will maintain their freshness and delightful texture when stored in the refrigerator for up to 2 weeks. However, based on my experience, they tend to disappear much, much faster than that!
Calories from Fat 144
Becky Hardin
@easydessertrecipes
for a chance to be featured.
How to Make Homemade Peanut Butter Eggs: A Detailed Step-by-Step Guide
Creating these delightful no-bake peanut butter eggs is a surprisingly simple process that yields incredibly satisfying results. Follow these detailed steps to craft your own batch of irresistible Easter treats that will surely impress everyone!
Step 1: Prepare the Irresistibly Creamy Peanut Butter Filling
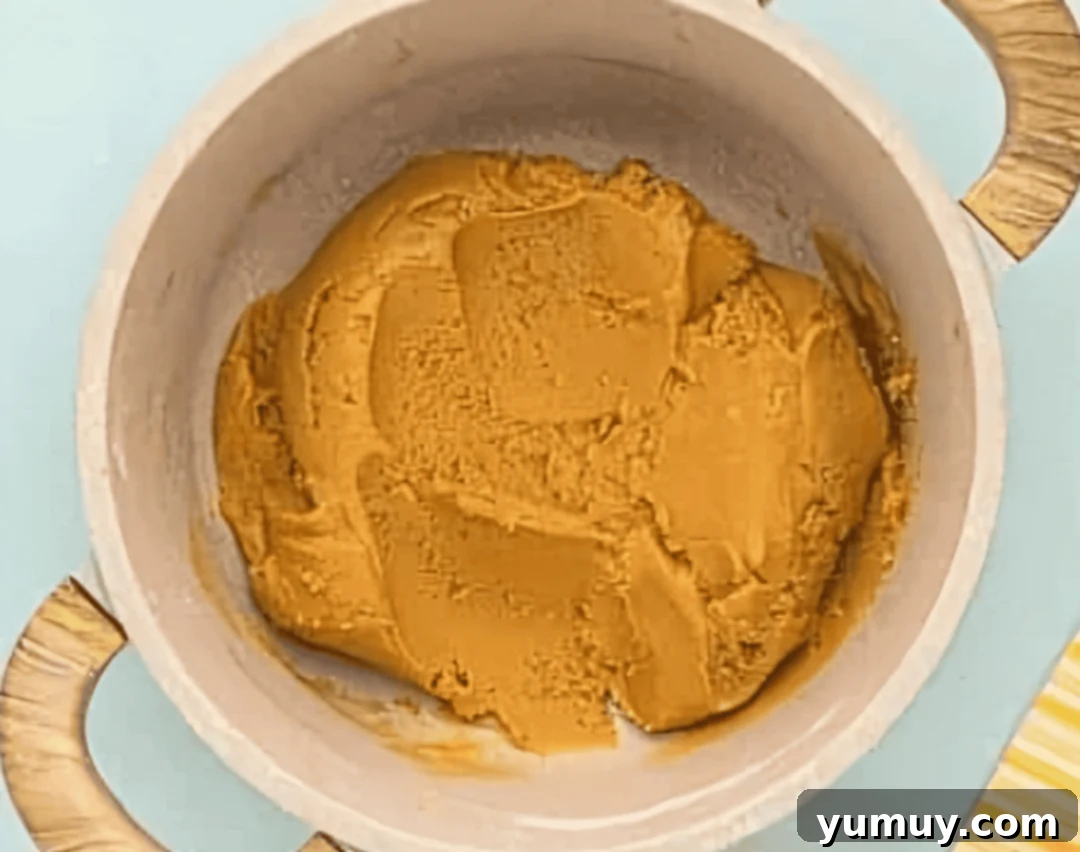
To begin, gather your 1 cup of creamy peanut butter and ¼ cup of unsalted butter. You have two convenient options for melting these: either in a medium saucepan over very low heat, stirring constantly to prevent burning, or in a microwave-safe bowl. If using the microwave, heat in short 30-second bursts, stirring vigorously after each interval until the butter and peanut butter are completely melted and form a smooth, uniform mixture. The goal here is a perfectly blended liquid base. Once melted, remove the mixture from the heat. Now, incorporate 1½ cups of powdered sugar and 1 teaspoon of pure vanilla extract into the warm peanut butter mixture. Stir diligently until all the ingredients are thoroughly combined and the mixture thickens into a rich, dense, and cohesive “dough.” This filling should be firm enough to hold its shape but still pliable. If it’s too soft, add a tiny bit more powdered sugar. If it’s too stiff, a touch more melted butter can help.
Step 2: Shape the Eggs and Chill to Perfection
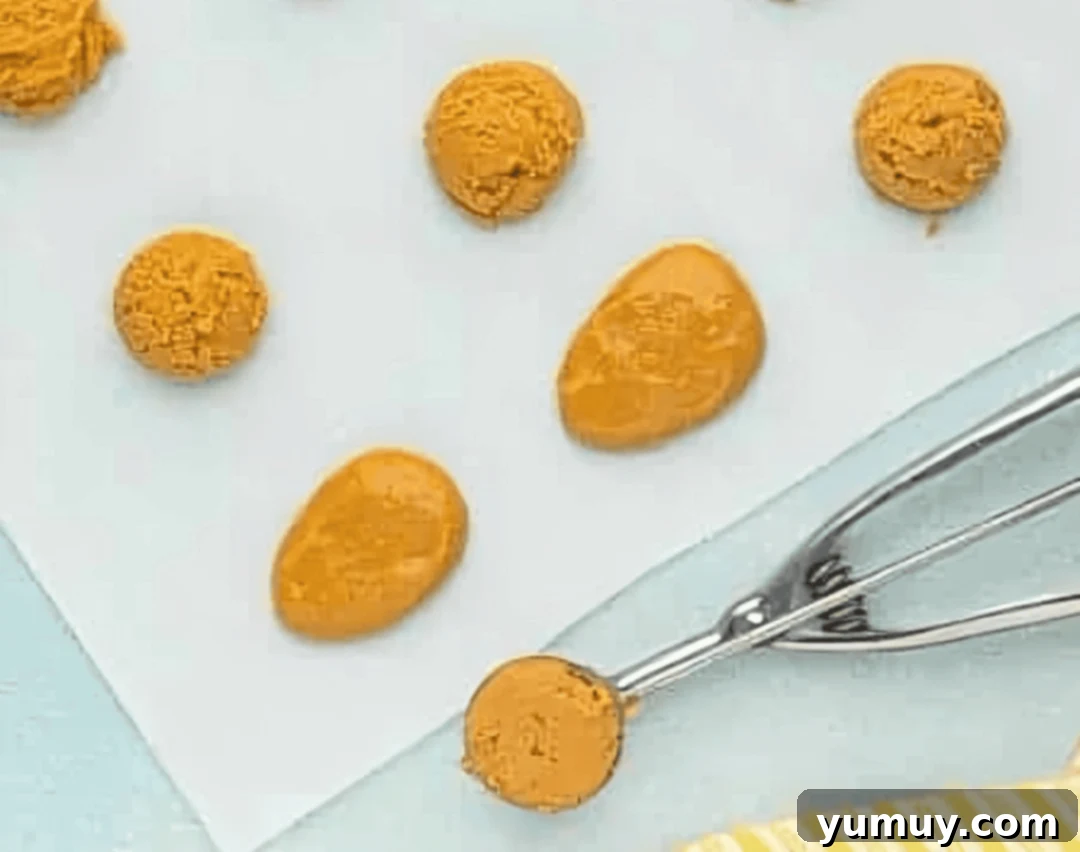
Line a baking sheet with either wax paper or parchment paper; this will prevent the eggs from sticking and make them easy to handle later. Take spoonfuls of your prepared peanut butter mixture and drop them onto the lined baking sheet. For consistent sizing, a 1½-inch cookie scoop works wonders, helping you create uniform portions. Once portioned, use your clean hands to gently roll and shape each portion into a distinct oval egg shape. Pay attention to making them as smooth and evenly shaped as possible, as this will contribute to a professional-looking finish after dipping. After all your peanut butter eggs are perfectly formed, transfer the baking sheet to the refrigerator. Allow them to chill for approximately 30 minutes. This chilling period is crucial as it firms up the peanut butter mixture, ensuring they hold their shape beautifully and are much easier to dip into the warm chocolate without melting or falling apart.
Step 3: Dip in Rich Chocolate and Allow to Set
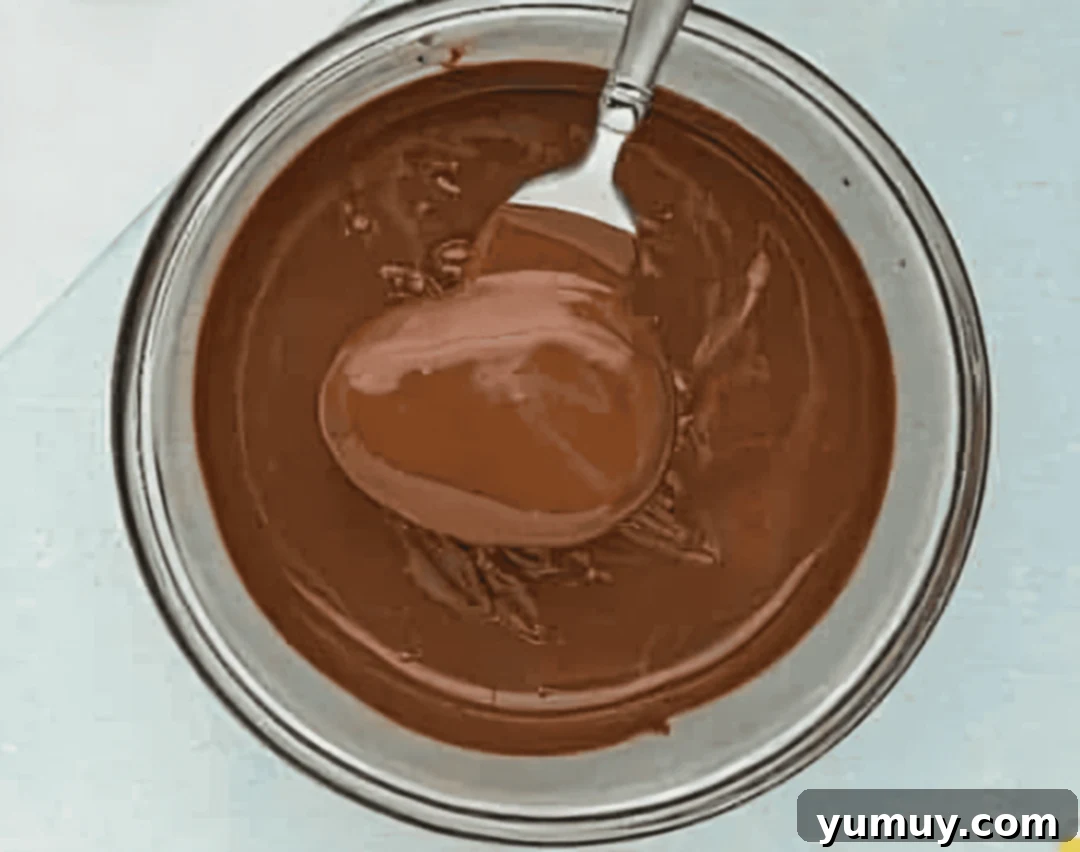
Now comes the fun, and arguably most delicious, part! In a clean, microwave-safe bowl, melt your 12 ounces of melting chocolate. Heat the chocolate in 30-second increments, stirring thoroughly after each interval. Continue this process until the chocolate is completely melted, smooth, and free of any lumps. The key is to melt it gently to avoid scorching or seizing. Once your chocolate is perfectly melted, retrieve your chilled peanut butter eggs from the refrigerator. Using a fork or a dedicated dipping tool, carefully immerse each peanut butter egg into the melted chocolate, ensuring it’s entirely coated. Lift the egg, gently tapping the fork against the edge of the bowl to allow any excess chocolate to drip off. This step helps create a smooth, thin, and even chocolate shell. Immediately place the chocolate-dipped egg back onto the parchment-lined baking sheet. The coldness of the peanut butter egg will accelerate the setting process of the chocolate. Repeat this dipping action for all your eggs. Once all eggs are dipped, let them rest at room temperature or in the refrigerator until the chocolate has completely hardened. For an extra touch of flair, add sprinkles or a white chocolate drizzle before the chocolate sets.
These homemade peanut butter eggs are a delightful treat that captures the essence of classic flavors with a homemade touch. They are an ideal activity to share with family during Easter, creating lasting memories along with incredibly tasty desserts. Their simplicity and deliciousness are sure to make them a staple in your holiday baking repertoire for years to come. Enjoy the rich, creamy goodness of these exceptional no-bake peanut butter eggs!
More Festive Easter Recipes to Sweeten Your Celebration!
Looking for more delicious and fun dessert ideas to complete your Easter feast? We’ve got you covered with a collection of creative and easy-to-make treats that are perfect for spring gatherings. From whimsical barks to delightful cake pops, these recipes are designed to add extra joy and sweetness to your holiday table. Explore these tempting options and expand your Easter baking repertoire:
Whimsical Bunny Bark
Crunchy Butterfinger Balls
Decadent Chocolate Cake Pops
Elegant Easter Macarons
