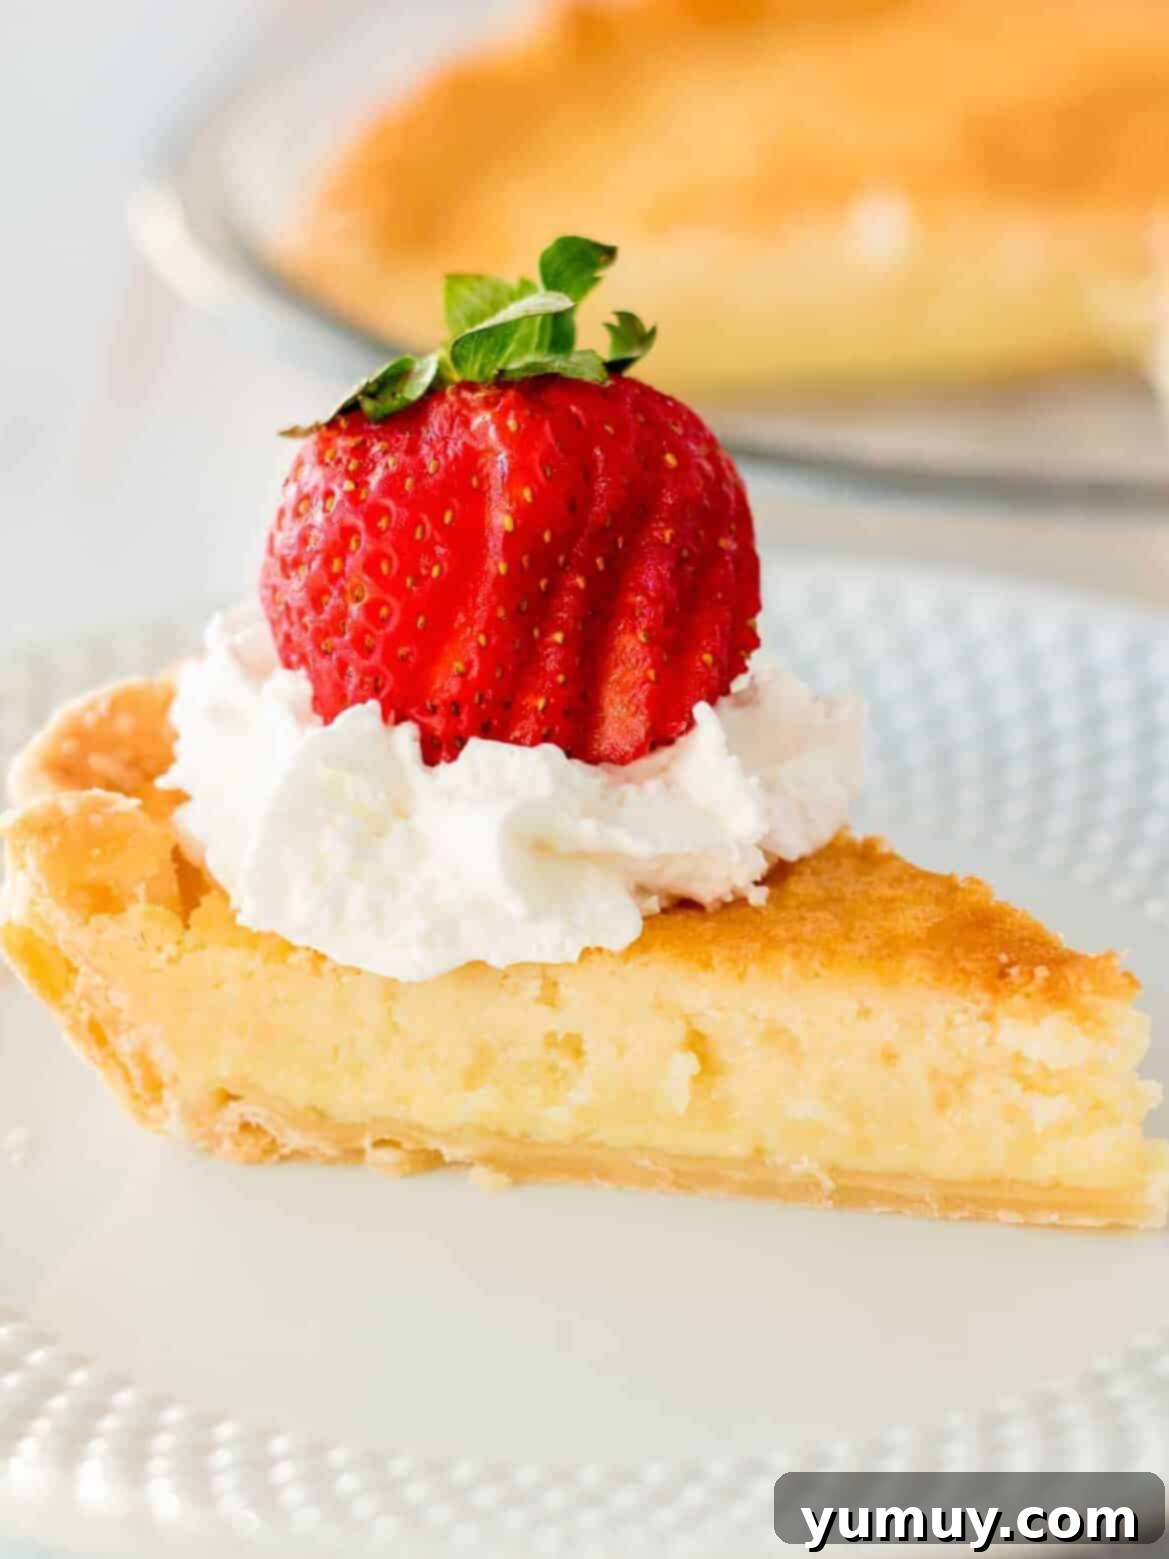
There’s an undeniable charm and heartwarming appeal to a classic Southern buttermilk pie. This beloved dessert, a staple at family gatherings and celebrations across the South, holds a special place in my heart and on our dessert table for generations. Its exquisite balance of sweet, creamy, and subtly tangy flavors makes it a timeless treat that truly never goes out of style. Many traditional recipes can be intimidating, but my easy buttermilk pie recipe simplifies the process by skipping complicated steps like par-baking the crust, ensuring that even novice bakers can achieve a perfect, velvety pie with confidence. With a rich, silky custard filling that bakes directly in the crust, every bite of this pie delivers a comforting hug of nostalgia and pure delight.
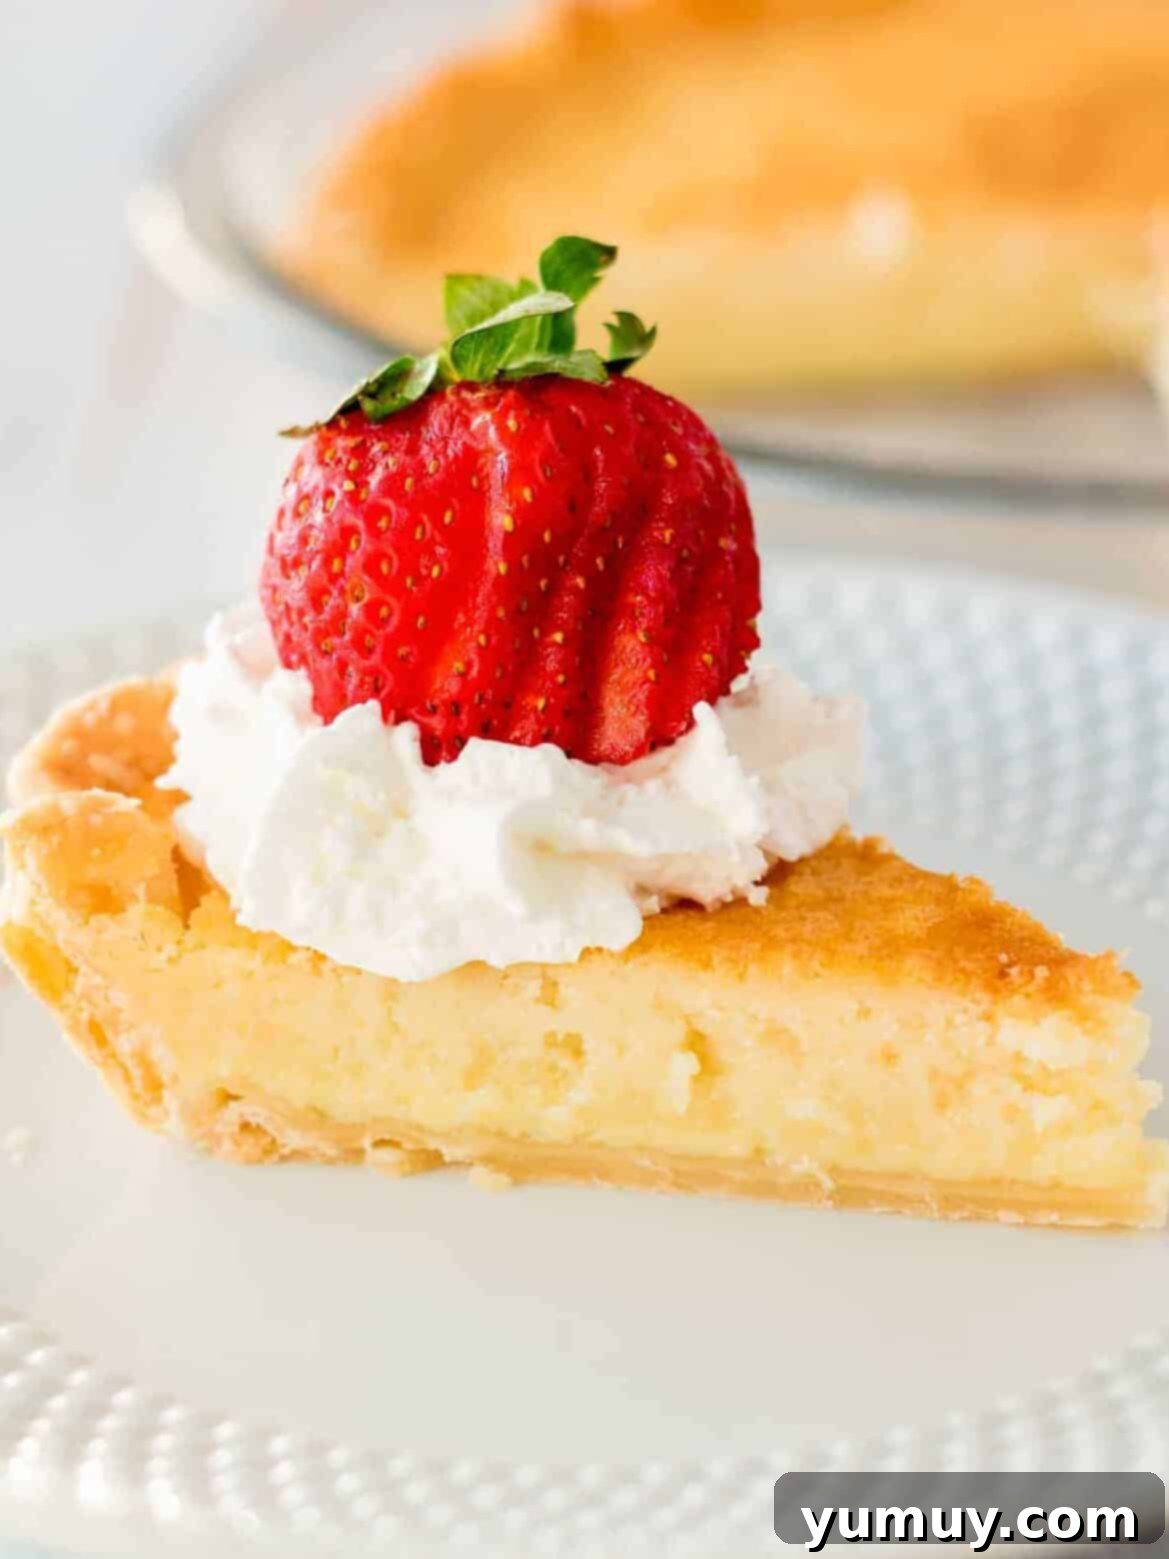
- Pin this recipe for later!
Discover the Magic of Southern Buttermilk Custard Pie
The allure of a Southern buttermilk pie lies in its elegant simplicity and profound flavor. It’s a testament to the power of a few humble pantry staples, transformed into something extraordinary with minimal effort. Made in just one bowl, this recipe promises a fuss-free baking experience without sacrificing taste or texture. The key ingredient, buttermilk, plays a pivotal role. It imparts a delicate tanginess that beautifully offsets the pie’s sweetness, creating a complex flavor profile that is both refreshing and deeply satisfying. This tang also contributes to the signature silky-smooth custard texture that defines a truly great buttermilk pie. For the absolute best results and an authentically tender filling, I always advocate for using real buttermilk, not a substitute. This isn’t just a recipe; it’s a foundational baking skill I mastered early on, and it has consistently proven to be my most reliable go-to for any occasion requiring an easy, universally loved dessert.
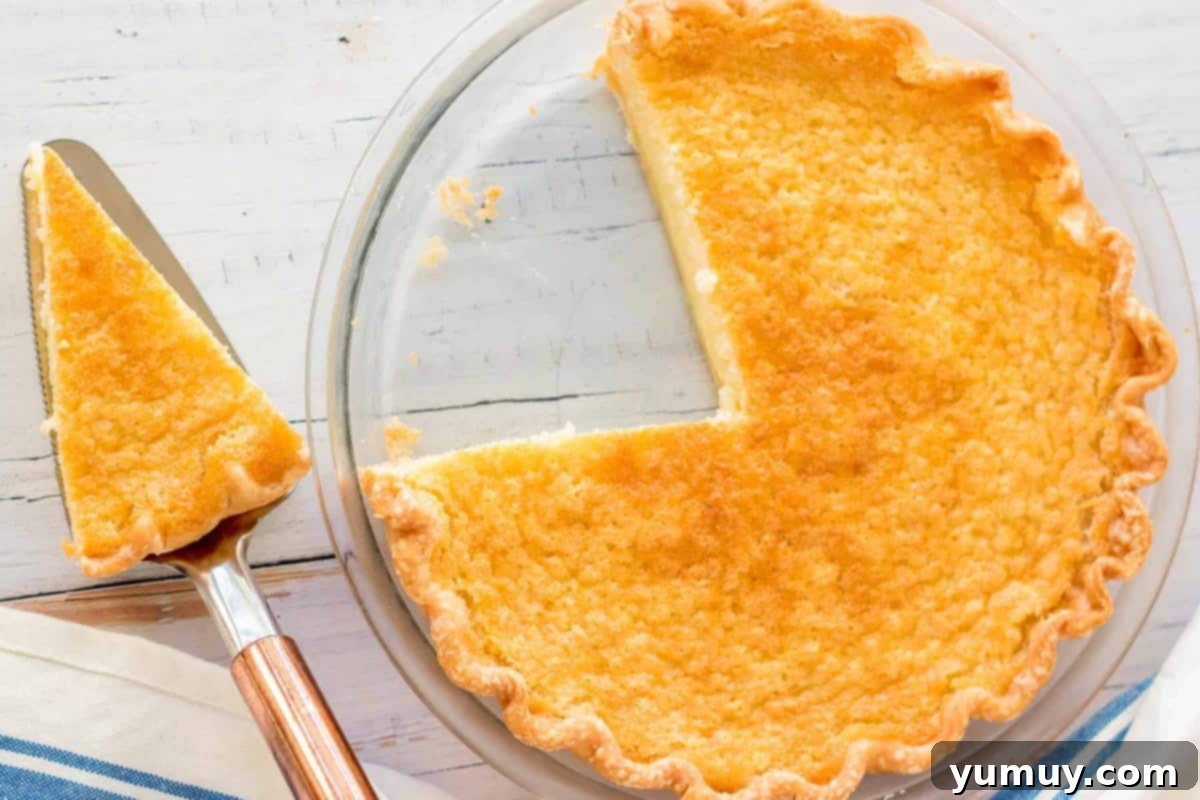
While the filling is undeniably the star, the crust provides the perfect foundation. You have the flexibility to use a quality store-bought pie crust for ultimate convenience, or elevate your pie with a flaky homemade pie crust for that extra touch of artisanal charm. Whichever you choose, this old-fashioned buttermilk pie bakes to a gorgeous golden hue with a slight glossy sheen on top, revealing a soft, velvety center that evokes memories of cherished family recipes and tastes just like the comforting pies your grandmother lovingly made from scratch. It’s a dish that connects generations, delivering warmth and pure indulgence in every single slice.
Mastering the Art of Cooling for Perfect Buttermilk Pie Texture
Achieving the smoothest, creamiest buttermilk custard pie with perfectly clean slices is a delicate art that hinges on one crucial factor: patience during the cooling process. Once your pie emerges from the oven, resist the temptation to rush it. It’s imperative to let the pie cool completely on your kitchen counter for a minimum of 2 hours, allowing it to gradually come to room temperature. Introducing it to the cold environment of the refrigerator too soon can lead to condensation forming on the surface, which might result in a sticky, unappealing top layer or even a slightly soggy crust. A slow, undisturbed cool-down allows the custard to properly set and firm up evenly, ensuring that beautiful, velvety texture and those pristine, picture-perfect slices every single time. After its initial counter-cooling period, then it’s ready for its final chill in the refrigerator to fully firm up before serving.

Classic Buttermilk Pie Recipe
Ingredients
- 1 (9-inch) refrigerated pie crust
- 3 large eggs, room temperature
- 1½ cups granulated sugar
- ½ cup unsalted butter, melted and cooled (1 stick)
- 3 tablespoons all-purpose flour
- 1 cup buttermilk, room temperature*
- 1 tablespoon lemon juice
- 1 teaspoon pure vanilla extract
- 1 teaspoon kosher salt
- Whipped cream, optional, for topping
Equipment
- Kitchen Scale (optional)
- Pie Pan
Instructions
- Prepare the Crust: Preheat your oven to 400°F (200°C). Carefully unroll your 9-inch refrigerated pie crust and fit it into a standard 9-inch pie pan. Gently press it into the pan, ensuring it’s evenly distributed. For a more polished look, you can optionally crimp the edges of the crust using your fingers or a fork.1 (9-inch) refrigerated pie crust

- Whisk Eggs and Sugar: In a large mixing bowl, combine the 3 large, room-temperature eggs with 1½ cups of granulated sugar. Whisk thoroughly until the mixture is well combined and the sugar has largely, if not entirely, dissolved. This step is crucial for a smooth custard.3 large eggs, 1½ cups granulated sugar

- Combine Wet and Dry Ingredients: To the egg and sugar mixture, add ½ cup of melted and cooled unsalted butter, 3 tablespoons of all-purpose flour, 1 cup of room-temperature buttermilk, 1 tablespoon of fresh lemon juice, 1 teaspoon of pure vanilla extract, and 1 teaspoon of kosher salt.½ cup unsalted butter, 3 tablespoons all-purpose flour, 1 cup buttermilk, 1 tablespoon lemon juice, 1 teaspoon pure vanilla extract, 1 teaspoon kosher salt

- Whisk Until Smooth: Continue to whisk all the ingredients together until the mixture is completely combined and perfectly smooth. Ensure there are no lumps, as any remaining flour lumps will not dissolve during baking and will affect the final texture of your custard.

- Fill and Initial Bake: Carefully pour the prepared buttermilk filling into your pie crust. Be mindful not to overfill the crust, as it may bubble over during baking. Place the pie into your preheated 400°F (200°C) oven and bake for an initial 10 minutes. This high-heat start helps set the crust.

- Finish Baking: After the initial 10 minutes, reduce the oven temperature to 350°F (175°C) and continue baking for approximately 40 minutes. The pie is done when the top is beautifully golden brown, and the center still has a slight jiggle when gently shaken. If the edges of your crust start to brown too quickly, you can loosely cover them with aluminum foil strips to prevent burning.

- Cool and Chill: Remove the pie from the oven and let it cool completely on a wire rack at room temperature for at least 2 hours. This slow cooling is essential for the custard to set properly. Once cooled, transfer the pie to the refrigerator and chill for a minimum of 4 hours, or preferably overnight, before serving. For an extra touch of indulgence, serve your chilled buttermilk pie topped with a generous dollop of whipped cream, if desired.Whipped cream
Recipe Notes & Expert Tips
Achieving Buttermilk Pie Perfection:
- Temperature Matters: Always ensure your eggs and buttermilk are at room temperature, and your melted butter has cooled before incorporating them into the mixture. This step is vital for creating a smooth, homogenous custard and preventing any curdling, which can ruin the texture.
- Smooth is Key: Before pouring the filling into your pie crust, meticulously whisk it until it’s completely smooth and free of any lumps. Any residual lumps of flour or sugar will not dissolve during baking and will result in a grainy, unappealing custard.
- Flavor Enhancements: For a subtle layer of warmth, consider adding a pinch of freshly grated nutmeg or cinnamon to your filling. If you prefer a brighter, more zesty flavor, a teaspoon of finely grated orange zest can truly elevate the pie.
- Fruity Twist: For a delightful variation, especially wonderful for holidays like Easter, try folding in a few tablespoons of well-drained crushed pineapple into the batter. This “pineapple buttermilk pie” adds a lovely fruity dimension.
- Golden Crust: To achieve a beautifully shiny and golden-brown pie crust edge, you can lightly brush the crimped crust with a thin layer of egg wash (a whisked egg with a splash of water or milk) before baking.
- Even Baking: To ensure your pie bakes and browns uniformly, rotate it halfway through the baking time. This prevents one side from cooking faster than the other.
- Preventing Burnt Edges: If you notice your pie crust edges browning too quickly during the later stages of baking, gently wrap thin strips of aluminum foil around the perimeter of the crust. This shields the edges from excessive heat without impeding the custard’s cooking.
- Doneness Check (Jiggle Test): The center of your buttermilk pie should still have a slight, delicate jiggle when you carefully remove it from the oven. If it appears runny or too liquid, return it to the oven and bake in 5-minute increments until it reaches the desired consistency.
- Doneness Check (Knife Test): As an alternative or complementary method to the jiggle test, insert a thin knife or a wooden skewer about an inch from the center of the pie. It should come out mostly clean but with a few moist crumbs attached, indicating a perfectly set yet still creamy custard.
Storage & Longevity: Store leftover buttermilk pie covered tightly with plastic wrap or in an airtight container in the refrigerator for up to 3 days. For longer storage, slices or the entire pie can be frozen for up to 2 months. To enjoy, thaw frozen pie overnight in the refrigerator. Serve chilled or allow it to sit at room temperature for about 15-20 minutes before slicing for the creamiest, most enjoyable texture.
Calories from Fat 180
Why You’ll Fall in Love with This Buttermilk Pie
There are countless reasons why this buttermilk pie recipe deserves a permanent spot in your baking repertoire. Firstly, its **effortless preparation** makes it a dream for both seasoned and beginner bakers. Forget complicated techniques or specialized equipment; this recipe champions simplicity, allowing you to whip up a gourmet-tasting dessert with minimal fuss. Secondly, its **irresistible flavor profile** is a masterclass in balance. The sweet custard is perfectly complemented by the subtle tang of buttermilk and a hint of lemon, creating a harmonious taste that’s both comforting and sophisticated. It’s a flavor that transcends trends, appealing to virtually everyone who tries it. Finally, its **versatility** is unmatched. Whether you’re serving it as a humble weeknight treat or the star dessert at a holiday feast, this pie fits every occasion with grace. It’s truly a timeless classic that promises to delight with every smooth, creamy bite.
A Detailed Guide: How to Make Buttermilk Pie Step-by-Step
Follow these detailed steps to ensure your buttermilk pie turns out perfectly smooth, creamy, and utterly delicious:
Step 1: Prep the Crust & Oven
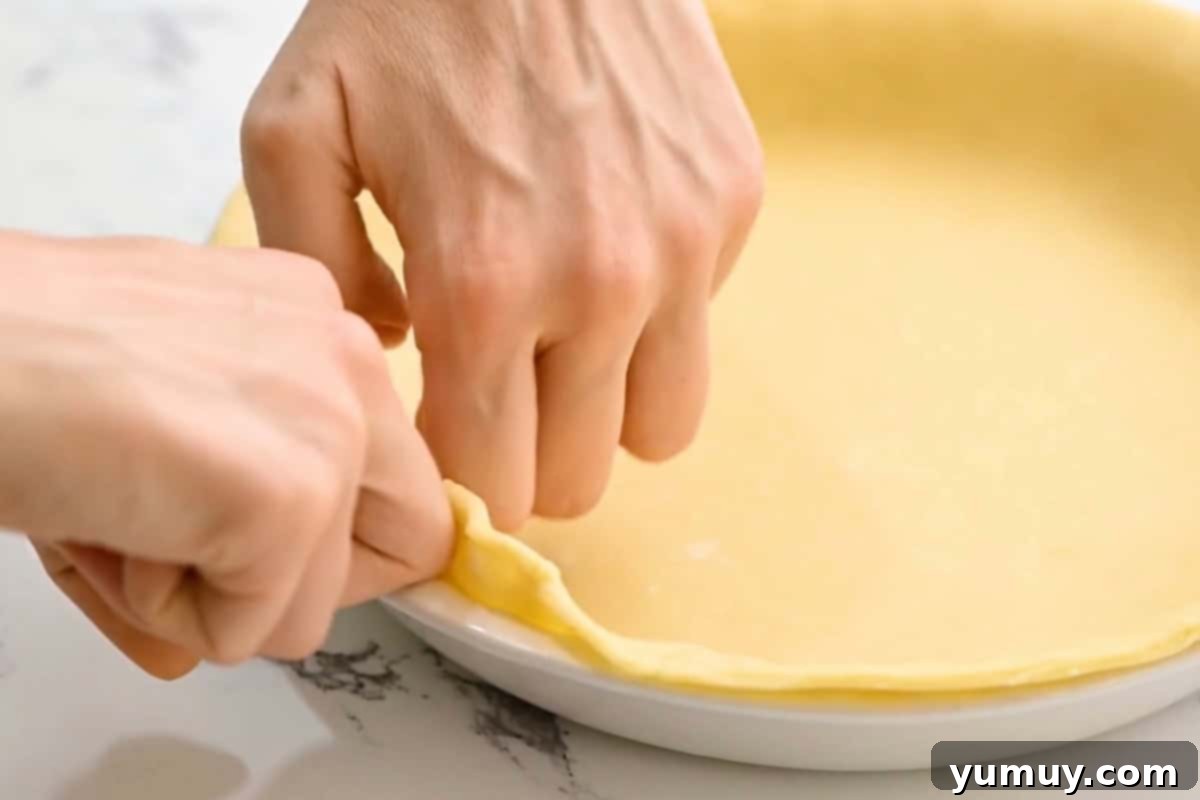
Begin by preheating your oven to a precise 400°F (200°C). This initial higher temperature is crucial for helping the pie crust set quickly and achieve a lovely golden base. Carefully unroll your preferred 9-inch refrigerated pie crust into a standard 9-inch pie pan. Gently press the crust against the bottom and sides of the pan, ensuring there are no air pockets and it fits snugly. For a beautiful presentation, you can optionally crimp the edges of the crust. This adds a decorative touch and helps prevent excessive shrinking during baking. While a store-bought crust saves time, feel free to use my quick and easy food processor pie crust if you have a few extra minutes and want to truly make it from scratch!
Step 2: Whisk Eggs & Sugar to Perfection
In a spacious mixing bowl, crack 3 large eggs. It’s essential that these eggs are at room temperature, as this helps them incorporate more smoothly with the other ingredients, leading to a more consistent custard. Add 1½ cups of granulated sugar to the bowl. Using a whisk, vigorously beat the eggs and sugar together until they are thoroughly combined. Continue whisking until the sugar granules are mostly, if not completely, dissolved into the egg mixture. This creates a homogeneous base for your custard, preventing a gritty texture in the final pie.
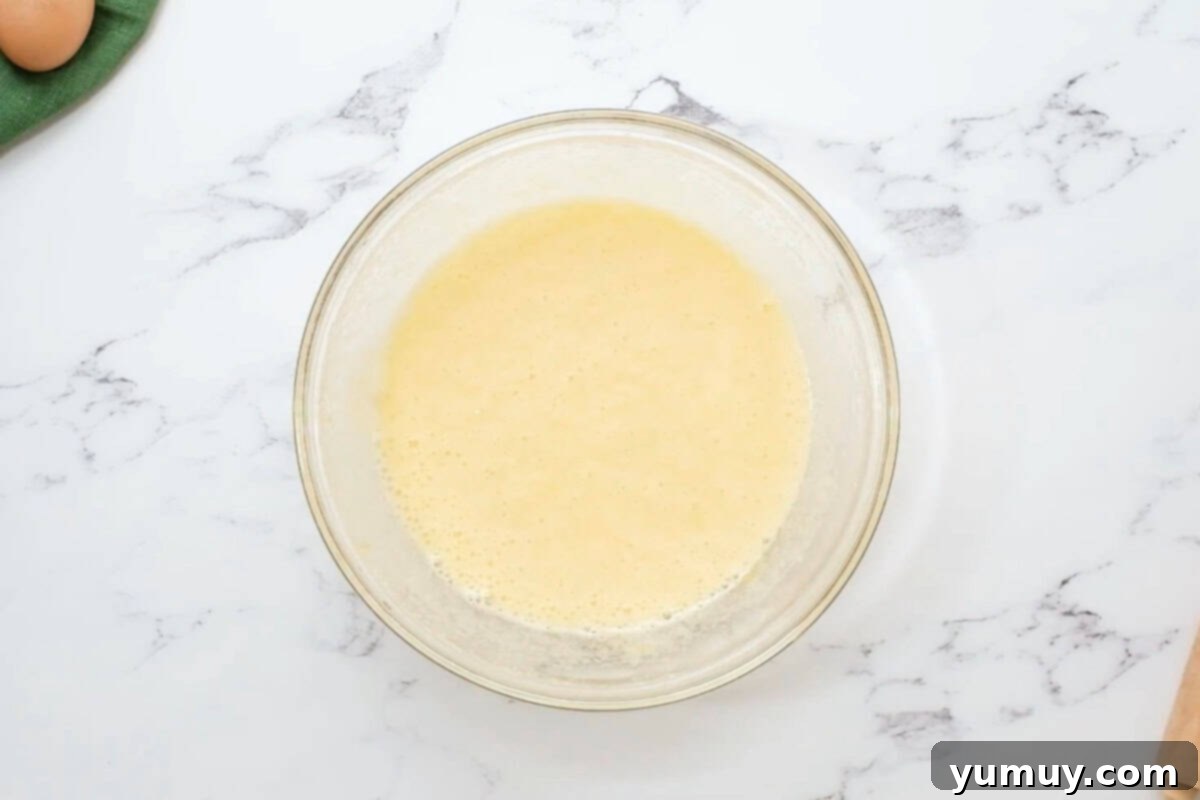
Step 3: Craft the Silky Filling
Now it’s time to build the creamy heart of your pie. To the egg and sugar mixture, pour in ½ cup of unsalted butter that has been melted and then cooled. Ensure it’s not hot, as this could scramble the eggs. Next, add 3 tablespoons of all-purpose flour, which acts as a gentle thickener for the custard. Incorporate 1 cup of room-temperature buttermilk, 1 tablespoon of fresh lemon juice (which brightens the flavor), 1 teaspoon of rich vanilla extract, and 1 teaspoon of kosher salt to enhance all the flavors. Whisk all these ingredients together meticulously until the mixture is entirely smooth and luscious. This is a critical step; any lumps remaining at this stage will not disappear during baking, resulting in a less-than-perfect texture.
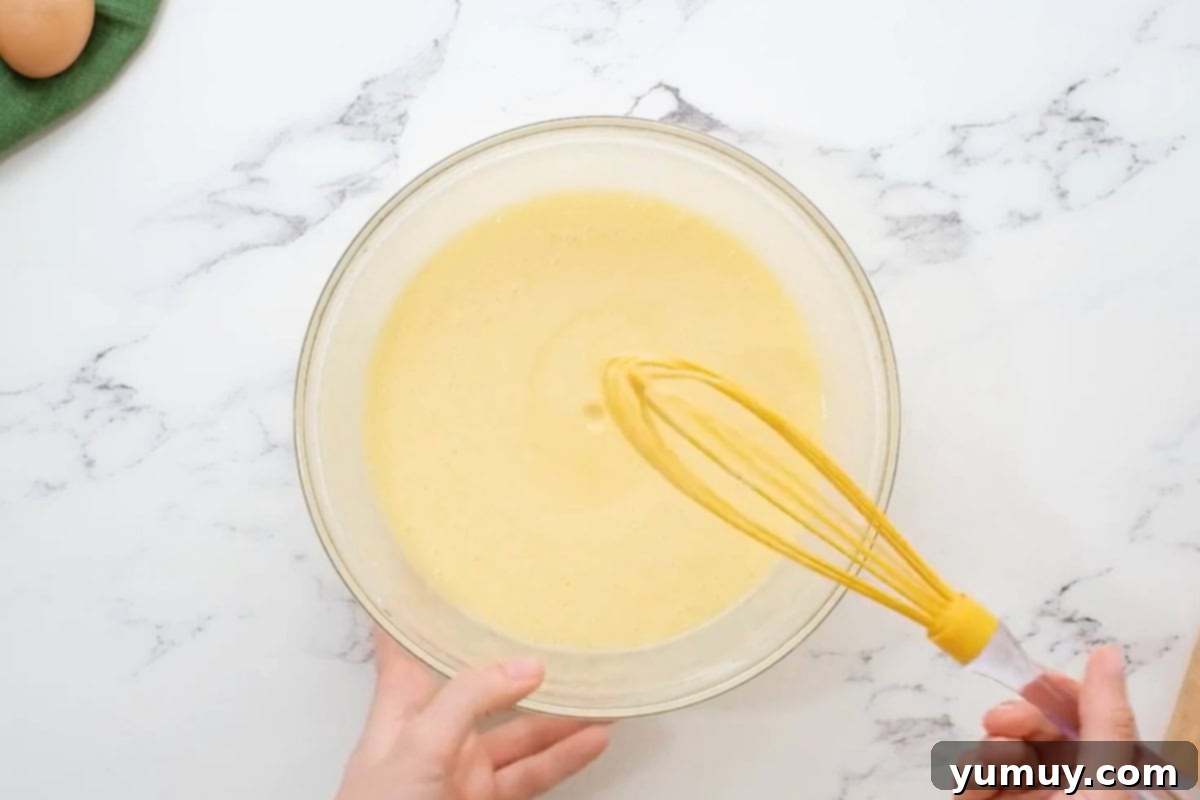
Step 4: Fill the Crust & Begin Baking
Carefully pour your smooth buttermilk batter into the prepared pie crust. Exercise caution not to overfill, as the custard will expand slightly during baking and could overflow. A good rule of thumb is to leave about ¼ to ½ inch of space from the top edge of the crust. While not strictly necessary, you have the option to brush the crimped crust with a light egg wash (a whisked egg with a tiny bit of water or milk) for an extra shiny, deeply golden finish. Gently place the pie into your preheated 400°F (200°C) oven and bake for an initial 10 minutes. This high-heat blast helps to set the crust and begin the custard’s transformation.
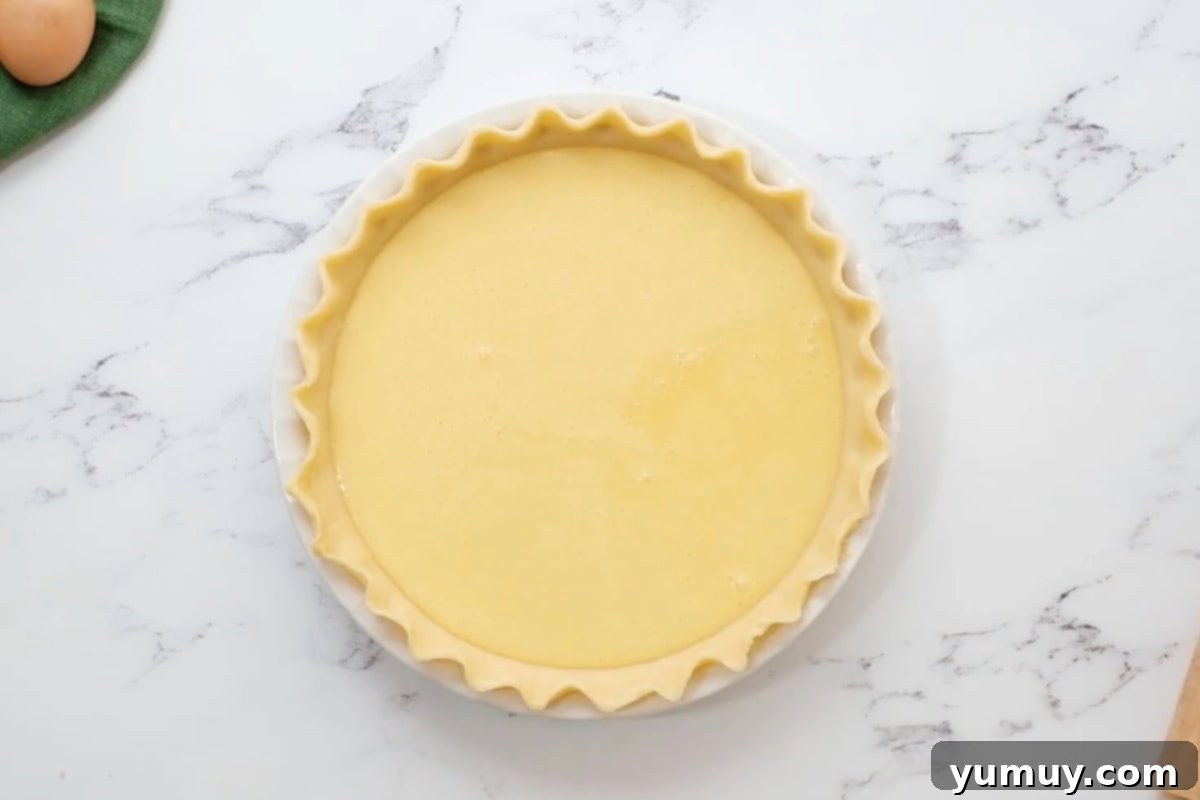
Step 5: Complete the Bake & Cool with Care
After the initial 10 minutes at high heat, reduce your oven temperature to 350°F (175°C). Continue to bake the pie for approximately 40 minutes more. Keep an eye on it; the pie is perfectly done when the top is a beautiful golden brown and the center still exhibits a slight, delicate jiggle when you gently shake the pan. This slight movement indicates a perfectly creamy, rather than overbaked, custard. For even baking and browning, I always recommend rotating your pie halfway through this baking time. If you notice your pie crust edges browning too quickly, loosely cover them with strips of aluminum foil to protect them. Once baked, remove the pie from the oven and, crucially, allow it to cool completely on a wire rack at room temperature for about 2 hours. This slow cooling prevents condensation and allows the custard to set. After reaching room temperature, transfer the pie to the refrigerator and chill for at least 4 hours (overnight is even better!) to ensure it’s fully set. Serve your chilled pie as is, or with a generous dollop of whipped cream for an extra touch of decadence.
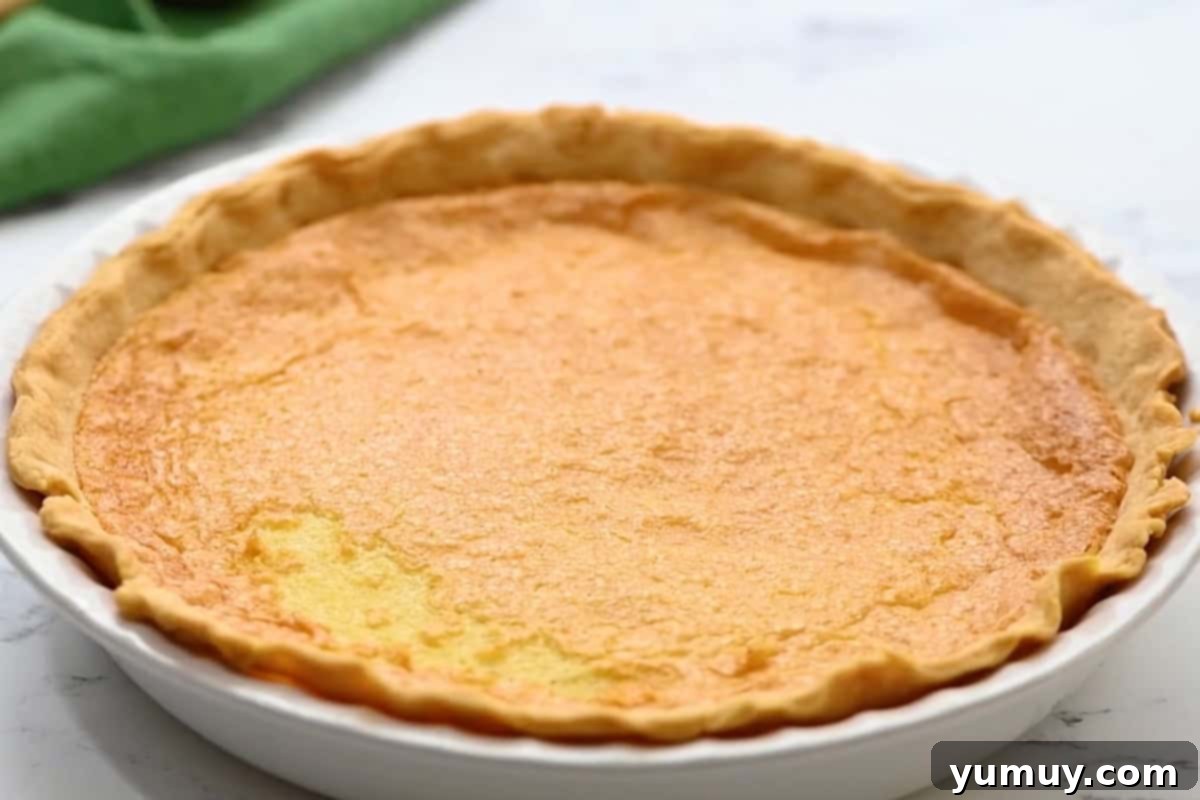
Storing and Freezing Your Buttermilk Pie for Future Enjoyment
Proper storage is essential to maintain the exquisite taste and texture of your homemade buttermilk pie. Once your pie has completely cooled to room temperature (remembering that crucial 2-hour counter cooling period), it’s ready for the refrigerator. Cover the entire pie securely with plastic wrap, ensuring no air can get in, or transfer individual slices into an airtight container. Stored this way, your buttermilk pie will remain fresh and delicious in the refrigerator for up to 3 days. When ready to serve, you can enjoy it chilled directly from the fridge, or for an even creamier, more yielding texture, allow it to sit at room temperature for about 15 to 20 minutes before slicing.
For longer preservation, buttermilk pie freezes beautifully. After it has fully cooled, wrap the entire pie (or individual slices) tightly in several layers of plastic wrap, followed by a layer of aluminum foil to prevent freezer burn. Label with the date and freeze for up to 2 months. To thaw, simply transfer the frozen pie to the refrigerator and let it
thaw overnight. Once thawed, it can be enjoyed chilled or brought to room temperature before serving, just like a freshly made pie. This makes it an excellent make-ahead dessert for entertaining or simply to have a slice of Southern comfort whenever the craving strikes.
Delicious Buttermilk Pie Variations to Explore
While the classic buttermilk pie is perfect in its pure form, it also serves as a fantastic base for creative variations. Experimenting with additional flavors can elevate this Southern favorite to new heights:
- Lemon Zest Infusion: For an even brighter and more pronounced citrus note, add the zest of one whole lemon (about 1-2 teaspoons) to the filling mixture along with the lemon juice. This intensifies the tangy profile without making it overly sour.
- Warm Spice Blend: Incorporate a touch of warmth and depth by adding ¼ teaspoon of freshly grated nutmeg or a pinch of ground cinnamon to your custard filling. These spices complement the creamy, sweet flavors beautifully, especially during cooler months.
- Coconut Dream Pie: Transform your buttermilk pie into a tropical delight by folding in ½ cup of shredded sweetened coconut to the filling. You can also sprinkle a little toasted coconut on top for added texture and flavor. This variation is particularly refreshing.
- Pineapple Buttermilk Pie: As mentioned in the tips, adding a few tablespoons of well-drained crushed pineapple to the batter introduces a lovely fruity element. The tartness of the pineapple pairs wonderfully with the creamy custard, making it a popular choice for spring and summer gatherings.
- Chocolate Chip Surprise: For the chocolate lovers, mix in ½ cup of mini chocolate chips into the filling just before pouring it into the crust. The chocolate will melt into pockets of deliciousness, offering a delightful contrast to the tangy custard.
- Bourbon Buttermilk Pie: For an adult twist, replace 1 teaspoon of vanilla extract with 1 teaspoon of good quality bourbon. The subtle oaky and sweet notes of the bourbon add a sophisticated layer of flavor that’s truly exceptional.
Frequently Asked Questions About Buttermilk Pie
Here are some common questions and answers about this delightful Southern dessert:
Q: What exactly is buttermilk pie?
A: Buttermilk pie is a traditional Southern custard pie, known for its creamy, smooth texture and a unique sweet-tangy flavor. It’s typically made with a simple filling of buttermilk, eggs, sugar, flour, butter, and vanilla, all baked in a pie crust.
Q: Why is it called buttermilk pie? Does it taste like buttermilk?
A: It’s called buttermilk pie because buttermilk is a primary ingredient in the custard filling. While buttermilk is tangy on its own, its flavor mellows significantly when baked. The pie doesn’t taste strongly of sour milk; instead, the buttermilk contributes a subtle, pleasant tang that beautifully balances the sweetness and gives the custard its distinct smooth and creamy texture.
Q: What does buttermilk pie taste like?
A: Buttermilk pie tastes like a rich, creamy vanilla custard with a delightful hint of citrusy tanginess. It’s sweet but not overly so, with a velvety smooth mouthfeel. Some compare it to a crème brûlée or a mild lemon chess pie, but with its own distinct Southern charm.
Q: Do I need to refrigerate buttermilk pie?
A: Yes, absolutely. Buttermilk pie is a custard-based dessert, and like all custard pies (such as pumpkin or pecan pie), it contains eggs and dairy. For food safety and to ensure the custard sets properly and maintains its best texture, it must be refrigerated after it has cooled to room temperature. It’s best served chilled.
Q: Can I make buttermilk pie ahead of time?
A: Yes, buttermilk pie is an excellent make-ahead dessert! In fact, it needs to chill for at least 4 hours (preferably overnight) in the refrigerator for the custard to fully set and firm up. This makes it perfect for preparing a day or two before serving, allowing you to focus on other tasks.
Q: How can I prevent my buttermilk pie from cracking?
A: Cracking can occur if the pie bakes too quickly or is overbaked. To prevent this: 1) Ensure you don’t overmix the batter, which can incorporate too much air. 2) Bake at the correct temperature and avoid opening the oven door frequently. 3) Remove the pie from the oven when the center is still slightly jiggly; it will continue to set as it cools. 4) Allow the pie to cool slowly and completely at room temperature before refrigerating.
Q: What is the best way to serve buttermilk pie?
A: Buttermilk pie is traditionally served chilled, often plain, to let its unique flavor shine. However, it’s also wonderful with a dollop of fresh whipped cream, a scattering of fresh berries (especially strawberries or raspberries), or a light dusting of powdered sugar. Some enjoy it at room temperature, allowing the custard to become even silkier.
More Pie Recipes to Try!
Coconut Cream Pie
Strawberry Jello Pie
Sour Cream Raisin Pie
Butterscotch Pie
Browse All Pie Recipes
@easydessertrecipes
for a chance to be featured.
