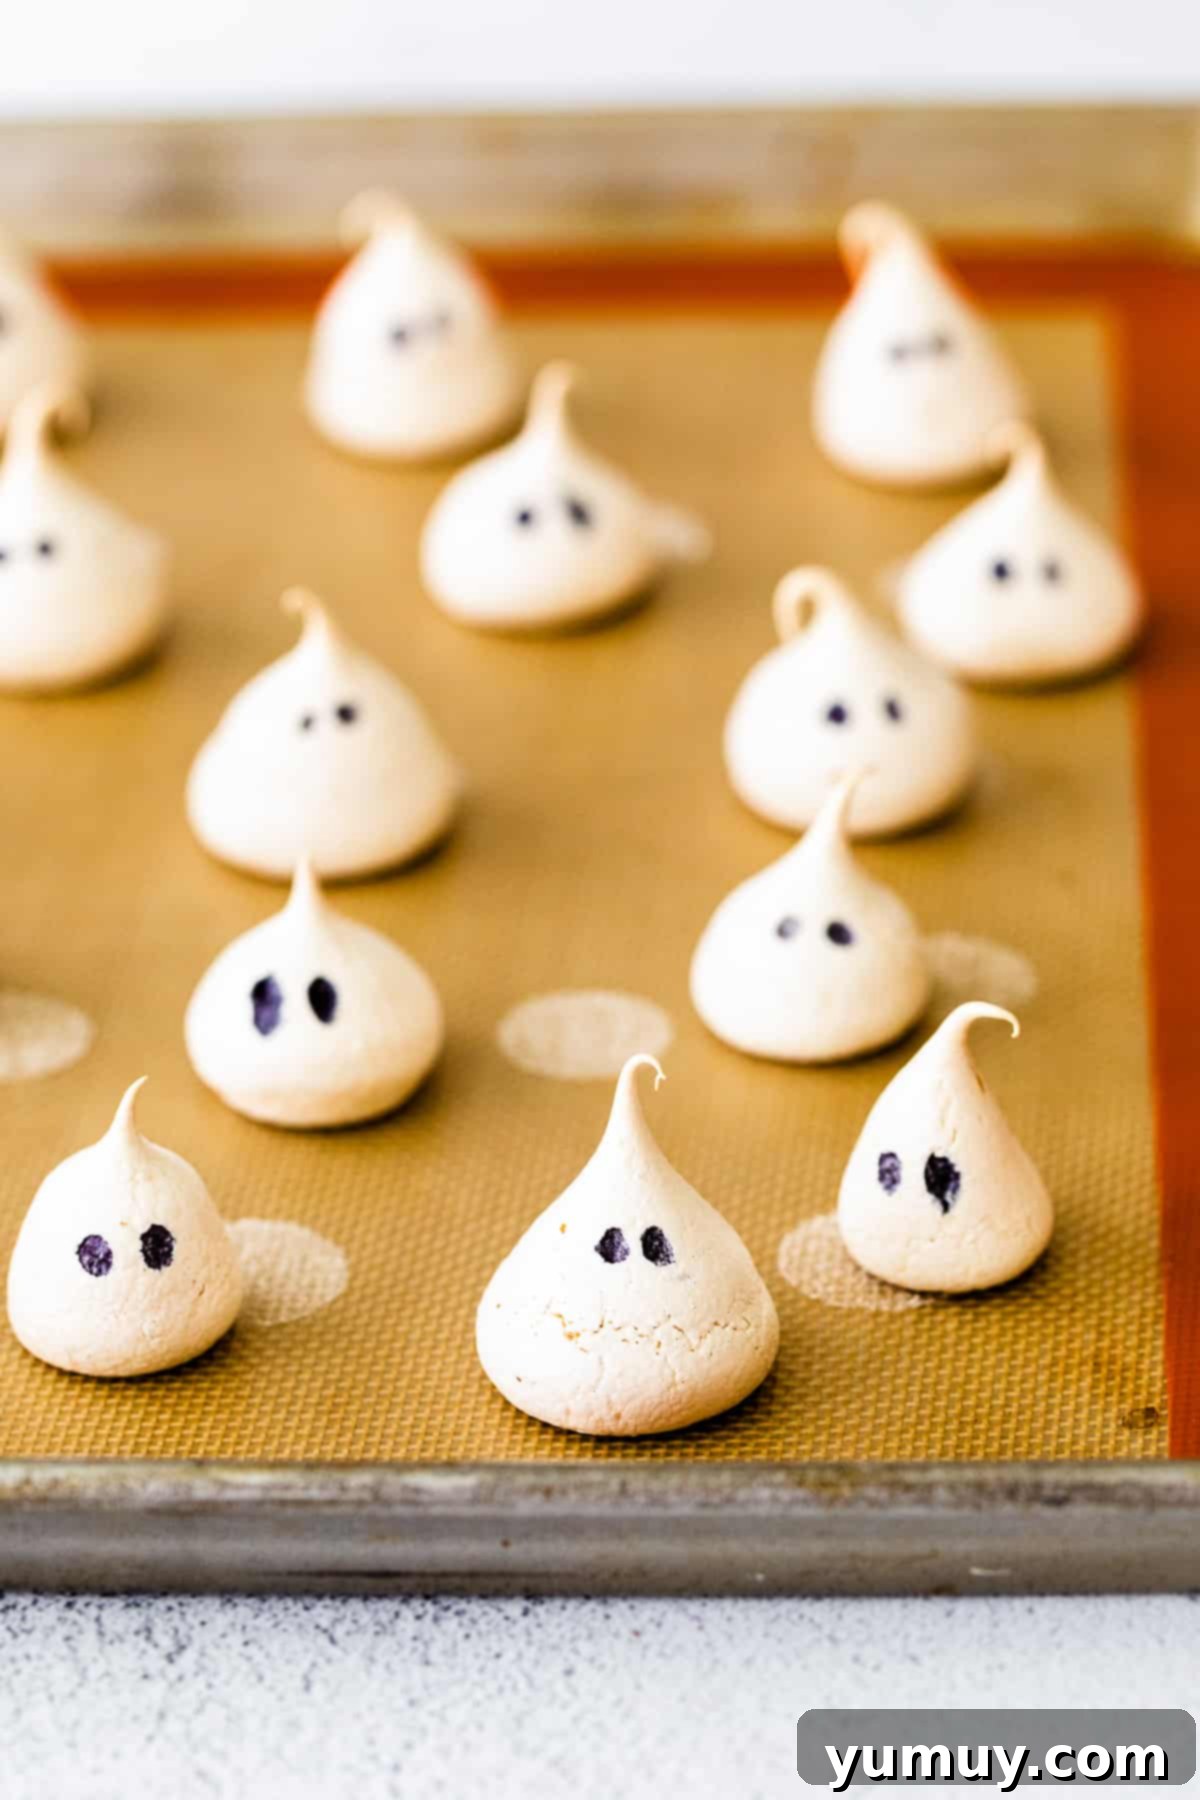
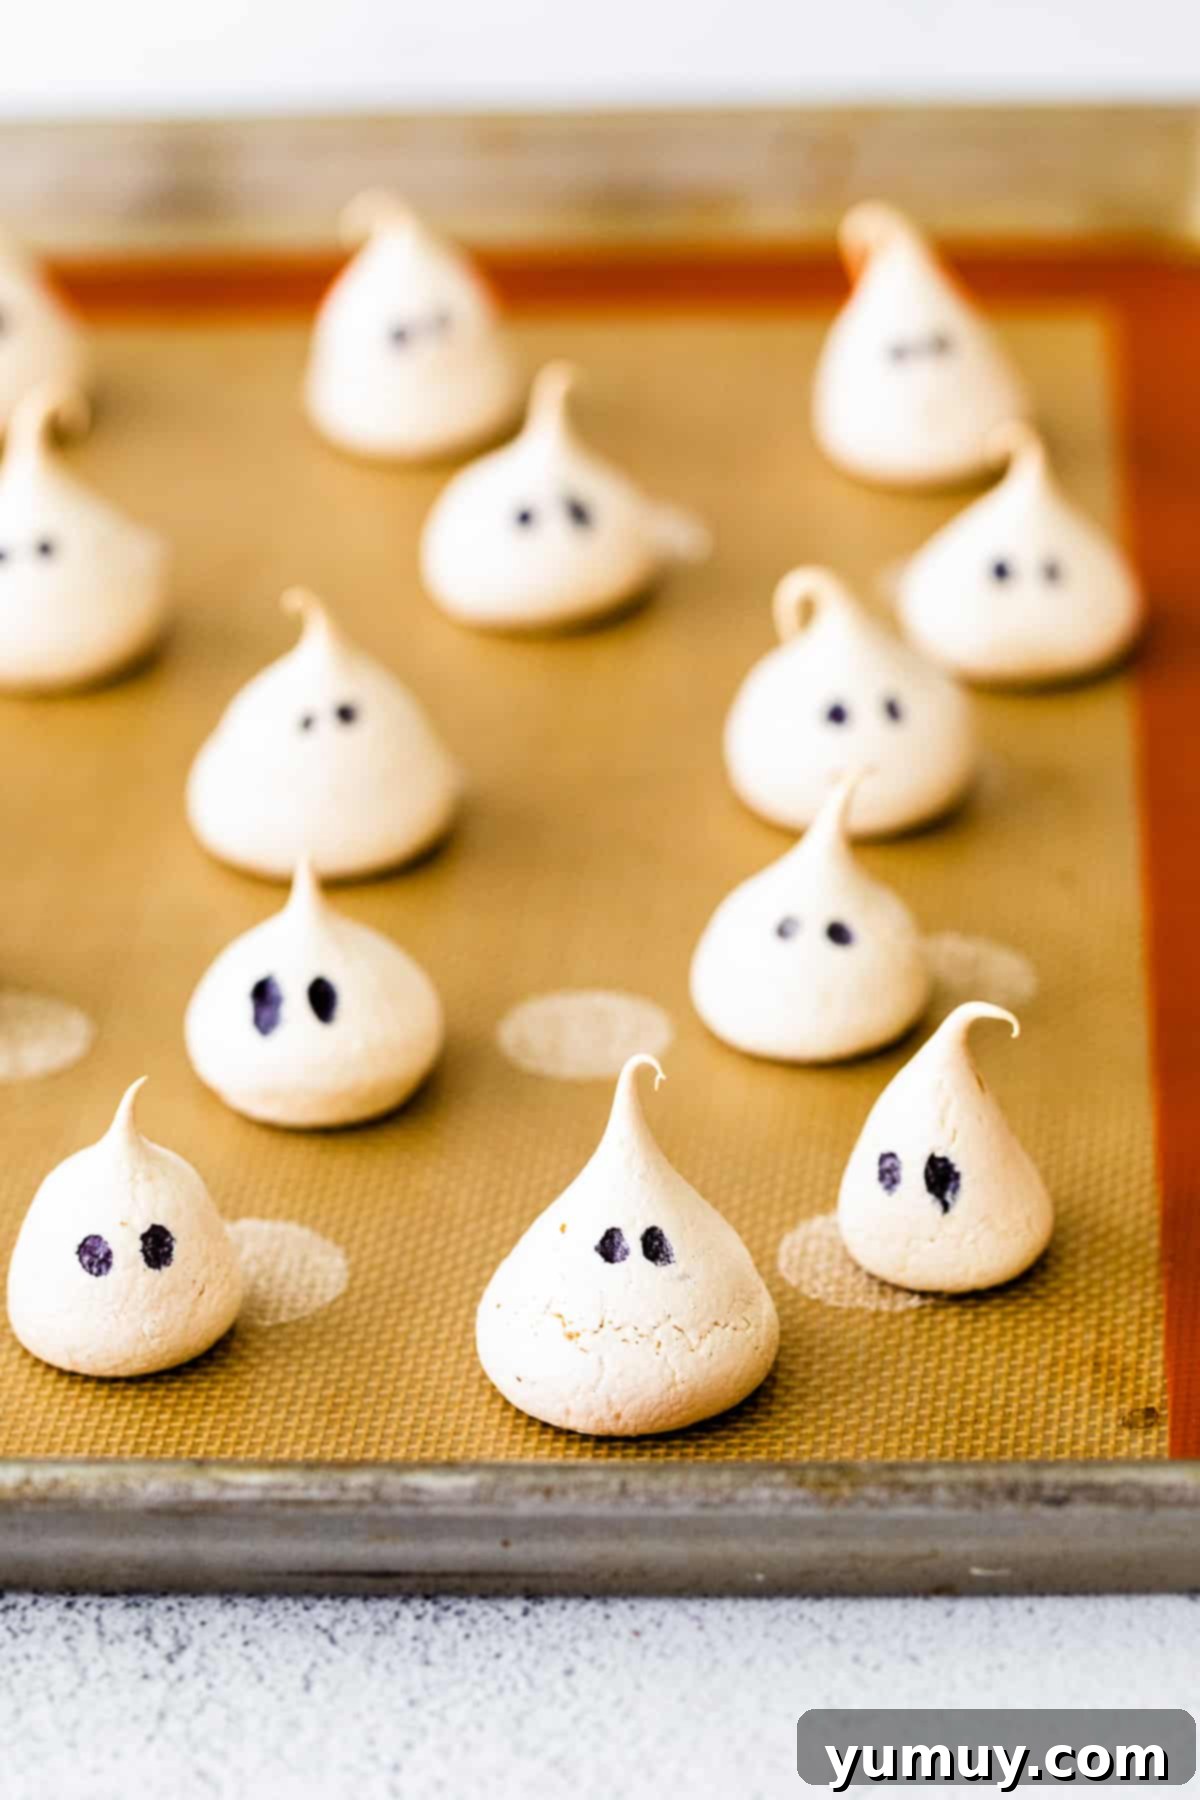
Welcome to your ultimate guide for creating the most enchanting and effortless Halloween dessert: Meringue Ghosts! These delightful treats are not just adorable; they’re a quick, easy, and utterly irresistible addition to any spooky celebration. Imagine a perfectly crisp exterior giving way to a soft, melt-in-your-mouth vanilla cloud – that’s the magic of these Halloween meringue cookies. Made with just four simple ingredients and requiring no complex baking skills beyond whipping egg whites, they are truly foolproof. Whether you’re a seasoned baker or a kitchen novice, you’ll find joy in crafting these charming, ghostly confections that are guaranteed to bring smiles and a touch of spooky fun to your Halloween party.
- Pin this recipe for later!
Spooktacular Halloween Ghost Meringue Cookies: A Recipe for Festive Fun
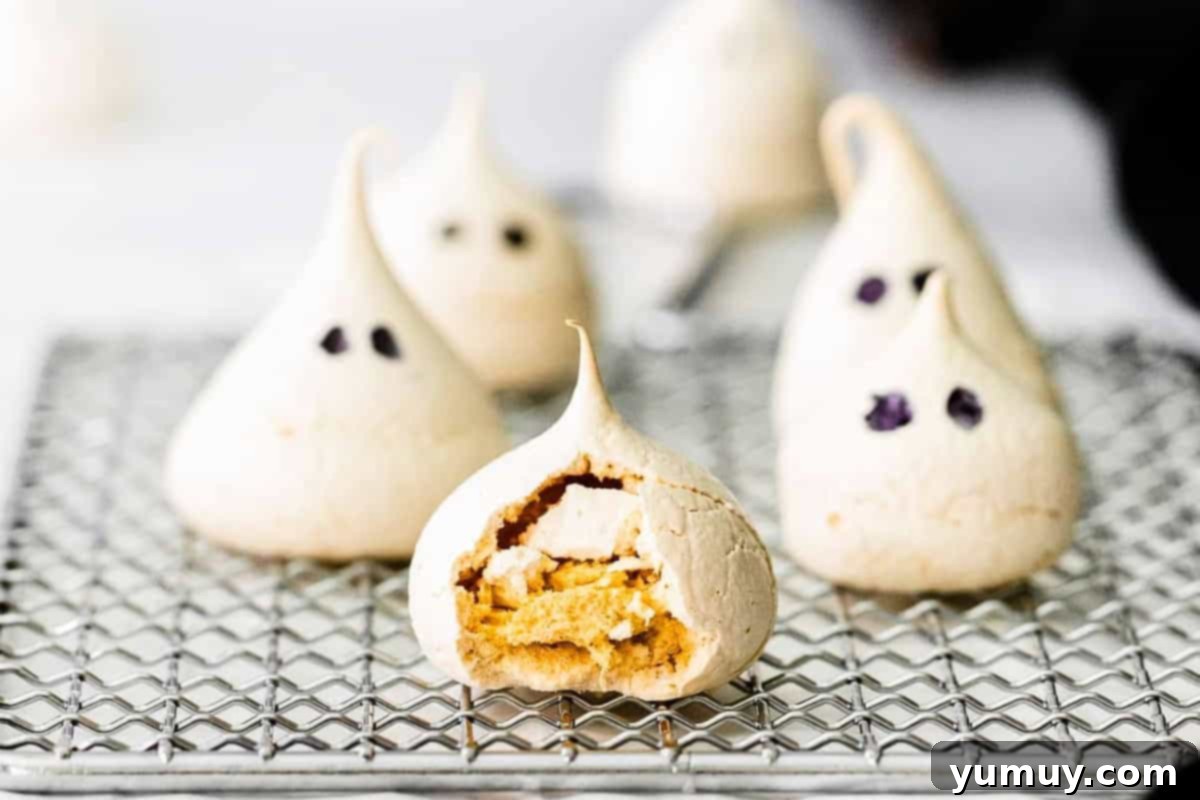
When it comes to Halloween treats, these little meringue ghosts truly steal the show with their undeniable cuteness! They are positively adorable, making them the ideal dessert for any Halloween potluck, costume party, or even a casual spooky movie night. Their whimsical appearance practically screams “boo!” in the most delightful way, instantly setting a festive and playful mood for your gathering.
While the idea of making meringue might sound intimidating, fear not! Our incredibly easy method ensures you’ll achieve perfectly smooth, crisp cookies that hold their ghostly shape with ease. Best of all, this recipe is designed for a single batch that comes together quickly, making it a fantastic last-minute solution for unexpected parties or school events. These ghost meringue cookies are more than just festive; they are genuinely foolproof, incredibly kid-friendly (making them a wonderful activity to do with little ones), and promise a delightful melt-in-your-mouth experience with every bite. Get ready to impress everyone with these charming and delicious Halloween masterpieces!
Craving chocolate? You might also enjoy our chocolate meringue cookies for another sweet treat.
The Secret to Perfect Meringue: Slow Cooling for Crack-Free Ghosts
Achieving those perfectly smooth, unblemished meringue ghosts is simpler than you think, but it requires one crucial step: patience during the cooling process. Once your delicate meringue ghosts have finished their bake time, resist the urge to immediately open the oven door and remove them. Instead, turn off your oven and leave the meringues inside, propping the oven door slightly ajar. This gentle, gradual cooling prevents the drastic temperature change that often causes meringues to crack and ensures they dry out properly. The result? Crisp, perfectly smooth ghosts that are not only delicious but also visually flawless, looking every bit as good as they taste.

Meringue Ghosts Recipe: Your Go-To Halloween Treat
: 2 hours 10 minutes
Print
Rate
Ingredients
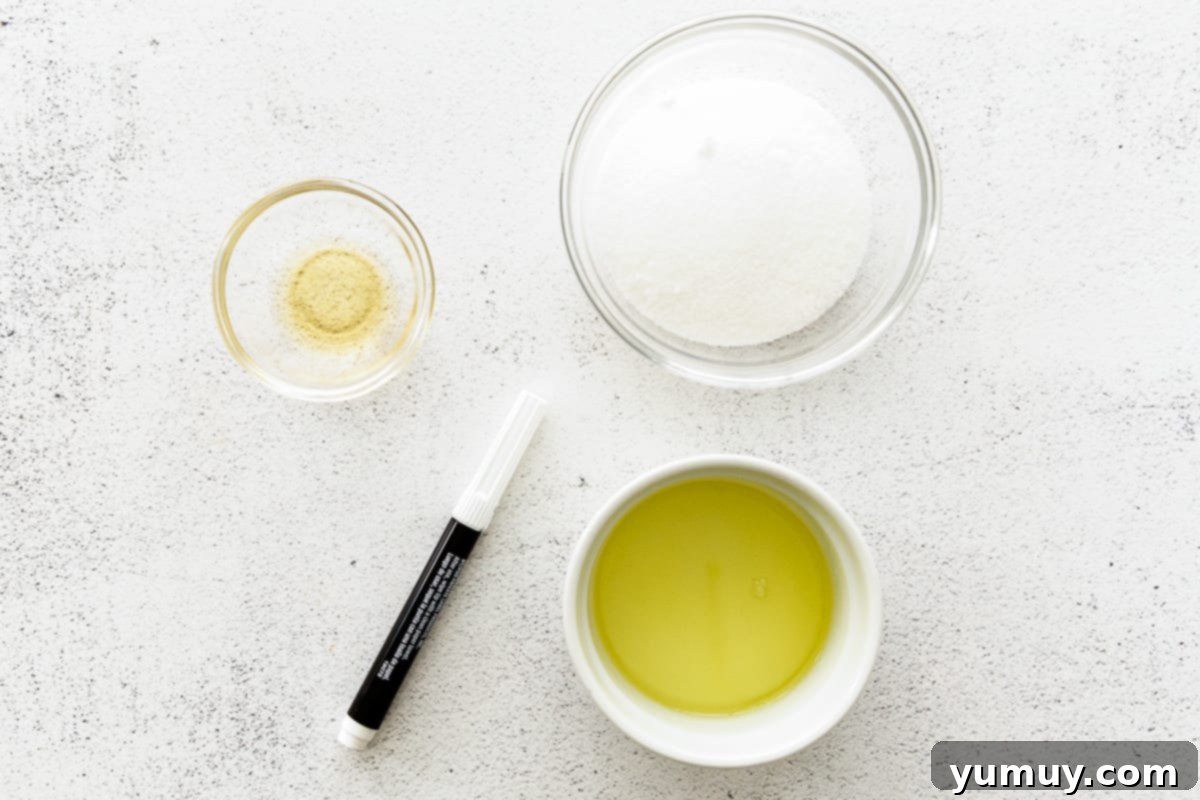
- 2 large egg whites room temperature
- ½ cup granulated sugar
- ½ teaspoon pure vanilla extract
- Black edible marker *
Equipment
- Kitchen Scale (optional)
- Baking Sheet
- Stand Mixer
- Piping Tip Set
Instructions
- Preheat your oven to 275°F. Line a baking sheet with parchment paper to ensure easy removal and prevent sticking.

- In the bowl of a stand mixer, fitted with the whisk attachment, begin mixing the room-temperature egg whites on medium speed. Gradually add in the granulated sugar, 1 tablespoon at a time, allowing it to fully dissolve and incorporate into the egg whites before adding the next. This slow addition helps create a stable meringue.2 large egg whites, ½ cup granulated sugar
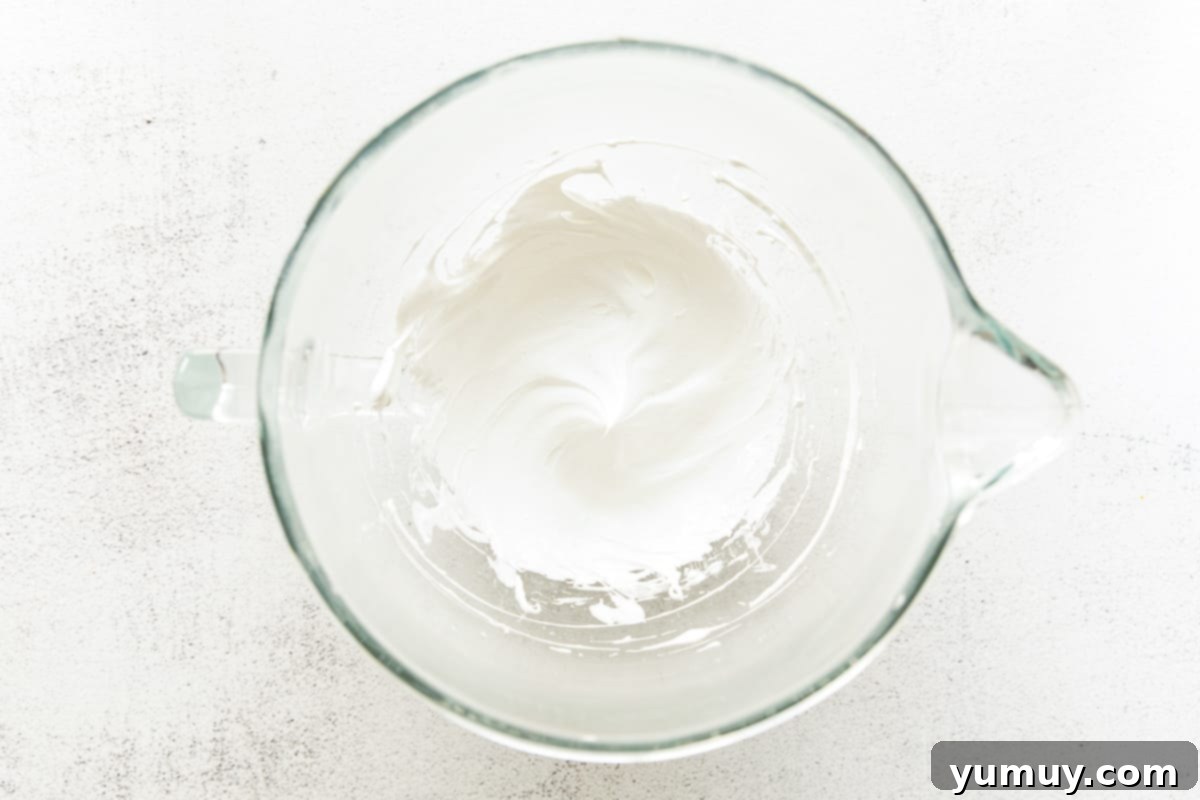
- Once all the sugar is incorporated, add in the pure vanilla extract. Increase the mixer speed to medium-high and continue mixing until firm, glossy stiff peaks form. The meringue should be thick and hold its shape.½ teaspoon pure vanilla extract

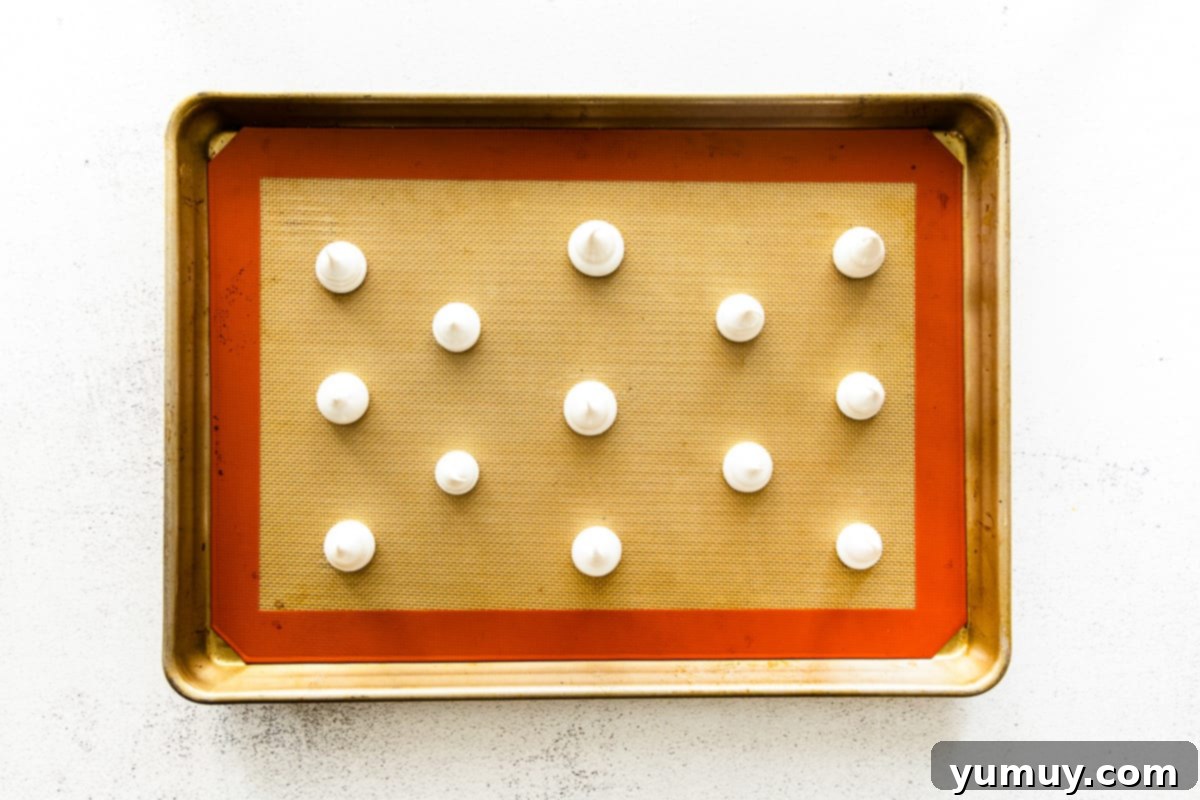
- Carefully transfer the meringue mixture into a piping bag fitted with a large, round tip. Pipe small, round dollops onto the prepared baking sheet. Aim for sizes approximately 1-inch in diameter, similar to a Hershey’s Kiss.

- Bake the meringues in the preheated oven for 1 hour. After baking, turn off the oven completely. Leave the meringues inside the oven with the door slightly ajar and allow them to cool down to room temperature gradually. This slow cooling process is essential for preventing cracks and ensuring a perfectly crisp texture.
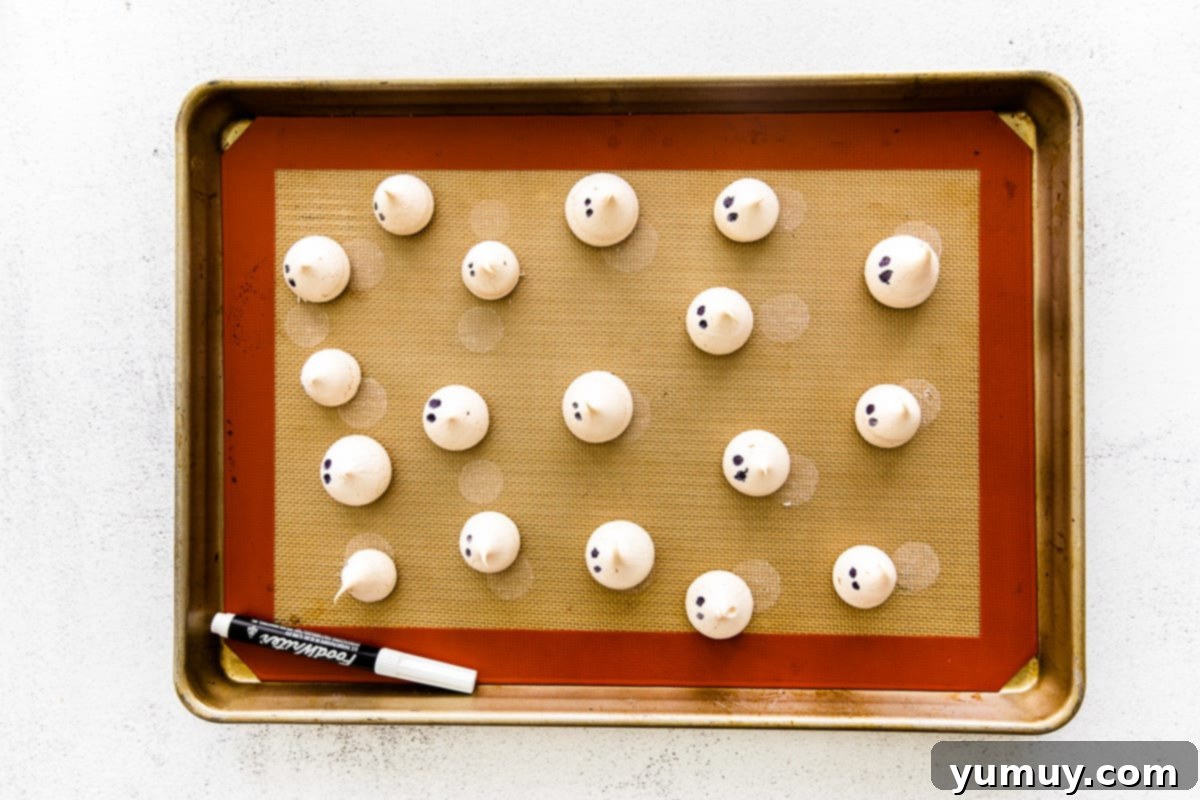
- Once completely cooled, use a black edible food marker to add two small dots on each meringue ghost to create their adorable eyes.Black edible marker

Notes and Expert Tips for Perfect Meringue Ghosts
Key Tips for Success:
- Room Temperature Egg Whites are a Must: Always use egg whites that have come to room temperature for at least 15-30 minutes. This significantly helps them whip up faster and achieve maximum volume, leading to lighter, airier meringues.
- Spotless Equipment is Crucial: Before you start, ensure your mixing bowl and whisk attachment are impeccably clean and completely free of any grease or fat residue. Even a tiny speck of oil can prevent your egg whites from whipping properly and forming stiff peaks. A quick wipe down with white vinegar can offer extra assurance.
- Stabilize Your Meringue: For added stability and to ensure your meringues hold their shape beautifully, consider adding ¼ teaspoon of cream of tartar to your egg whites before you begin adding the sugar. This acidic ingredient helps strengthen the egg white structure.
- Slow and Steady Sugar Addition: Never dump all the sugar into your egg whites at once. Gradually adding the sugar, one tablespoon at a time, allows it to dissolve properly and incorporate into the egg whites without deflating them, which is vital for a stable meringue.
- Piping Bag Alternatives: If you don’t own a piping bag or a piping tip set, don’t worry! A sturdy Ziplock bag with one corner snipped off can serve as a convenient alternative. However, a proper piping bag often provides more control and less mess.
- Preventing Chewiness and Cracks: The slow cooling process in the turned-off oven is the ultimate secret. Meringue is delicate and sensitive to sudden temperature changes, which can cause it to crack or become chewy instead of crisp. Allowing them to gradually adjust to room temperature ensures they dry out completely, resulting in that desired crunchy-on-the-outside, soft-on-the-inside texture.
- Use Edible Markers: When adding the eyes, always double-check that you are using a food-safe edible marker. Your ghostly creations should be safe and enjoyable for everyone!
Storage: To maintain their crispness and adorable appearance, store your meringue ghosts in an airtight container at room temperature. They will remain fresh and delicious for up to 3 days.
Calories from Fat 9
@easydessertrecipes
for a chance to be featured.
A Step-by-Step Guide to Crafting Your Meringue Ghosts
Creating these adorable meringue ghosts is a straightforward process that yields impressive results. Follow these detailed steps to ensure your Halloween treats are perfectly spooky and delicious!
Step 1: Preparation is Key
Before you begin, gather all your ingredients and equipment. It’s crucial that your egg whites come to room temperature; this usually takes about 15-30 minutes and ensures they whip up much faster and achieve maximum volume. Preheat your oven to a low 275°F (135°C). Line a large baking sheet with parchment paper, which will prevent sticking and make for easy cleanup. A critical step often overlooked is ensuring your mixing bowl and whisk attachment are impeccably clean and completely free of any grease or fat residue. Even the slightest hint of oil can sabotage your meringue, preventing the egg whites from whipping properly. For extra assurance, many bakers, including myself, like to wipe down their equipment with a bit of white vinegar.
Step 2: Whip the Egg Whites to Perfection
In the clean bowl of a stand mixer fitted with the whisk attachment, begin mixing your 2 large, room-temperature egg whites on medium speed. For an extra boost of stability, which can be particularly helpful for beginners, you can add ¼ teaspoon of cream of tartar at this stage. Once the egg whites become frothy, slowly, gradually add in ½ cup of granulated sugar, one tablespoon at a time. This slow and steady addition is vital; it allows the sugar to dissolve properly into the egg whites, creating a stable and glossy meringue. After all the sugar has been incorporated, add ½ teaspoon of pure vanilla extract. Increase the mixer speed to medium-high and continue beating until stiff, glossy peaks form. You’ll know it’s ready when you lift the whisk and the meringue holds a firm, upright peak.
Step 3: Pipe and Bake Your Meringue Ghosts
Gently transfer your beautifully whipped meringue mixture into a piping bag. For those classic ghost shapes, we recommend using a large, circular piping tip (a Wilton 1A works wonderfully). Pipe small, round dollops onto your prepared baking sheet. Aim for consistent sizes, roughly 1 inch in diameter – think the size of a standard Hershey’s Kiss. Don’t have a piping bag or tip? No problem! You can easily create a makeshift piping bag by snipping off one corner of a sturdy Ziplock bag. Bake your meringue ghosts in the preheated oven for 1 hour. Once the baking time is complete, turn off the oven but resist the urge to open the door immediately. Instead, leave the meringues inside the oven with the door slightly ajar and allow them to cool completely to room temperature. This crucial step ensures they dry out fully, preventing them from becoming chewy and promoting that desirable crisp texture while also preventing cracks from sudden temperature changes.
Step 4: Bring Your Ghosts to Life with Eyes
Once your meringue ghosts have cooled completely and are firm to the touch, it’s time for the fun part: adding their spooky eyes! Use a black edible food marker to carefully draw two small dots on each meringue dollop, instantly transforming them into adorable little ghosts. If you don’t have an edible marker, a tiny bit of melted dark chocolate applied with a toothpick or a small piping bag can also create charming eyes.
How to Store Meringue Ghosts for Lasting Freshness
To keep your meringue ghosts perfectly crisp and delicious, proper storage is essential. Once they have cooled completely to room temperature, transfer any leftover meringue ghosts to an airtight container. Store them at room temperature, away from any moisture or direct sunlight. When stored correctly, these delightful treats will maintain their quality and delightful crunch for up to 3 days. Avoid refrigerating meringues, as the humidity can make them soft and sticky.
Frequently Asked Questions About Meringue Ghosts
- Why are my meringue ghosts cracking? Meringues often crack due to sudden temperature changes. The key is to allow them to cool very slowly inside the oven after baking, with the door slightly ajar. Humidity can also be a factor, so try to bake on a dry day if possible.
- My meringue didn’t get stiff peaks. What went wrong? The most common culprits are grease in the bowl or on the whisk, or using cold egg whites. Ensure all equipment is spotless and your egg whites are at room temperature. A pinch of cream of tartar can also help stabilize them.
- Can I make these ahead of time? Yes, meringue ghosts are an excellent make-ahead treat! They store well in an airtight container at room temperature for up to 3 days, making them perfect for preparing a few days before your Halloween festivities.
- Can I add other flavors? Absolutely! While vanilla is classic, you can experiment with other extracts like almond, peppermint, or even a touch of citrus zest for different flavor profiles. Add them along with the vanilla extract.
- How can I make different expressions for the ghosts? Get creative with your edible marker! Instead of just dots, try drawing small “o” mouths, squiggly lines for a scared look, or even tiny eyebrows to give each ghost a unique personality.
More Spooktacular Halloween Treats to Try!
Halloween White Chocolate Buckeyes
Rice Krispie Treat Monsters
Halloween Fudge
Homemade Crunch Bars
Discover All Our Halloween Recipes
These meringue ghosts are not just a dessert; they are a charming and delicious way to celebrate the spooky season. Their simple ingredients, straightforward process, and adorable appearance make them a must-try for any Halloween enthusiast. We hope you enjoy making and sharing these delightful treats as much as we do. Happy Halloween baking!
