Spooky & Sweet: The Ultimate Guide to Easy Halloween Monster Cookies
Get ready for a treat that’s as delightful to look at as it is to eat! These charmingly googly-eyed and vibrantly colored Halloween monster cookies are truly a cinch to whip up, making them the perfect addition to any fall celebration. Imagine sinking your teeth into a soft, chewy cookie, bursting with the rich flavor of peanut butter, the satisfying texture of oats, and a joyful medley of colorful Halloween candies. These festive cookies are more than just a dessert; they’re an experience, offering a fun baking project that even the youngest chefs will adore helping to decorate!
With a total preparation and bake time of just 30 minutes, these monster cookies are your go-to solution for last-minute party planning or a delightful after-school surprise. They bring a touch of playful spookiness to your Halloween table without any stress, ensuring smiles all around. Forget complicated recipes; this is about simple ingredients, straightforward steps, and maximum festive impact!

A Halloween Twist on the Classic Monster Cookie
The classic monster cookie is a beloved treat, known for its hearty combination of peanut butter, oats, and M&M’s. Our Halloween monster cookie recipe takes this nostalgic favorite and infuses it with a seasonal twist, making it utterly irresistible for the spooky season. We load up the monster cookie dough with wholesome oats for that quintessential chewy texture, generous amounts of creamy peanut butter for an unparalleled richness, and a vibrant assortment of colorful candies that just scream “Halloween fun!”
What makes these cookies truly special is their versatility. You can unleash your creativity by mixing and matching any seasonal candies you have on hand. Think traditional candy corn, playful spooky sprinkles, or special themed M&M’s to make each batch uniquely yours. The beauty of this recipe lies in its simplicity: the dough comes together effortlessly in a single bowl, and the cookies bake in under 20 minutes. This makes it a wonderfully stress-free baking project for busy families who want to enjoy a homemade Halloween treat without spending hours in the kitchen. These monster cookies are guaranteed to be a hit, whether you’re serving them at a costume party or simply enjoying them as a cozy autumn snack.
Mastering the Art of Googly Eye Placement: Pro Tips
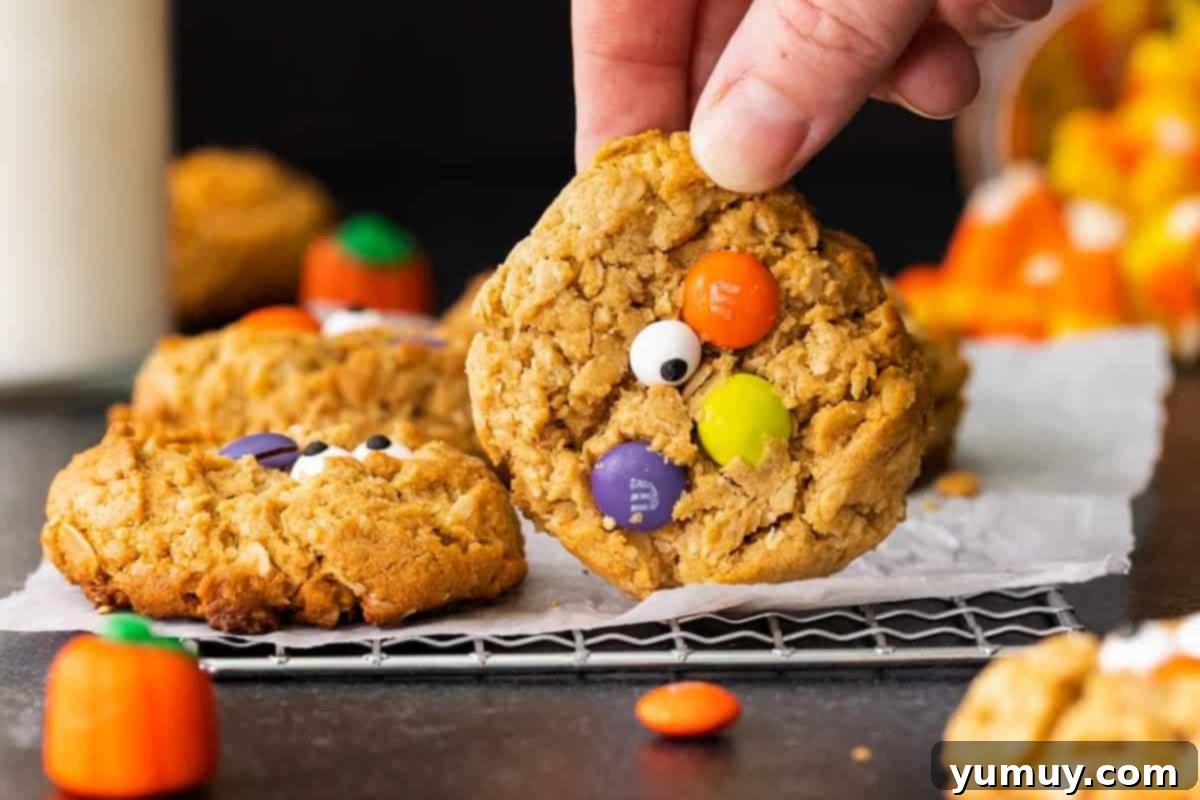
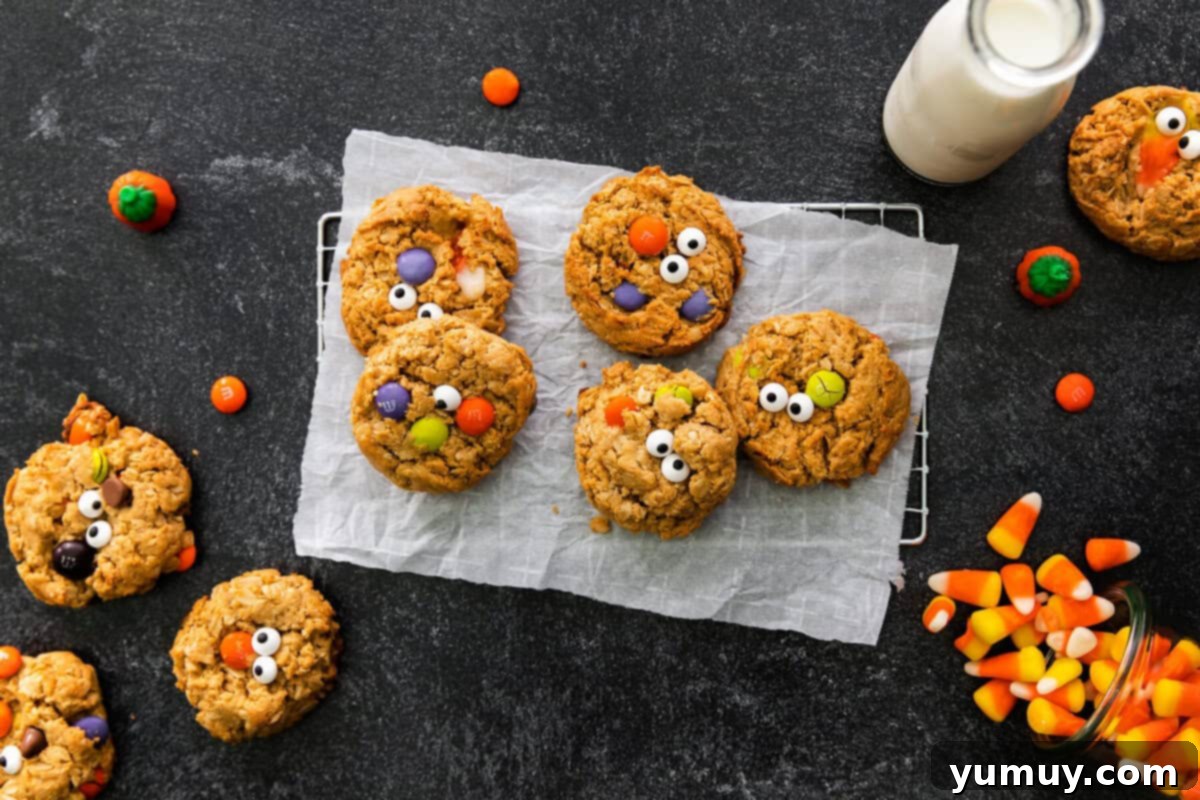
Achieving that perfect bakery-style look with your Halloween monster cookies, especially with those adorable candy eyes, is simpler than you might think! The key is in the timing. While many recipes suggest adding all decorations to the dough before baking, this can lead to melted candy eyes and a less appealing finish. For cookies that truly pop, scoop and bake your monster cookies as usual. Then, here’s the magic trick: as soon as they emerge from the hot oven, gently press a few extra candies and, most importantly, the candy eyes, directly onto the warm surface of each cookie.
This simple, strategic step serves multiple purposes. First, it ensures that your googly eyes retain their distinct shape and don’t melt into ghostly blobs in the oven. Second, it allows you to add an extra layer of crunchy, colorful candy on top, guaranteeing a delightful burst of flavor and texture in every bite. The residual heat from the freshly baked cookies will slightly soften the candy, helping the eyes and additional candies adhere perfectly as the cookies cool. This method not only preserves the charming appearance of your monster cookies but also adds an impressive finishing touch that will have everyone reaching for more!

Halloween Monster Cookies Recipe
These googly-eyed and colorful Halloween monster cookies are filled with candy, cute as can be, and they’re a total cinch to make! They’re soft, chewy, and so fun!
Ingredients
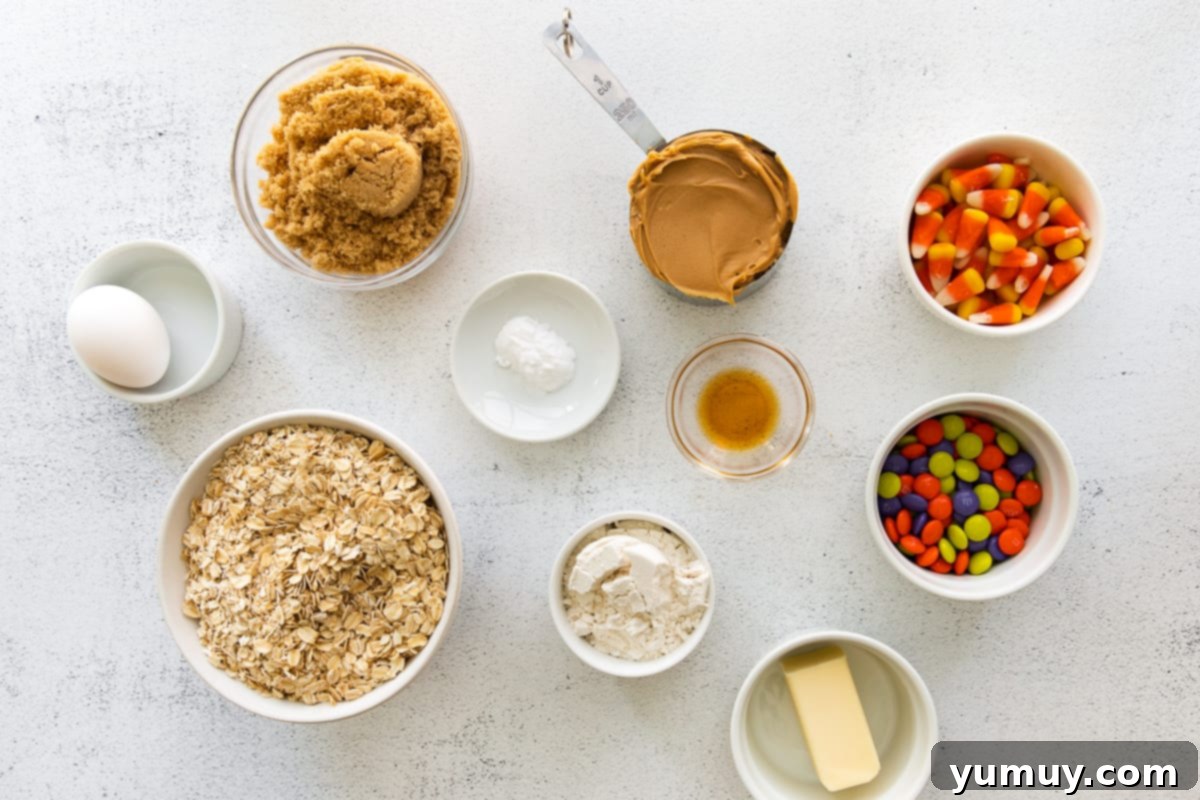
- ¼ cup unsalted butter room temperature (½ stick)
- 1 cup brown sugar
- 1 large egg room temperature
- 1 cup creamy peanut butter *
- 1 teaspoon pure vanilla extract
- 2 cups old-fashioned oats
- ½ cup all-purpose flour
- 1 teaspoon baking soda
- ½ cup Halloween M&M’s candies
- ¼ cup candy corn
- Candy eyes optional, for garnish
US Customary – Metric
Equipment
- Kitchen Scale (optional)
- Baking Sheet
- Stand Mixer
- Cookie Portion Scoop
Instructions
Preheat oven to 350°F. Line a baking sheet with parchment paper. Set aside.

In the bowl of a stand mixer fitted with the paddle attachment, beat the butter and brown sugar until light and fluffy.
Add the egg, peanut butter, and vanilla and mix to combine.

Add the oats, flour, and baking soda. Mix to combine again.

Fold the M&M’s and candy corn into the cookie dough with a rubber spatula.

Scoop 1-inch balls onto the prepared baking sheet, making sure to place them at least 2 inches apart.
Bake the cookies for 15 minutes, or just until the edges are set. Then, remove them from the pan and allow them to cool to room temperature on the pan. press the candy eyes on the cookies while they’re still warm.

Notes
*I prefer creamy peanut butter, but crunchy also works for more texture. I do not recommend using an all-natural peanut butter, because it will be too oily.
Tips:
- Use a cookie scoop! That way all of the cookies are not just perfectly picturesque, but they’ll also all bake evenly at the exact same size.
- Remember to allow the cookies to cool for a while on the pan before moving them to the cooling rack. That way they don’t break apart when you try to move them.
- Feel free to sub in your favorite Halloween candies!
- Nutritional information does not include optional ingredients.
Storage: Store Halloween monster cookies in an airtight container at room temperature for up to 3 days, in the refrigerator for up to 5 days, or in the freezer for up to 1 month.
Calories from Fat 90
- Share on Facebook
- Share on X
- Share on Instagram
Did You Make This?
We love seeing what you’ve made! Tag us on social media at
@easydessertrecipes
for a chance to be featured.
How to Make Halloween Monster Cookies: A Detailed Step-by-Step Guide
Creating these festive Halloween monster cookies is a delightful process, perfect for bakers of all skill levels. Follow these detailed steps to ensure your cookies turn out perfectly soft, chewy, and irresistibly monstrous!
1. Essential Prep Work for Perfect Cookies
Before you begin mixing, gathering and preparing your ingredients is crucial for a smooth baking experience. Start by bringing your unsalted butter and large egg to room temperature; this usually takes about 30-60 minutes. Room temperature ingredients emulsify better, creating a smoother, more uniform dough and ultimately a better cookie texture. While those are softening, preheat your oven to 350°F (175°C). Line a large baking sheet with parchment paper to prevent sticking and ensure even baking; set it aside for later. This initial organization makes the entire baking process much more efficient and enjoyable.
2. Creaming Butter and Sugar to Perfection
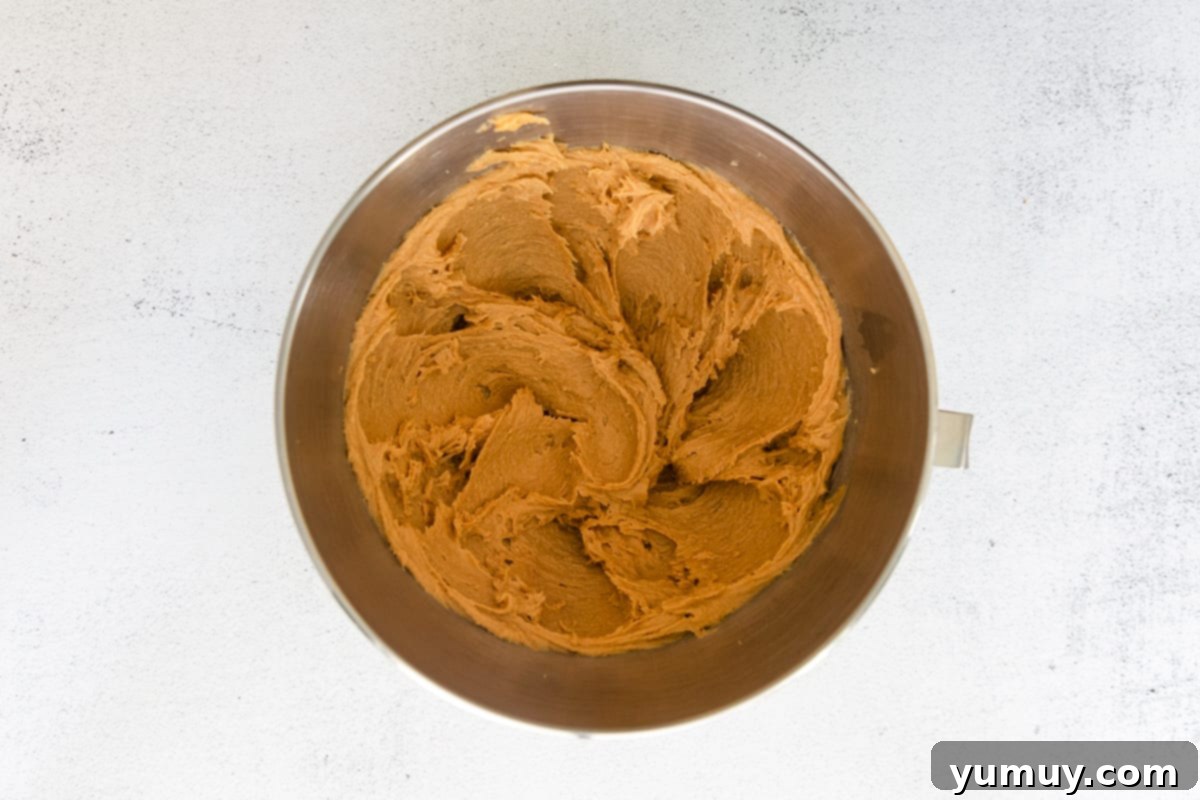
In the bowl of a stand mixer, fitted with the paddle attachment, combine ¼ cup of the room-temperature unsalted butter with 1 cup of brown sugar. Beat these two ingredients together on medium speed until the mixture becomes light, fluffy, and noticeably pale in color. This creaming process incorporates air into the butter, which contributes to the cookies’ light and chewy texture. Next, add the single large, room-temperature egg, 1 cup of creamy peanut butter (feel free to use homemade peanut butter for extra freshness), and 1 teaspoon of pure vanilla extract. Continue mixing until all ingredients are thoroughly combined, scraping down the sides of the bowl as needed. If your peanut butter is cold from the fridge, it might take a little longer to blend smoothly; letting it come to room temperature with the butter and egg can help.
3. Incorporating Dry Ingredients for Dough Foundation
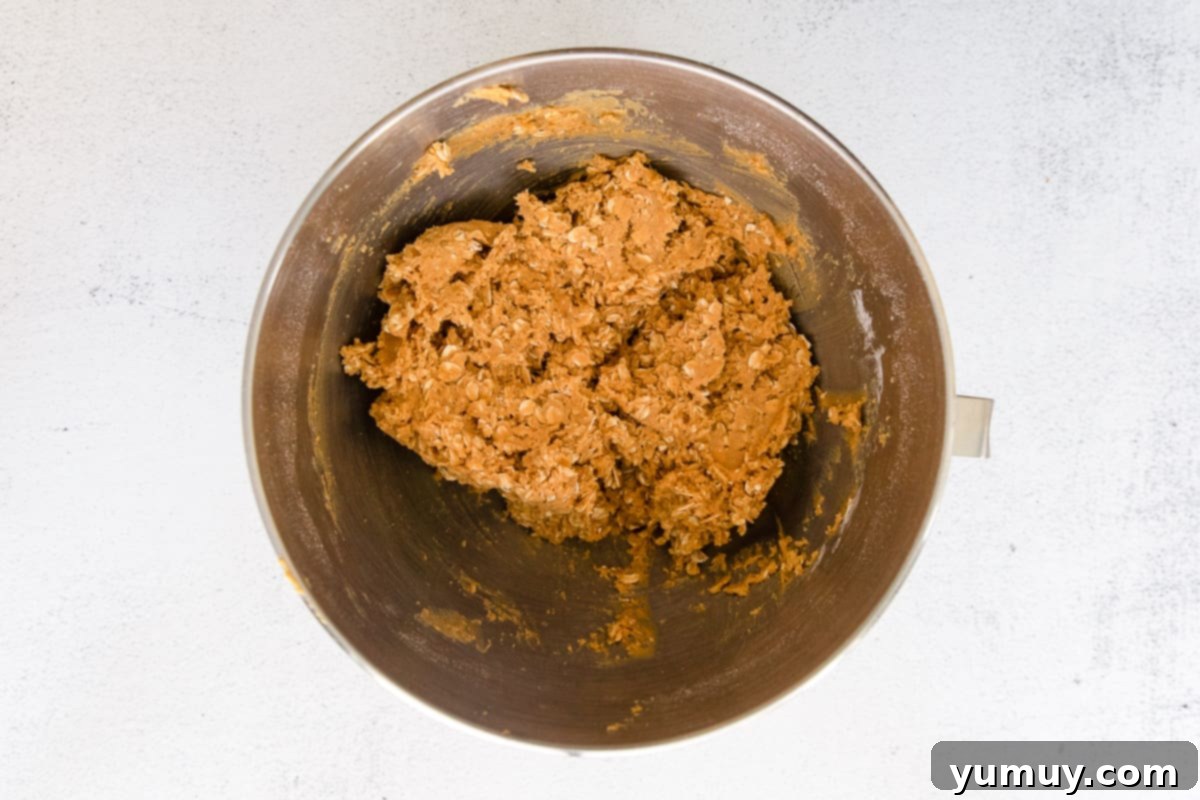
Now it’s time to build the foundation of your monster cookie dough. To the wet ingredients, add 2 cups of old-fashioned oats, ½ cup of all-purpose flour, and 1 teaspoon of baking soda. Mix these dry ingredients into the wet mixture on low speed until they are just combined. It’s crucial not to overmix at this stage, as overmixing can develop the gluten in the flour too much, leading to tough, dry, and crumbly cookies instead of the desired soft and chewy texture. Stop mixing as soon as no streaks of flour are visible.
4. Folding in the Festive Mix-Ins
With your base dough ready, it’s time for the fun part: adding the festive Halloween candies! Gently fold ½ cup of Halloween M&M’s candies and ¼ cup of candy corn into the cookie dough using a rubber spatula. Folding by hand helps to ensure the candies are evenly distributed without overworking the dough. This step is where your cookies truly transform into vibrant, spooky treats, full of color and extra sweetness. Feel free to experiment with other Halloween-themed candies like Reese’s Pieces or chopped chocolate bars to make your monster cookies uniquely yours.
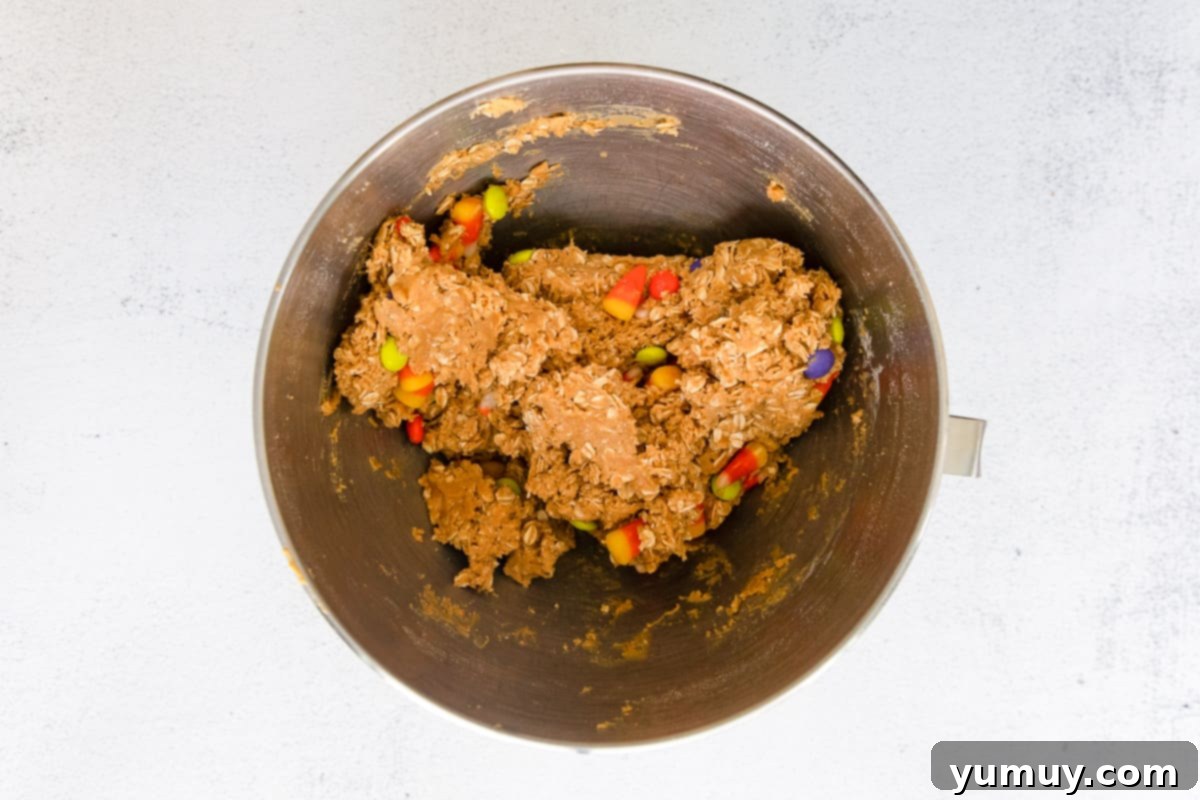
5. Baking and Decorating Your Monster Creations
Using a 1-inch cookie portion scoop (this helps ensure all cookies are the same size and bake evenly), scoop uniform balls of dough onto your prepared baking sheet. Make sure to space them at least 2 inches apart to allow for spreading during baking. Place the baking sheet into the preheated oven and bake for approximately 15 minutes, or just until the edges of the cookies are set and lightly golden, while the centers still appear slightly soft. This ensures a chewy interior. As soon as the cookies come out of the oven and are still warm on the baking sheet, gently press your candy eyes onto each cookie. The warmth will help them adhere without melting. Allow the cookies to cool completely on the baking sheet before transferring them to a wire rack or serving. This prevents them from breaking apart and helps them set into their perfect chewy texture.
How to Store and Freeze Your Halloween Monster Cookies
One of the best things about these delightful Halloween monster cookies is how well they store, allowing you to enjoy them long after the last trick-or-treater has gone home. To keep your baked cookies fresh and delicious, store any leftovers in an airtight container at room temperature for up to 3 days. If you need them to last a little longer, transfer the airtight container to the refrigerator, where they’ll stay good for up to 5 days.
For extended enjoyment, these cookies are also freezer-friendly! Arrange cooled cookies in a single layer on a baking sheet and freeze until solid (about 1-2 hours). Once frozen, transfer them to a freezer-safe airtight container or heavy-duty freezer bag, separating layers with parchment paper to prevent sticking. They will keep beautifully in the freezer for up to 1 month. When you’re ready to enjoy them, simply let them thaw overnight in the refrigerator or at room temperature for a few hours. This makes them perfect for make-ahead party prep or for stashing away a secret treat for yourself!
Frequently Asked Questions About Halloween Monster Cookies
Here are some common questions and helpful answers to ensure your Halloween monster cookie baking experience is a monstrous success!
Can I substitute other nut butters for peanut butter?
While this recipe is optimized for creamy peanut butter, you can experiment with other nut butters like almond butter or cashew butter. However, be aware that the flavor and texture of the cookies may change. Natural nut butters, which often separate and are oilier, are generally not recommended as they can make the dough too greasy and affect the cookie’s structure. For best results, stick with a classic, no-stir creamy peanut butter.
What kind of oats should I use?
Old-fashioned rolled oats are highly recommended for these monster cookies. They provide the perfect chewy texture and body that is characteristic of a great monster cookie. Quick oats can be used in a pinch, but they absorb liquid faster and might result in a slightly different texture – perhaps less chewy and more crumbly. Steel-cut oats are too coarse and should not be used in this recipe.
Can I make the dough ahead of time?
Absolutely! Preparing the dough in advance is a fantastic time-saver. Once you’ve mixed in all the candies, form the dough into a log, wrap it tightly in plastic wrap, and refrigerate for up to 2-3 days. When you’re ready to bake, simply slice the chilled dough into rounds or scoop as directed, and proceed with baking. You might need to add a minute or two to the baking time if baking from chilled dough.
What if I don’t have a stand mixer?
No problem! While a stand mixer makes the creaming process easier, you can certainly make these cookies with a hand mixer or even by hand with a sturdy whisk and rubber spatula. Just ensure that your butter and sugar are thoroughly creamed until light and fluffy, and that all ingredients are well combined at each stage. It might require a bit more arm power, but the delicious results will be worth it!
More Spooktacular Halloween Dessert Recipes to Try!
If you’ve enjoyed making these Halloween Monster Cookies, you’re in for a treat with these other festive desserts:
More Halloween Dessert Recipes to Try!
Halloween Fudge
Halloween Sprinkle Cookies
Halloween White Chocolate Buckeyes
Dirt Cake Cups
All Halloween Recipes
