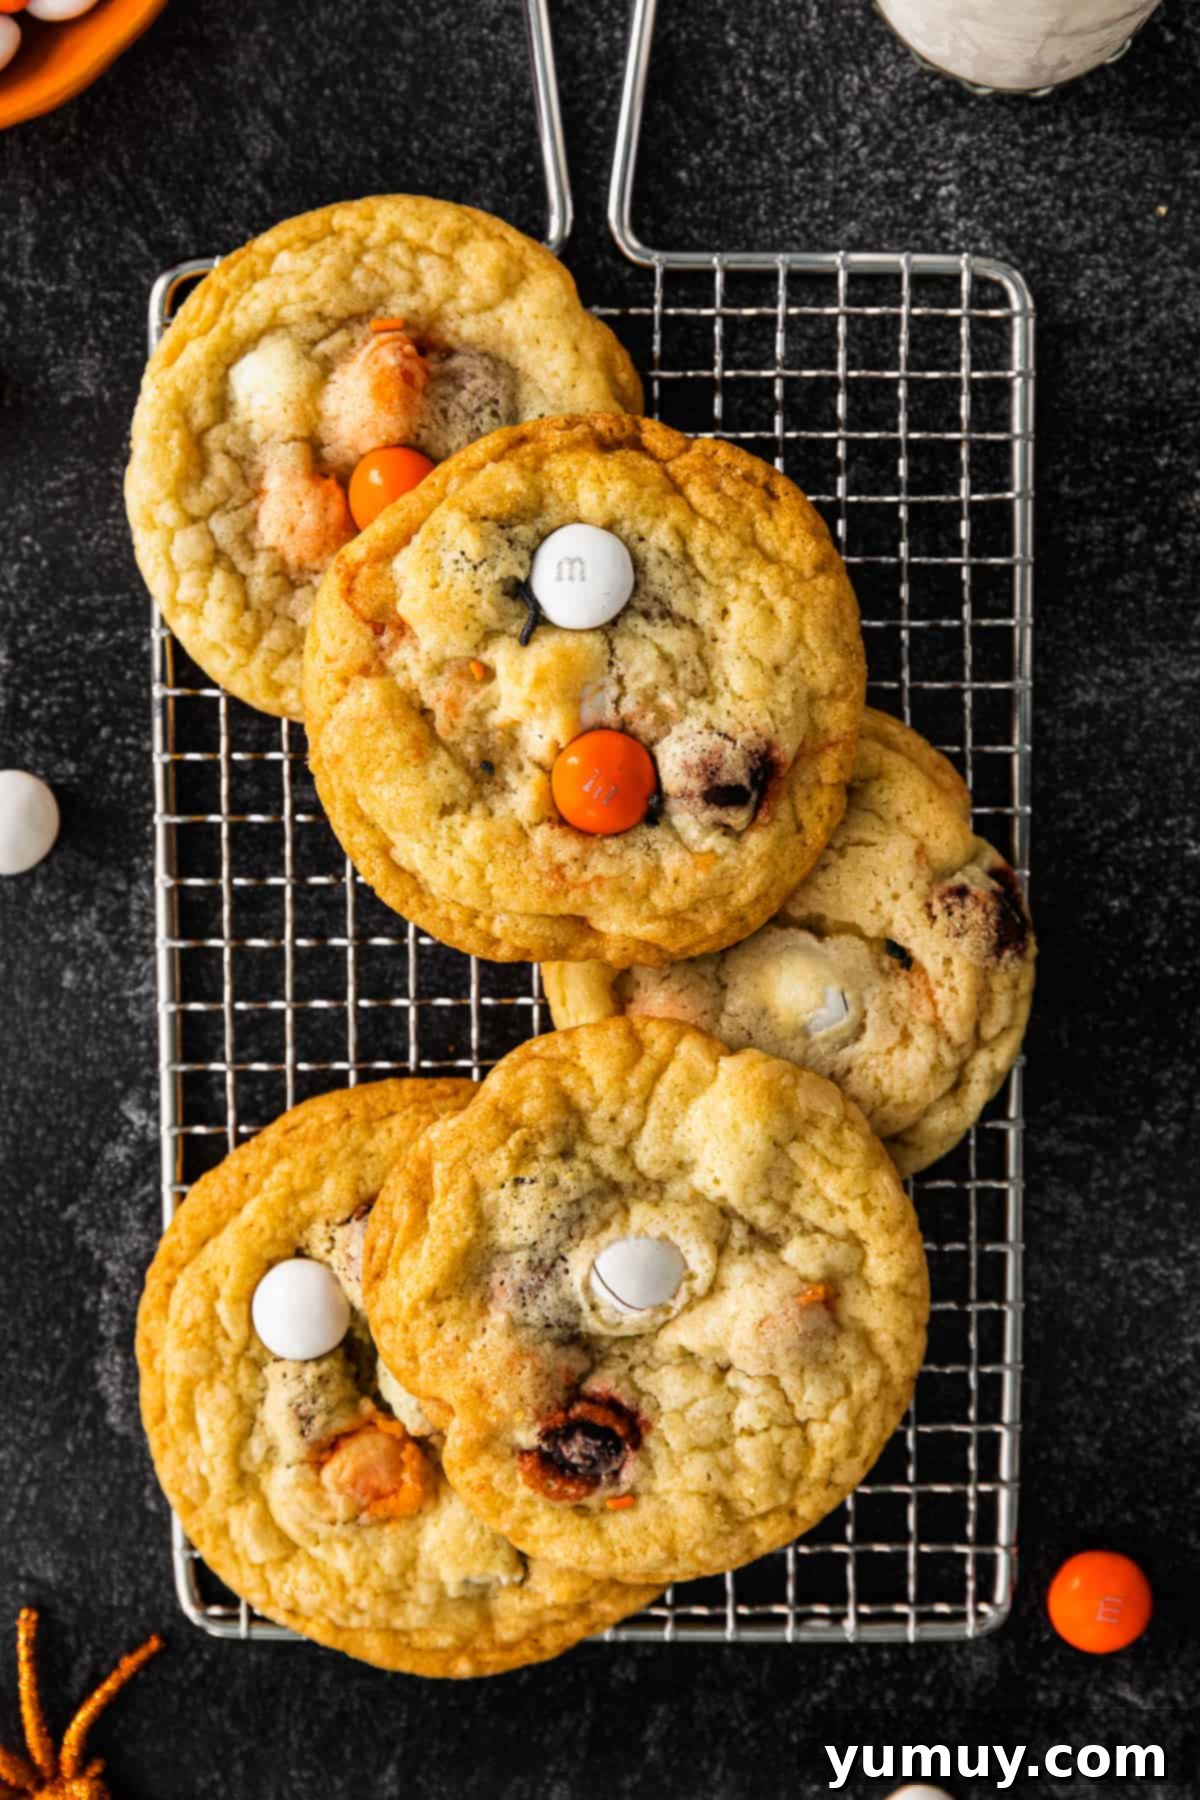
As the leaves begin to turn and a crisp chill fills the air, nothing quite ushers in the spirit of Halloween like the aroma of freshly baked cookies. Imagine sinking your teeth into a soft, chewy cookie, bursting with vibrant, festive M&Ms – a true delight for all ages! These **Halloween M&M cookies** are more than just a sweet treat; they’re a celebration of the season, offering a delightful blend of rich, buttery goodness and colorful chocolatey fun. Perfect for any spooky occasion, from lively Halloween parties and school events to a cozy family movie night, this recipe promises homemade magic with minimal effort.
Crafted with readily available pantry staples and requiring just a short chilling period, you can whip up a batch of these thick, soft, and candy-filled cookies in no time. The simplicity of the process ensures a stress-free baking experience, making it an ideal activity for both seasoned bakers and beginners. Whether you’re preparing them for eager trick-or-treaters or simply indulging in a seasonal snack, these **M&M Halloween cookies** strike the perfect balance between sweet, buttery, and irresistibly chocolatey, embodying everything you love about classic homemade cookies with a festive twist.
Irresistible Halloween M&M Cookies: A Seasonal Delight
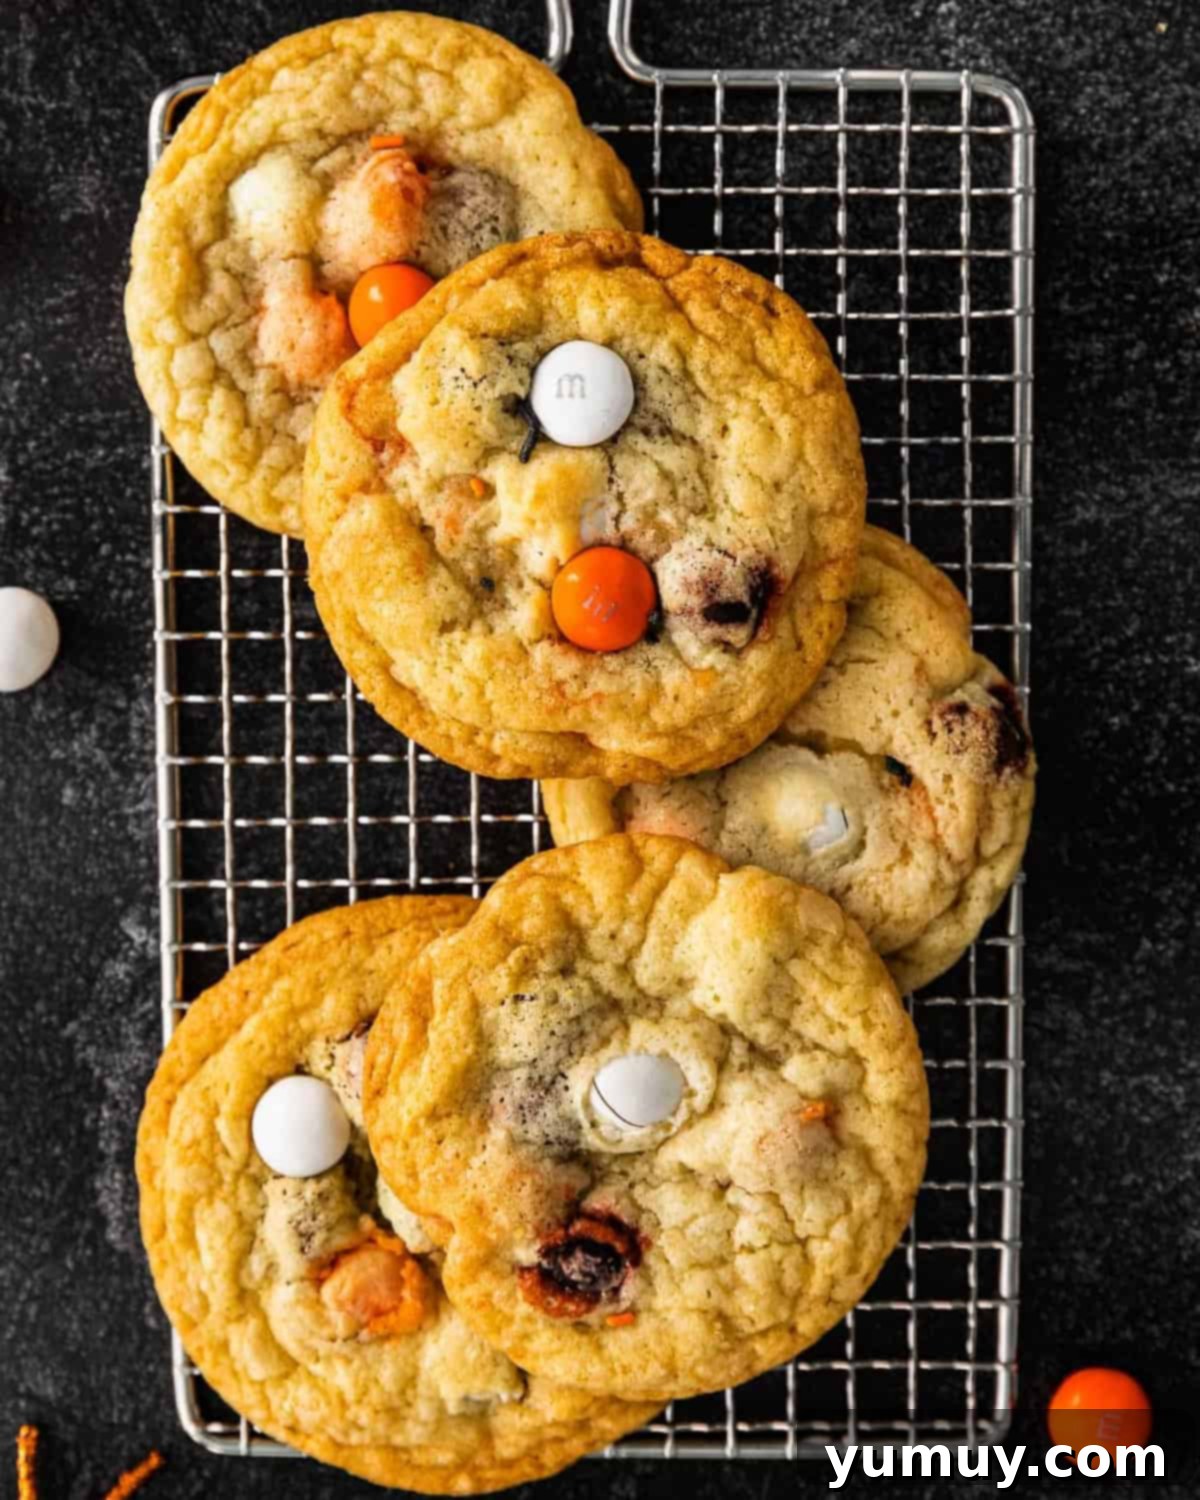
If you’re a fan of classic chocolate chip cookies, prepare to fall in love with their festive cousin: these glorious Halloween M&M cookies! This recipe transforms a beloved classic into a holiday showstopper using just 9 simple ingredients. The result? Fun, flavorful, and incredibly delicious cookies that are guaranteed to be the star of any Halloween gathering. The colorful M&M’s Candies, specifically designed for Halloween, add playful pops of chocolate and vibrant hues, making each cookie a mini masterpiece.
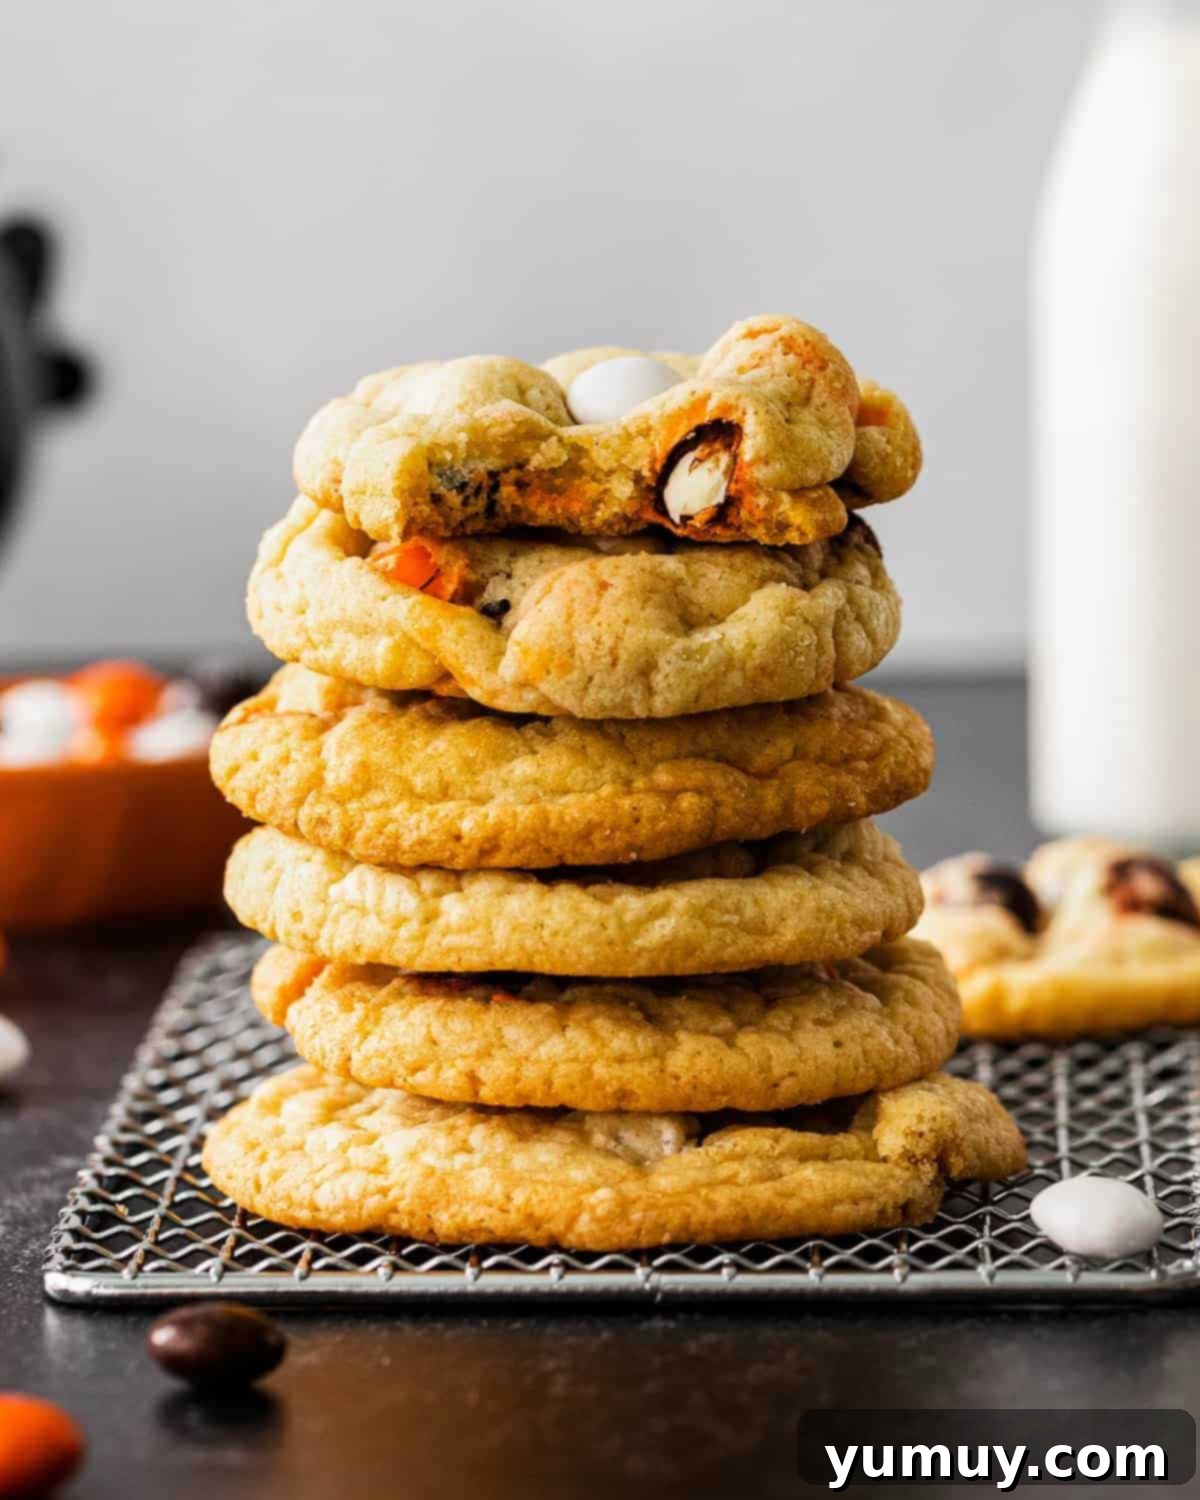
One of the best features of this recipe is its straightforward nature. You don’t need a stand mixer or any fancy equipment; a simple bowl and whisk are all it takes to bring this dough together. A crucial yet often overlooked step is the quick chill time. This brief refrigeration period is key to preventing the cookies from spreading too thin in the oven, ensuring they maintain their delightful thickness and vibrant colors. It also helps the M&Ms retain their shape and distinct chocolatey taste. These cookies are incredibly forgiving, allowing you to scoop the dough straight from the fridge and bake them to perfection in under an hour. For an extra touch of festivity, pressing additional M&Ms onto the top of each cookie before baking ensures a bright, eye-catching finish, ideal for stunning dessert displays or thoughtful gift bags for friends and family.
Tips for Keeping Your M&Ms Bright and Festive
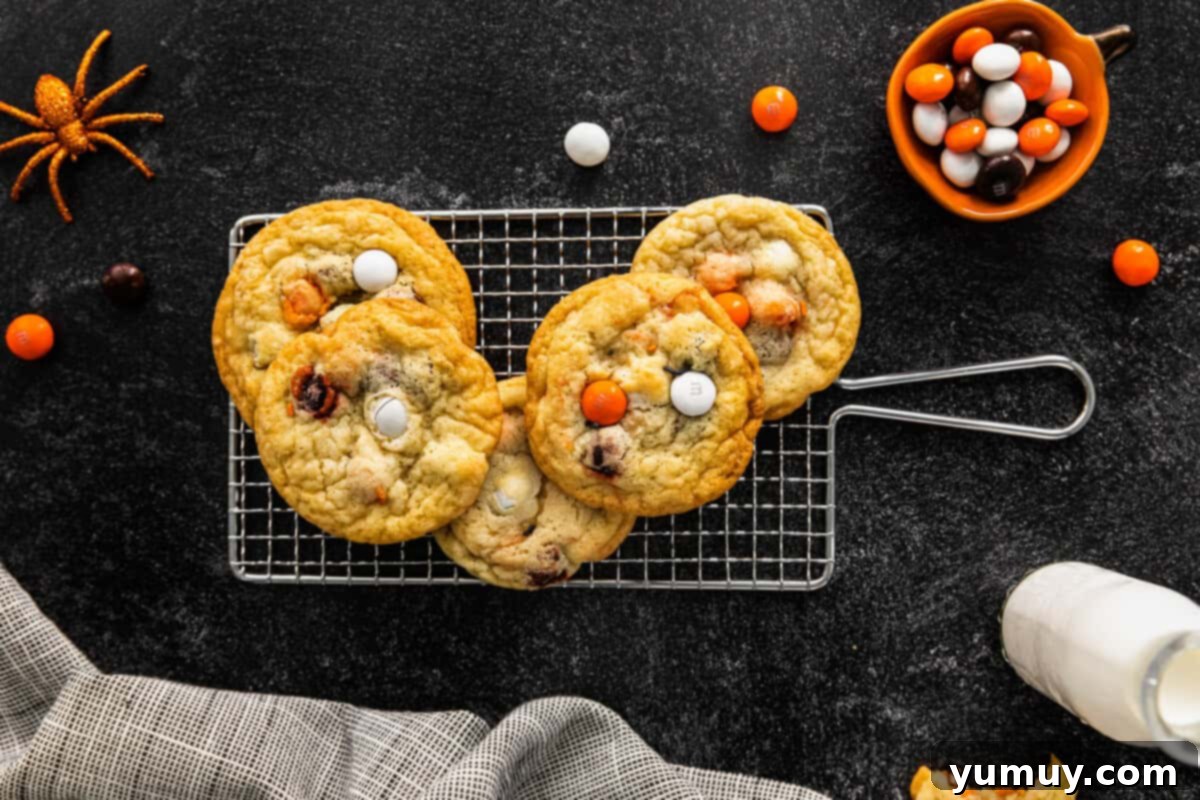
To truly elevate the visual appeal of your Halloween M&M cookies, a little trick goes a long way. Before placing your scooped cookie dough into the oven, gently press a few extra Halloween-themed M&Ms onto the top surface of each cookie. This simple step ensures that every cookie boasts an abundance of colorful candies, making them visually irresistible to everyone, from excited children to appreciative adults. Beyond aesthetics, this technique also prevents the candies from fully sinking into the cookie dough during the baking process, guaranteeing a delightful burst of chocolate candy in every single bite. The contrast of the vivid M&Ms against the golden-brown cookie background is what makes these treats so special for Halloween.
Consider using various sizes of Halloween M&Ms (like mini or regular) to add different textures and visual interest. For an even more elaborate look, you could add a sprinkle of festive Halloween sprinkles or even small candy eyes to some of the cookies for a truly spooky effect. Remember, presentation is key, especially for holiday baking, and these extra touches will make your M&M cookies stand out at any Halloween gathering.
Classic Halloween M&M Cookies Recipe
: 55 minutes
Ingredients
- 10 tablespoons unsalted butter melted (1¼ sticks)
- ½ cup granulated sugar
- ½ cup brown sugar
- 1 large egg room temperature
- 1 teaspoon pure vanilla extract
- 1½ cups all-purpose flour
- 1 teaspoon baking soda
- ½ teaspoon kosher salt
- 1 cup Halloween M&M’s candies
Equipment
- Kitchen Scale (optional, for precise measurements)
- Baking Sheet (2 sheets recommended)
- 2-Tablespoon Cookie Portion Scoop (optional, for uniform cookies)
Instructions
- In a large mixing bowl, combine the melted unsalted butter with both granulated sugar and brown sugar. Whisk these ingredients together thoroughly until they are well incorporated and smooth. This creates the rich, sweet base for your cookies.10 tablespoons unsalted butter, ½ cup granulated sugar, ½ cup brown sugar

- Next, add the large, room-temperature egg and the pure vanilla extract to the mixture. Continue whisking until these wet ingredients are fully combined, creating a homogeneous and glossy base. Room temperature ingredients ensure a smoother, more emulsified dough.1 large egg, 1 teaspoon pure vanilla extract

- Incorporate the dry ingredients: add the all-purpose flour, baking soda, and kosher salt to the wet mixture. Stir gently with a spoon or spatula until just combined, ensuring no large pockets of dry flour remain. Be careful not to overmix, as this can lead to tough cookies.1½ cups all-purpose flour, 1 teaspoon baking soda, ½ teaspoon kosher salt
- Gently fold in the Halloween M&M’s candies until they are evenly distributed throughout the dough. Again, avoid overmixing to maintain the perfect texture. The goal is just to combine them without crushing the candies.1 cup Halloween M&M’s candies

- Cover the bowl containing your cookie dough with plastic wrap and transfer it to the refrigerator. Allow the dough to chill for a minimum of 30 minutes. This essential step prevents excessive spreading during baking, resulting in thicker, chewier cookies.
- While the cookie dough is chilling, preheat your oven to 350°F (175°C). Line two baking sheets with parchment paper; this prevents sticking and ensures even baking and easy cleanup.
- Once the dough is adequately chilled, use a 2-tablespoon-sized cookie scoop to portion out uniform balls of dough. Place these dough balls onto the prepared baking sheets, ensuring they are spaced at least 2 inches apart to allow for proper spreading without merging.

- Bake the cookies for 12-14 minutes, or until their edges appear lightly golden brown, and the centers still look slightly soft. Once baked, remove them from the oven and let them cool completely on the baking tray before attempting to transfer them. They will continue to set and firm up as they cool, achieving that perfect chewy texture.

Notes & Expert Tips for Perfect Cookies
- Avoid Overmixing: Overmixing the cookie dough develops the gluten too much, which can result in tough and flat cookies. Stir until just combined for a tender, soft texture.
- Spice it Up: For a delightful seasonal twist, consider adding a pinch of cinnamon or pumpkin spice to your cookie dough. These warm spices complement the chocolate M&Ms perfectly.
- Gentle Fold for M&Ms: When incorporating the M&M’s into the dough, use a gentle folding motion. This ensures they are evenly distributed without crushing the candies, preserving their colorful integrity.
- The Importance of Chilling: Do not skip the chilling step! Refrigerating the dough for at least 30 minutes solidifies the butter, which significantly reduces cookie spread during baking, leading to thicker, chewier cookies.
- Parchment Paper is Your Friend: Always line your baking sheets with parchment paper. This simple step prevents sticking, promotes even browning, and makes cleanup a breeze.
- Uniform Scooping: For consistently sized and evenly baked cookies, use a cookie scoop or carefully measure out each portion of dough. This ensures all cookies finish baking at the same time.
- Festive Presentation: For an extra festive and colorful appearance, press a few additional Halloween M&M’s onto the top of each cookie dough ball just before baking. This makes your cookies visually appealing.
- Even Baking: For optimal results, bake one sheet of cookies at a time on the center rack of your oven. This allows for better air circulation and more uniform baking.
- Keep Cookies Soft: To maintain the best soft and chewy texture for longer, store your baked cookies in an airtight container with a slice of plain bread. The bread helps absorb moisture, keeping the cookies fresh.
Make-Ahead: You can prepare the cookie dough up to 3 days in advance and store it, covered, in the refrigerator. This allows for fresh-baked cookies whenever the craving strikes!
Storage: Store your delicious Halloween M&M cookies in an airtight container at room temperature for up to 3 days. For extended freshness, keep them in the refrigerator for up to 5 days, or freeze them for up to 1 month.
Calories from Fat 27
@easydessertrecipes
for a chance to be featured.
How to Make Halloween M&M Cookies: A Detailed Step-by-Step Guide
Baking these festive Halloween M&M cookies is a delightful and straightforward process. Follow these steps carefully to ensure perfectly soft, chewy, and colorful treats every time.
Step 1: Prep Your Ingredients and Oven
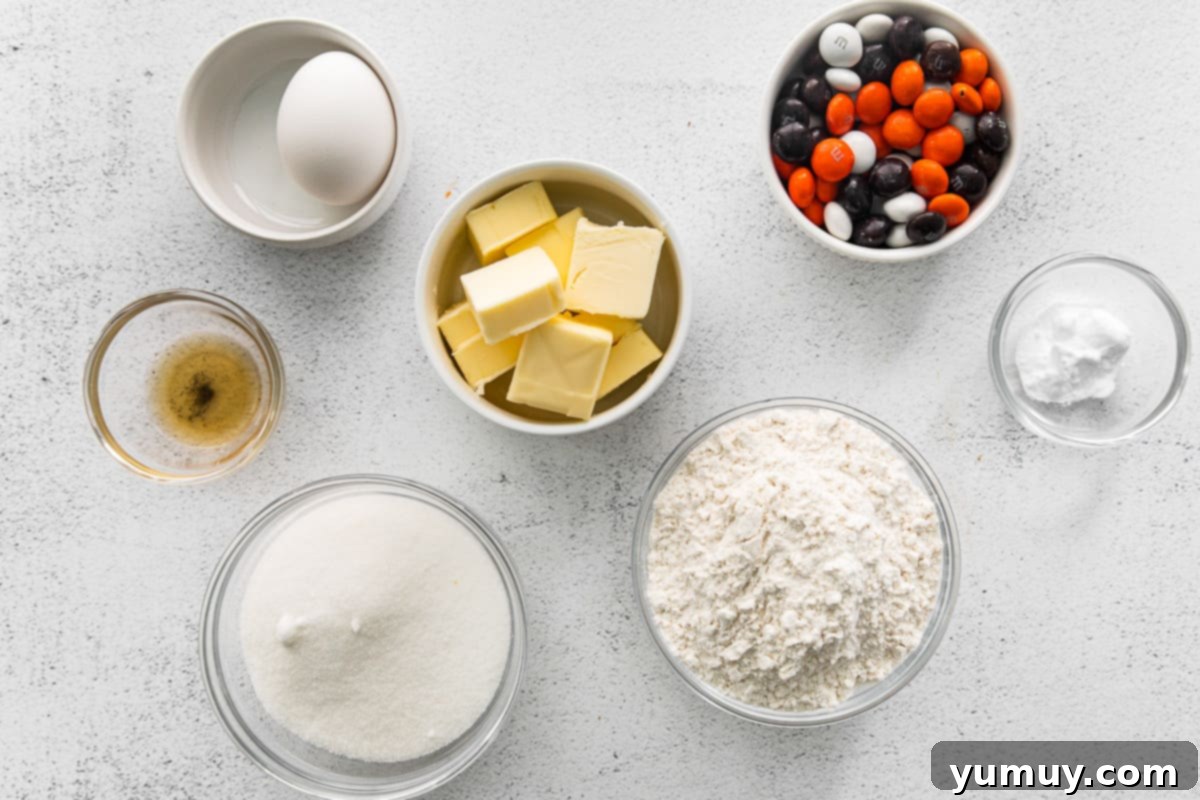
Begin by gathering all the necessary ingredients: melted butter, granulated sugar, brown sugar, a large egg, vanilla extract, all-purpose flour, baking soda, kosher salt, and Halloween M&M’s candies. Crucially, ensure your large egg is at room temperature; this allows it to combine more easily and smoothly with the other ingredients, creating a better emulsion and a more uniform dough. To achieve this, simply take the egg out of the refrigerator about 30 minutes before you start baking. Melt the unsalted butter in a microwave-safe bowl in 30-second intervals until fully melted, then set it aside to cool slightly. While your dough is chilling, preheat your oven to 350°F (175°C) and line two baking sheets with parchment paper. This preparation will streamline the baking process and prevent your cookies from sticking.
Step 2: Whisk the Wet Ingredients
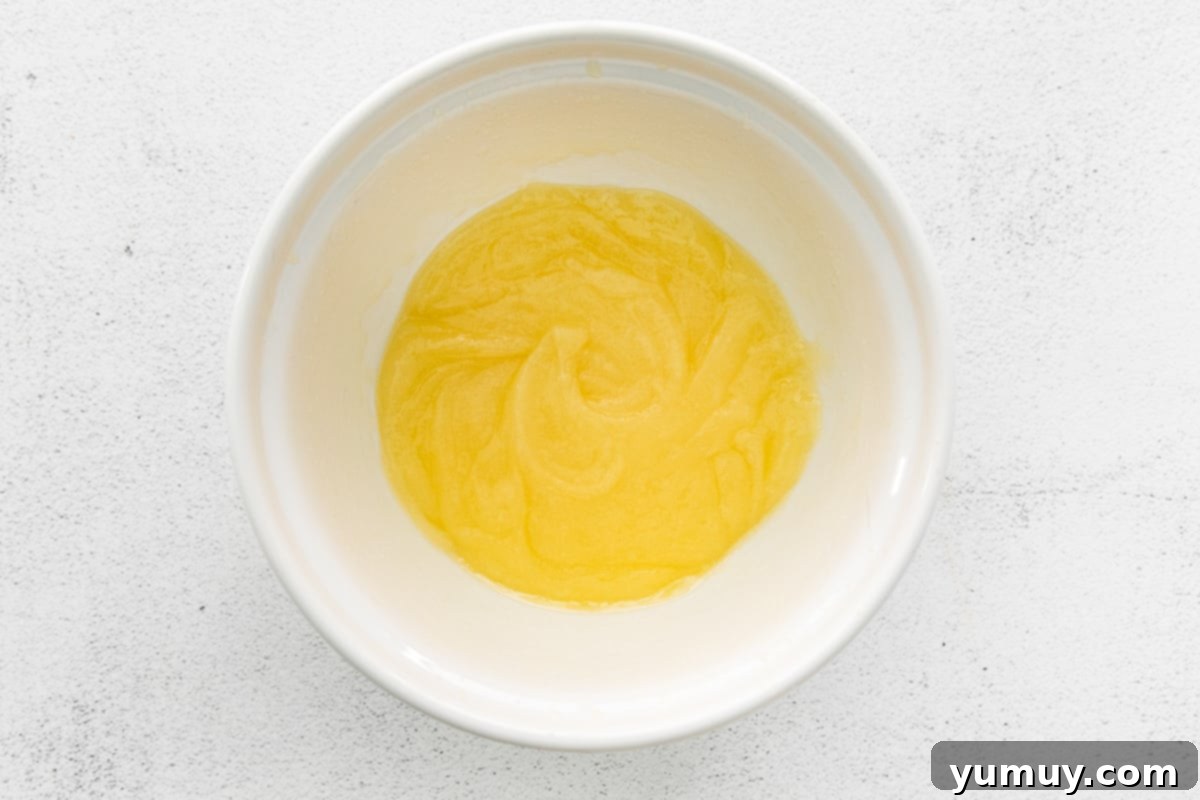
In a large mixing bowl, combine the 10 tablespoons of cooled melted unsalted butter with ½ cup of granulated sugar and ½ cup of packed brown sugar. Whisk these ingredients vigorously until they are thoroughly combined and have a smooth, creamy texture. The brown sugar contributes to the cookies’ chewiness and rich flavor, while the granulated sugar adds crispness. Next, add the single large, room-temperature egg and 1 teaspoon of pure vanilla extract. Continue to whisk until these additions are perfectly integrated into the butter-sugar mixture. The vanilla extract is essential for its warm, aromatic notes that enhance the overall flavor profile of the cookies.
Step 3: Mix in Dry Ingredients & Chill the Dough
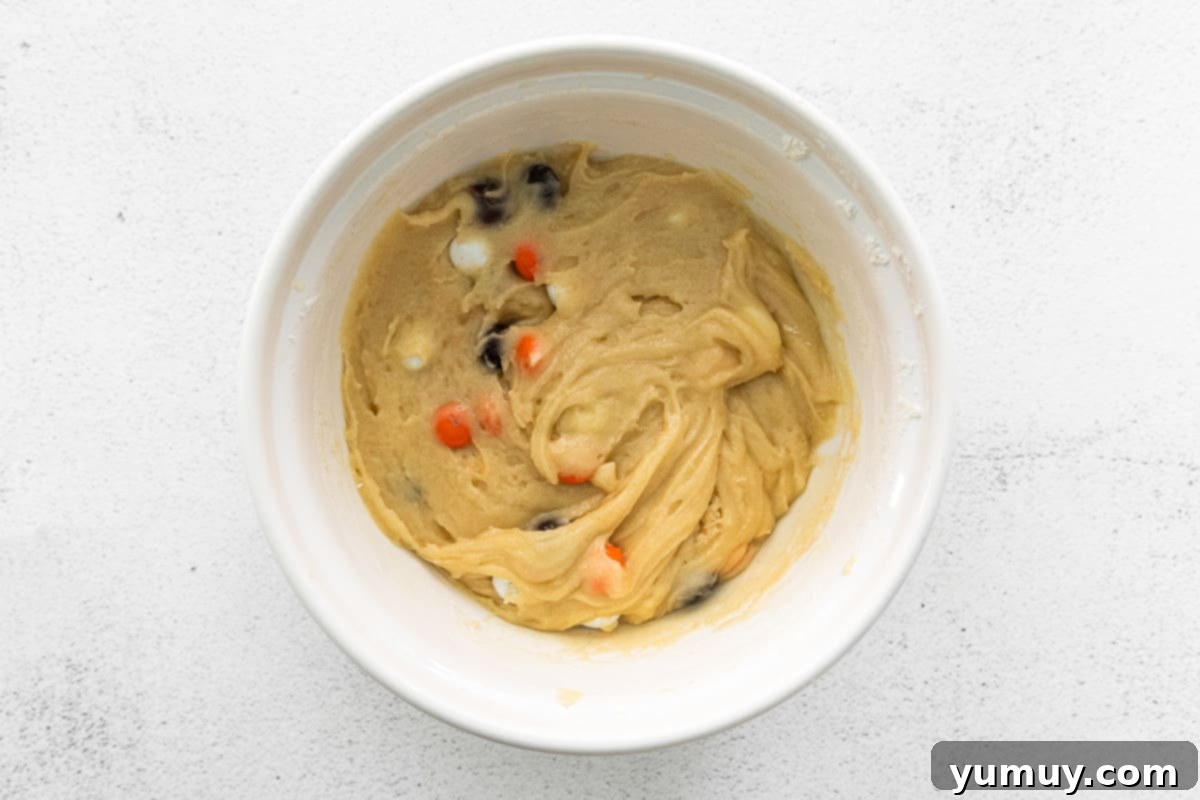
To the wet mixture, add 1½ cups of all-purpose flour, 1 teaspoon of baking soda (which helps the cookies rise and achieve a soft texture), and ½ teaspoon of kosher salt (to balance the sweetness and enhance flavors). Stir these dry ingredients into the wet mixture using a spatula or wooden spoon, mixing only until just combined and no large lumps of flour are visible. It’s crucial not to overmix the dough at this stage, as excessive stirring can lead to tough, dry cookies. Finally, gently fold in 1 cup of Halloween M&M’s candies. Be careful not to crush the candies; simply fold them until they are evenly distributed. Once mixed, cover the bowl with plastic wrap and transfer the cookie dough to the refrigerator to chill for at least 30 minutes. This chilling period is vital as it prevents the cookies from spreading too much in the oven, ensuring they maintain their thick, chewy texture.
Step 4: Portion Your Cookies
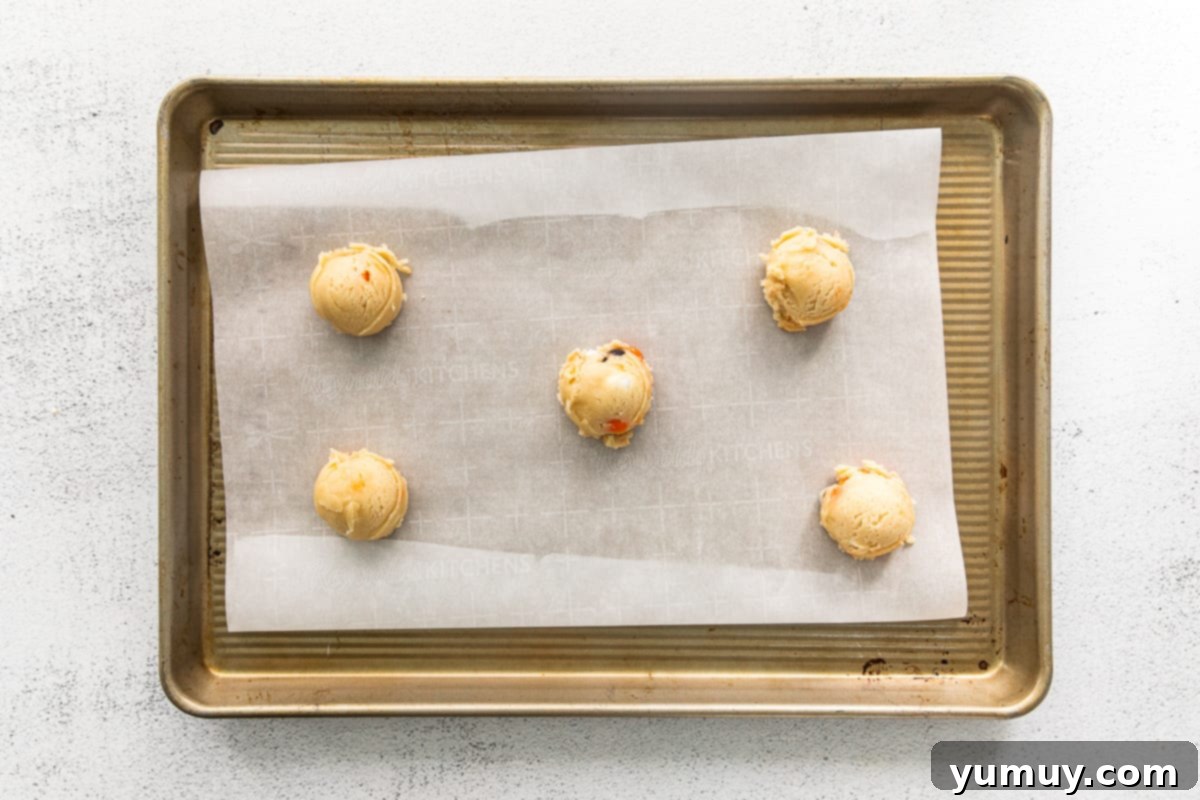
After the dough has sufficiently chilled, it’s time to portion your cookies. Using a 2-tablespoon-sized cookie scoop is highly recommended as it ensures that each cookie is uniform in size, which is key for even baking. If you don’t have a scoop, you can eyeball it, but try to keep them as consistent as possible. Place the scooped dough balls onto your prepared baking sheets, making sure there is at least 2 inches of space between each cookie. This spacing is important to prevent them from spreading into one another during baking. For an extra festive touch and to guarantee a vibrant appearance, gently press a few additional Halloween M&M’s onto the top of each cookie dough ball before it goes into the oven. This little detail makes a big difference in presentation.
Step 5: Bake to Perfection
Bake your Halloween M&M cookies on the center rack of your preheated oven for approximately 12-14 minutes. Keep a close eye on them; the edges should turn a delicate golden brown, while the centers still appear slightly soft and set. Overbaking can lead to dry, crunchy cookies, so it’s better to slightly underbake for a chewier result. Once baked, remove the cookies from the oven and allow them to cool fully on the baking tray. This is a crucial step! As they cool, the cookies will continue to set and firm up, developing their perfect chewy texture. Attempting to move them too soon can cause them to break or lose their shape. For best results and even baking, bake only one tray of cookies at a time, rotating the tray halfway through if your oven tends to have hot spots.
Storage and Freezing Tips for M&M Cookies
Proper storage is essential to keep your Halloween M&M cookies fresh and delicious. For short-term enjoyment, store any leftover cookies in an airtight container at room temperature for up to 3 days. To extend their freshness further, you can place them in the refrigerator for up to 5 days. If you’ve baked a large batch or want to enjoy these festive treats beyond the Halloween season, these cookies freeze beautifully. Simply place them in a freezer-safe airtight container or a heavy-duty freezer bag for up to 1 month. When you’re ready to enjoy them, allow them to thaw overnight in the refrigerator, or for a quick indulgence, you can gently reheat them in the microwave for a few seconds until warm and soft.
Frequently Asked Questions (FAQs)
Can I use regular M&Ms instead of Halloween M&Ms?
Absolutely! While Halloween-themed M&Ms add to the festive look, any variety of M&Ms will work perfectly in this recipe. Feel free to use classic M&Ms or even seasonal colors for other holidays.
Why do my cookies spread too much?
Cookies spreading too much can be due to several factors. Ensure your butter isn’t too warm when mixing, measure your flour accurately (too little flour can cause spreading), and most importantly, don’t skip the chilling step! Chilling the dough solidifies the butter, preventing excessive spread.
Can I make the cookie dough ahead of time?
Yes, this dough is excellent for making ahead! You can store the covered dough in the refrigerator for up to 3 days before baking. You can also scoop the dough balls and freeze them for up to a month. When ready to bake, just add a few extra minutes to the baking time if baking from frozen.
What if I don’t have parchment paper?
While parchment paper is recommended for its non-stick properties and even baking, you can lightly grease your baking sheets with butter or cooking spray as an alternative. However, watch the cookies closely as they may brown faster on the bottom without parchment.
How can I make these cookies softer?
For even softer cookies, you can slightly reduce the baking time by a minute or two, ensuring the centers are just barely set. Storing them in an airtight container with a slice of bread also helps maintain moisture and softness.
More Spooktacular Halloween Dessert Recipes to Try!
Spooky Dirt Cake Cups
Festive Halloween Fudge
Easy Homemade Crunch Bars
Halloween White Chocolate Buckeyes
Discover All Halloween Recipes
