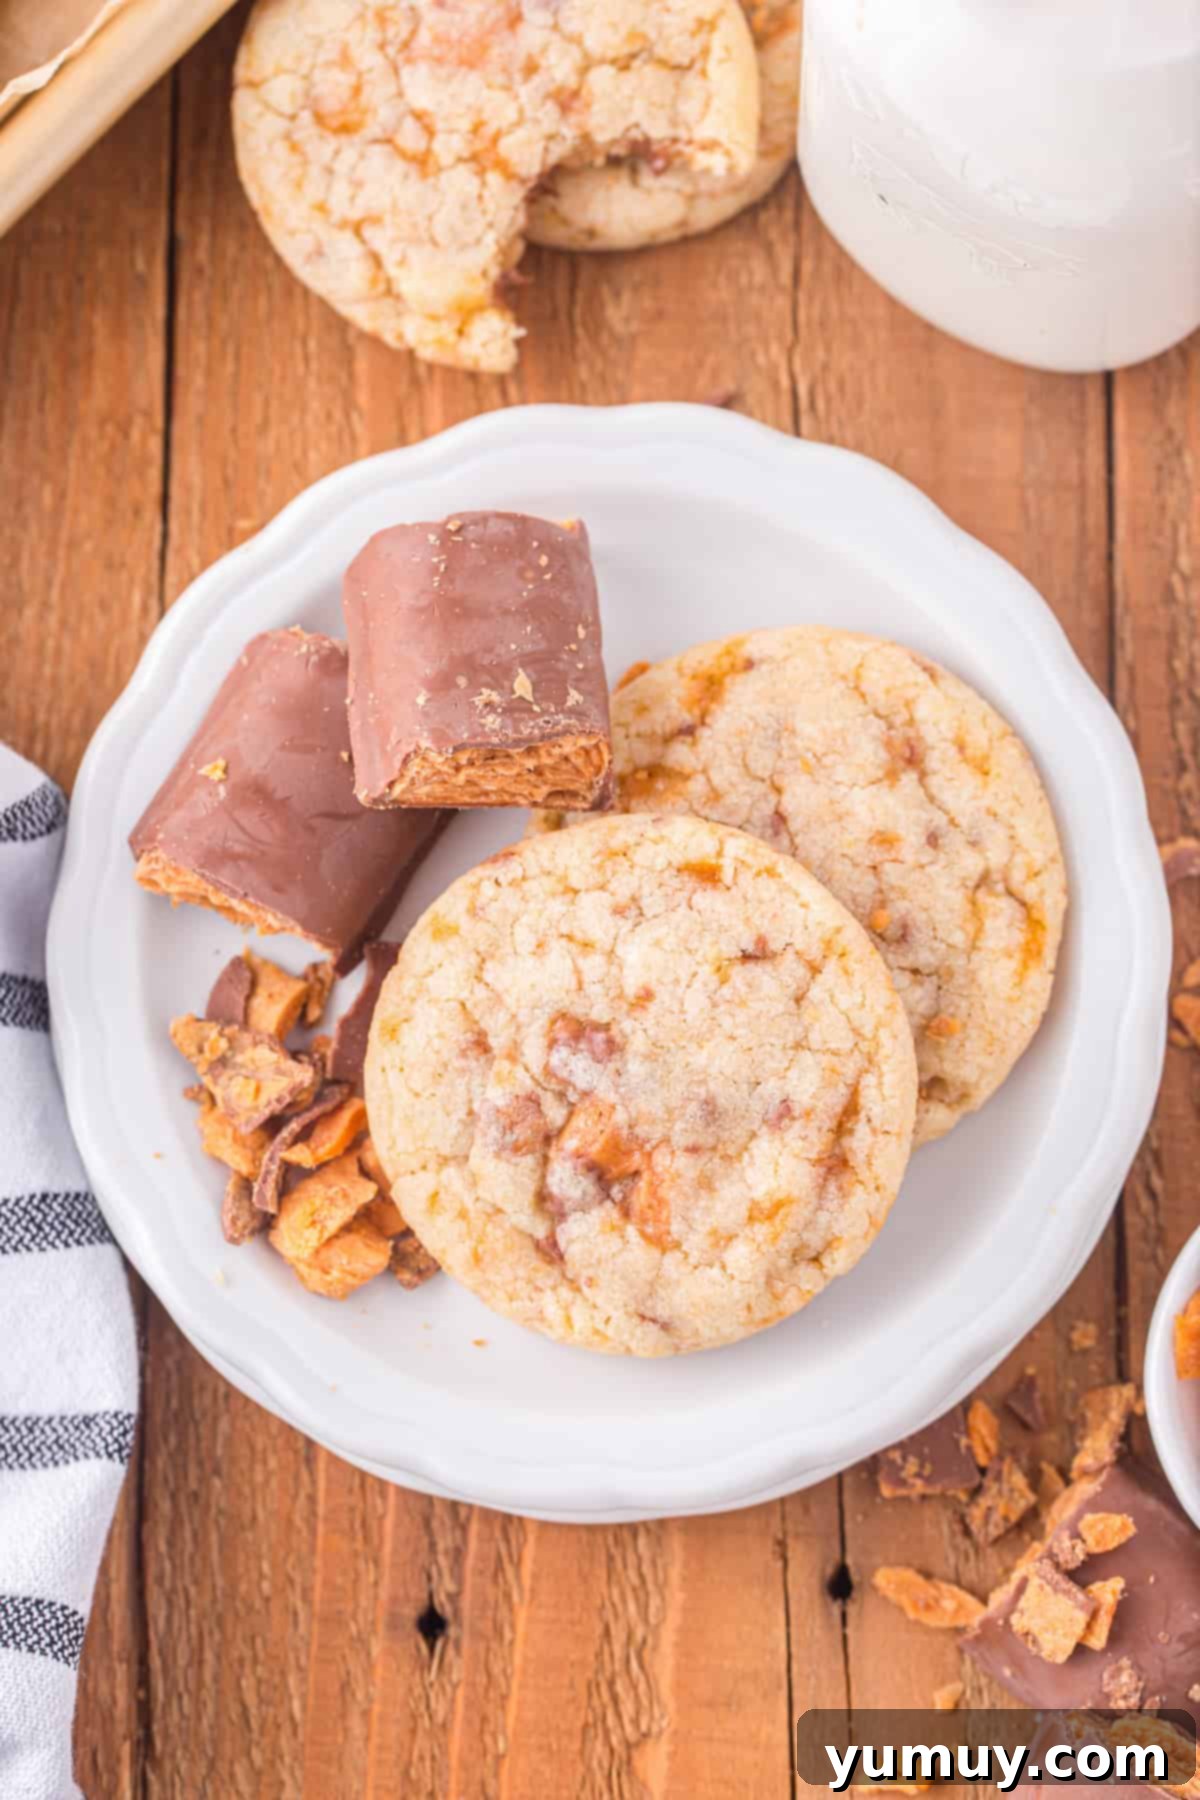
Craving a delightful dessert that comes together in a flash? These Butterfinger cookies are about to become your new go-to treat! Imagine a perfectly soft and chewy cookie, studded with generous chunks of your favorite Butterfinger candy, delivering an explosion of buttery sweetness and irresistible peanut butter toffee crunch in every bite. What makes them even better? This is an incredibly simple recipe, crafted with just five basic ingredients, starting with a convenient sugar cookie mix. In just 20 minutes, you can transform a classic sugar cookie base into an extraordinary dessert that’s as easy to make as it is utterly addictive. Prepare for smiles and requests for a double batch!
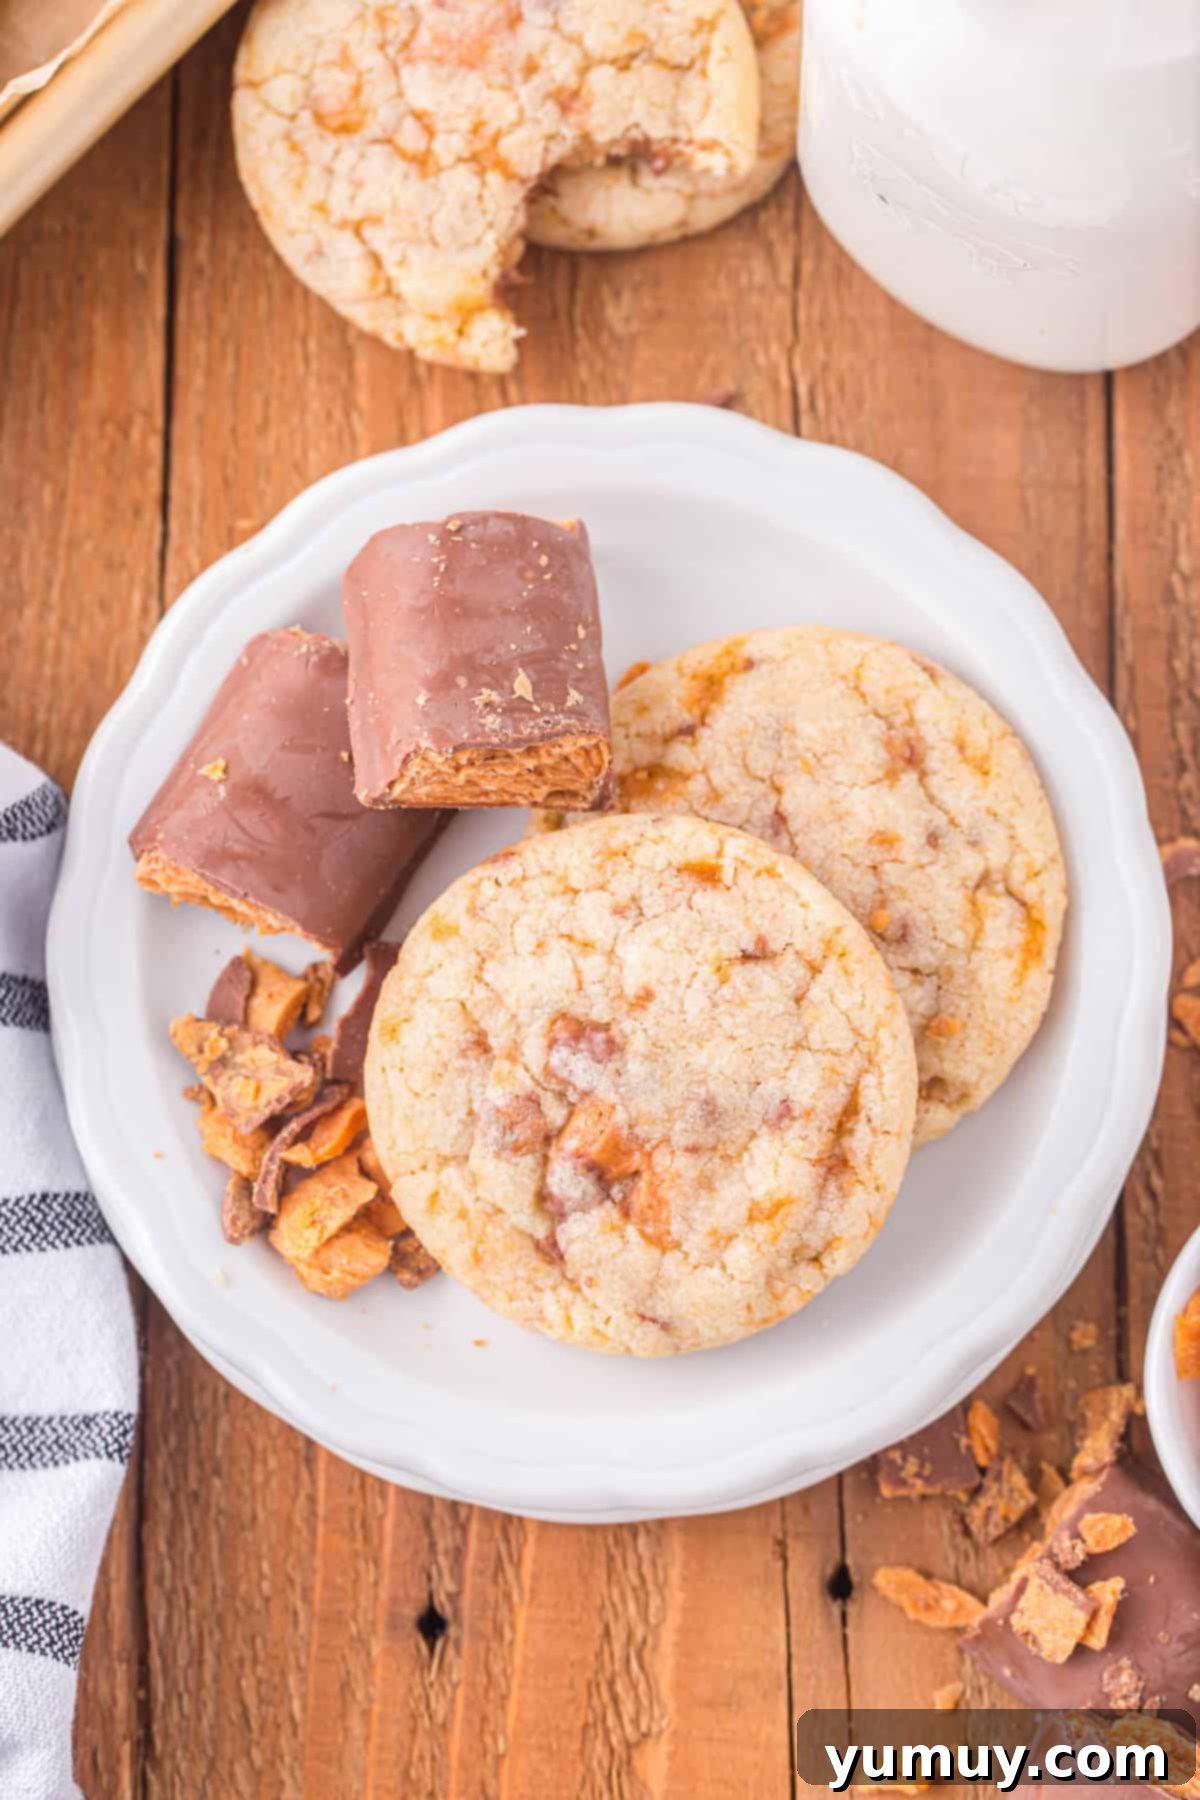
- Pin this recipe for later!
5-Ingredient Butterfinger Sugar Cookies: Your Quick & Easy Dessert Solution
If you’re searching for an incredibly quick, satisfying, and utterly delicious dessert, look no further than these **5-ingredient Butterfinger sugar cookies**. This recipe is designed for maximum flavor with minimal effort, making it perfect for busy weeknights, last-minute gatherings, or when a sudden sweet craving strikes. By utilizing a simple sugar cookie mix as your base, you bypass complex measuring and multiple steps, ensuring a foolproof baking experience every time. The magic happens when the crunchy, peanut buttery toffee of Butterfinger candies melts into the soft, chewy cookie dough, creating pockets of delightful texture and flavor in every mouthful.
The dough comes together in mere minutes—no chilling required! This means you can go from craving to fresh-baked cookies faster than you thought possible. Each cookie bakes up with a perfectly soft and tender interior, complemented by wonderfully crisp edges, providing that ideal textural contrast. While we love chopping whole Butterfinger candy bars for those big, impactful bursts of flavor and crunch, you can also opt for Butterfinger Bits baking pieces for even greater convenience. Whether you’re a seasoned baker or just starting, this quick Butterfinger cookie recipe guarantees a delicious result that tastes like you spent hours in the kitchen, when in reality, it was just 20 minutes.
For those who prefer a completely homemade cookie base, feel free to explore my popular brown sugar cookies or classic peanut butter cookies recipes, which can also be adapted with your favorite candy mix-ins!

Pro Tip: Freeze Butterfinger Pieces for Perfect Crunch
One valuable tip for achieving the best possible texture, especially when baking in warmer conditions or during the summer months, is to freeze your chopped Butterfinger pieces. I’ve found that giving the candy bits a quick chill for 15-20 minutes before incorporating them into the sugar cookie dough makes a significant difference. This simple step helps to prevent the candy from melting too quickly in the oven, ensuring that you get distinct, delightful pockets of crunchy peanut butter toffee in every single bite. It’s a small step that yields a huge reward in terms of cookie texture and enjoyment!

Butterfinger Cookies Recipe: A 20-Minute Delight
10 minutes
10 minutes
20 minutes
20
cookies
Print
Rate
Ingredients
- 17.5 ounces dry sugar cookie mix (1 bag)*
- ⅓ cup vegetable oil
- 1 tablespoon milk
- 1 large egg room temperature
- ¾ cup chopped Butterfinger candy bars (from 3 whole candy bars)**
Equipment
- Kitchen Scale (optional, for precise mix measurement)
- 2 Baking Sheet(s)
- Hand Mixer or Stand Mixer
- 1½-Tablespoon Cookie Portion Scoop (for even sizing)
Instructions
- Preheat your oven to 350°F (175°C) and prepare your baking sheets. Line 2 baking sheets with parchment paper for easy cleanup and to prevent sticking. Set them aside while you prepare the dough.

- In a large mixing bowl, combine the dry sugar cookie mix, vegetable oil, milk, and the room-temperature egg. Using either a hand mixer or a stand mixer with the paddle attachment, beat these ingredients until a smooth dough forms. You may find that the dough is a bit crumbly at first, but don’t be afraid to get your hands in there and work it together until it’s cohesive and easy to handle.17.5 ounces dry sugar cookie mix,
⅓ cup vegetable oil,
1 tablespoon milk,
1 large egg
- Gently fold in the ¾ cup of chopped Butterfinger candy bars (or Butterfinger Bits baking pieces) into the cookie dough. Ensure the candy pieces are evenly distributed throughout. Then, use a 1½-tablespoon cookie scoop to portion the dough into uniform balls. This helps ensure all cookies bake evenly.¾ cup chopped Butterfinger candy bars

- Take each scooped portion of dough and roll it smoothly into a neat ball. Arrange these dough balls on your prepared cookie sheets, ensuring there is at least 1 inch of space between each cookie and from the edges of the sheet. This prevents them from spreading into each other during baking.

- Continue this process with the remaining dough until all the cookie sheets are filled. You should get approximately 20 cookies from this recipe.
- Bake in the preheated oven for 9-13 minutes. Cookies are done when their edges are lightly golden and set, and the tops no longer appear shiny. Be careful not to overbake, as they will continue to firm up as they cool. Overbaking can lead to dry cookies.
- Once baked, remove the cookie sheets from the oven. Allow the cookies to cool on the baking sheet for at least 5 minutes before transferring them to a wire rack to cool completely. This crucial step helps them set and prevents them from breaking apart.

Notes & Expert Tips for Perfect Butterfinger Cookies
**When it comes to the Butterfinger pieces, chopped full-size candy bars provide larger, more satisfying chunks. However, for ultimate convenience, you can certainly use an equal amount of pre-packaged Butterfinger Bits baking pieces.
Additional Tips for Success:
- Preparation is Key: Always make sure your oven is fully preheated before baking. Lining your baking sheets with parchment paper is essential to prevent sticking and makes cleanup a breeze. Nonstick spray is a good alternative if parchment paper isn’t available.
- Dough Consistency: When mixing the dough, it might initially seem a bit dry or crumbly. Don’t worry! Keep mixing, and if necessary, use your hands to really bring it together. There’s enough liquid to form a soft, pliable dough that’s easy to scoop and roll. The warmth from your hands can help it come together.
- Even Baking: For consistently baked cookies that are all the same size and texture, a cookie scoop is your best friend. It ensures uniform portions, which is vital for even baking.
- Chop Finely: It’s important to chop your Butterfinger bars finely. This helps to distribute the candy evenly throughout the dough, preventing larger pieces from sinking to the bottom of the cookies. Butterfinger’s unique peanut butter toffee center tends to melt and then harden, so well-chopped pieces integrate beautifully.
- Avoid Overbaking: Keep a close eye on your cookies. They will continue to cook slightly on the hot baking sheet even after they’re removed from the oven. Look for edges that are just set and a crinkly top, even if the center still looks a little pale.
- Cooling Time: The 5-minute cooling period on the baking sheet is crucial. Warm cookies are fragile, and trying to move them too soon can cause them to fall apart. This resting time allows them to firm up perfectly before being transferred to a wire rack.
Make-Ahead Instructions: Want to prep these cookies in advance? You absolutely can! Prepare the cookie dough as directed, shape it into a flat disk, wrap it tightly in plastic wrap, and refrigerate for at least an hour or up to 2 days. When ready to bake, let it sit at room temperature for about 10-15 minutes to soften slightly before scooping and baking.
Storage & Freezing: Store any leftover Butterfinger cookies in an airtight container at room temperature for up to 3 days to maintain their freshness and chewy texture. For slightly longer storage, they can be kept in the refrigerator for up to 5 days. For long-term enjoyment, these cookies freeze beautifully for up to 3 months. To serve frozen cookies, simply thaw them overnight in the refrigerator, then bring to room temperature or gently warm them in the microwave for a fresh-baked feel.
Calories from Fat 63
Becky Hardin
@easydessertrecipes
for a chance to be featured.
How to Make Butterfinger Cookies Step-by-Step: A Visual Guide
Follow these easy, step-by-step instructions to create perfect Butterfinger cookies. Each stage is designed to be straightforward, ensuring delicious results even for novice bakers. Let’s get baking!
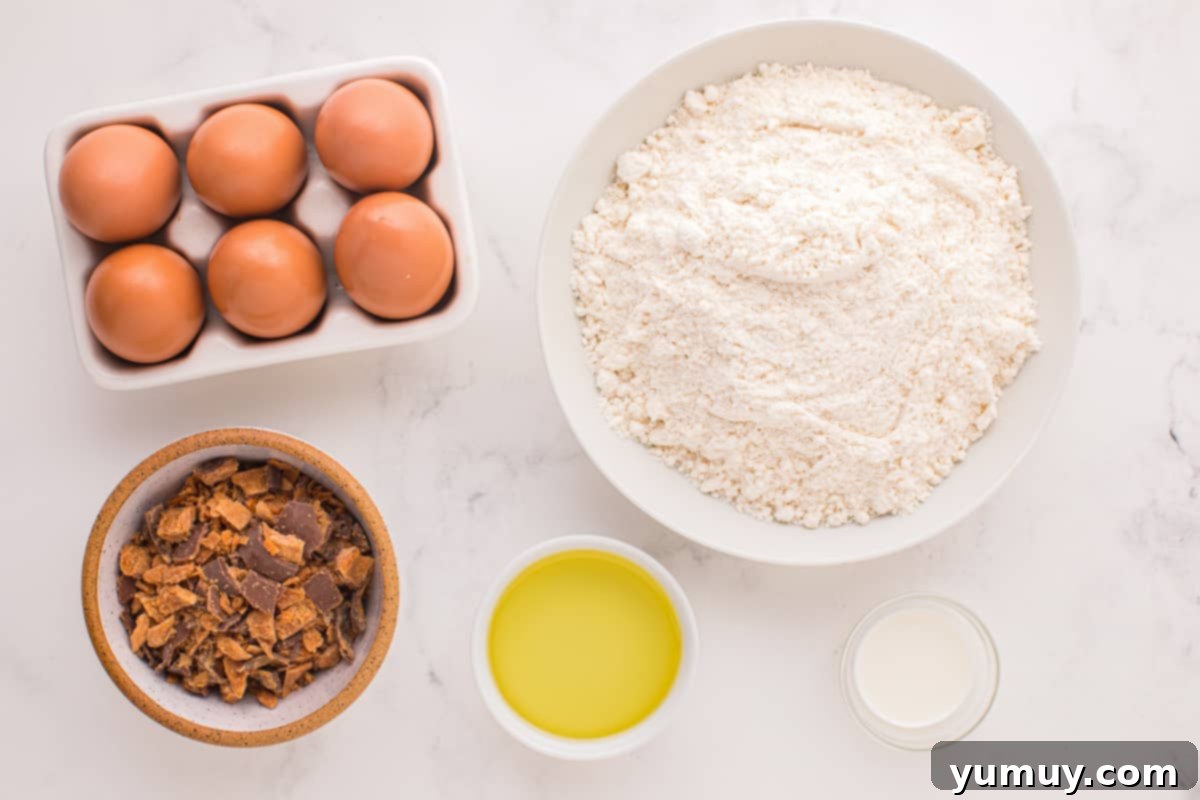
1. Gather Your Ingredients & Preheat Oven
Before you begin mixing, gather all your ingredients to ensure a smooth baking process. It’s important to bring your large egg to room temperature; simply set it out for 30-60 minutes before you start. This allows it to combine more evenly into the dough, leading to a better cookie texture. While the egg warms, preheat your oven to 350°F (175°C). Line two baking sheets with parchment paper – this prevents sticking and makes cleanup a breeze – then set them aside. Finally, prepare your star ingredient: chop three full-size Butterfinger candy bars into small pieces. You can achieve this with a sharp knife or by placing the candy bars in a sturdy Ziplock bag and gently but firmly crushing them with a rolling pin. If it’s a warm day, remember to pop these chopped candy bits into the freezer for 15-20 minutes to prevent them from melting too quickly during baking.
2. Mix the Dough
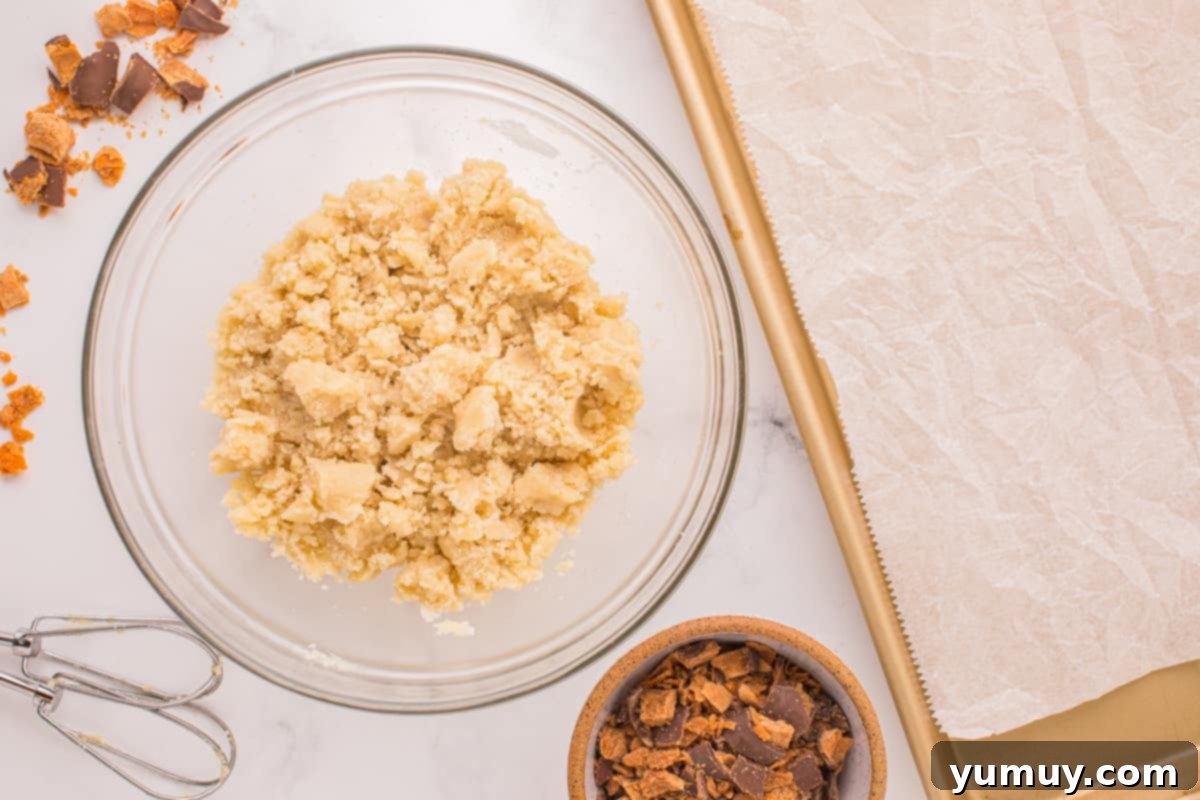
In a spacious mixing bowl, combine your 17.5-ounce bag of dry sugar cookie mix with ⅓ cup of vegetable oil, 1 tablespoon of milk, and your room-temperature large egg. Using either a hand mixer or a stand mixer fitted with a paddle attachment, mix these ingredients together. At first, the mixture might appear crumbly, but persist! Continue mixing until a cohesive, smooth dough forms. If needed, don’t hesitate to use your clean hands to gently knead the ingredients together, ensuring all the dry mix is fully incorporated and the dough comes together beautifully.
3. Fold in the Candy & Scoop the Dough
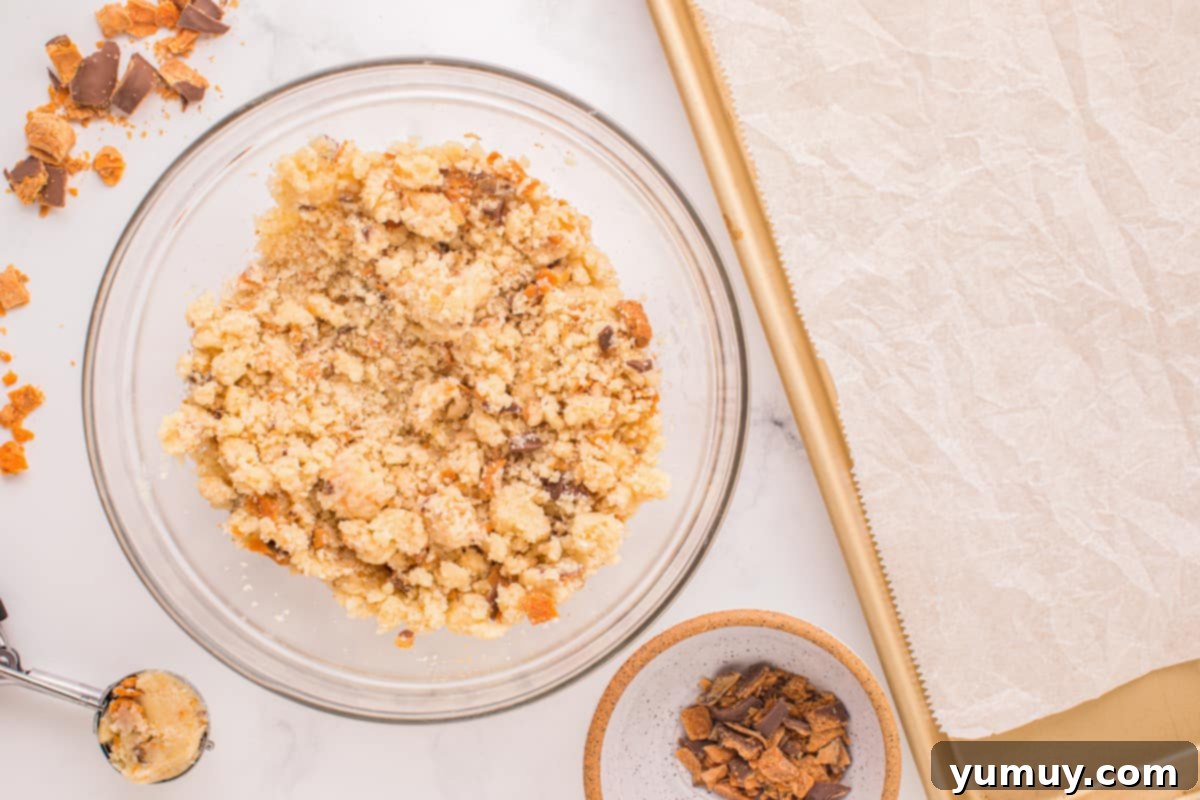
Once your dough is ready, it’s time for the star of the show! Gently fold in the ¾ cup of chopped Butterfinger candies (or Butterfinger Bits baking pieces) into the dough. Make sure to distribute them as evenly as possible throughout the mixture. Next, take a 1½-tablespoon cookie portion scoop to create uniform dough balls. This ensures that each cookie is roughly the same size, promoting even baking. With this recipe, you should be able to make approximately 20 perfectly sized cookies, each packed with that delightful Butterfinger crunch.
4. Roll & Arrange the Dough Balls
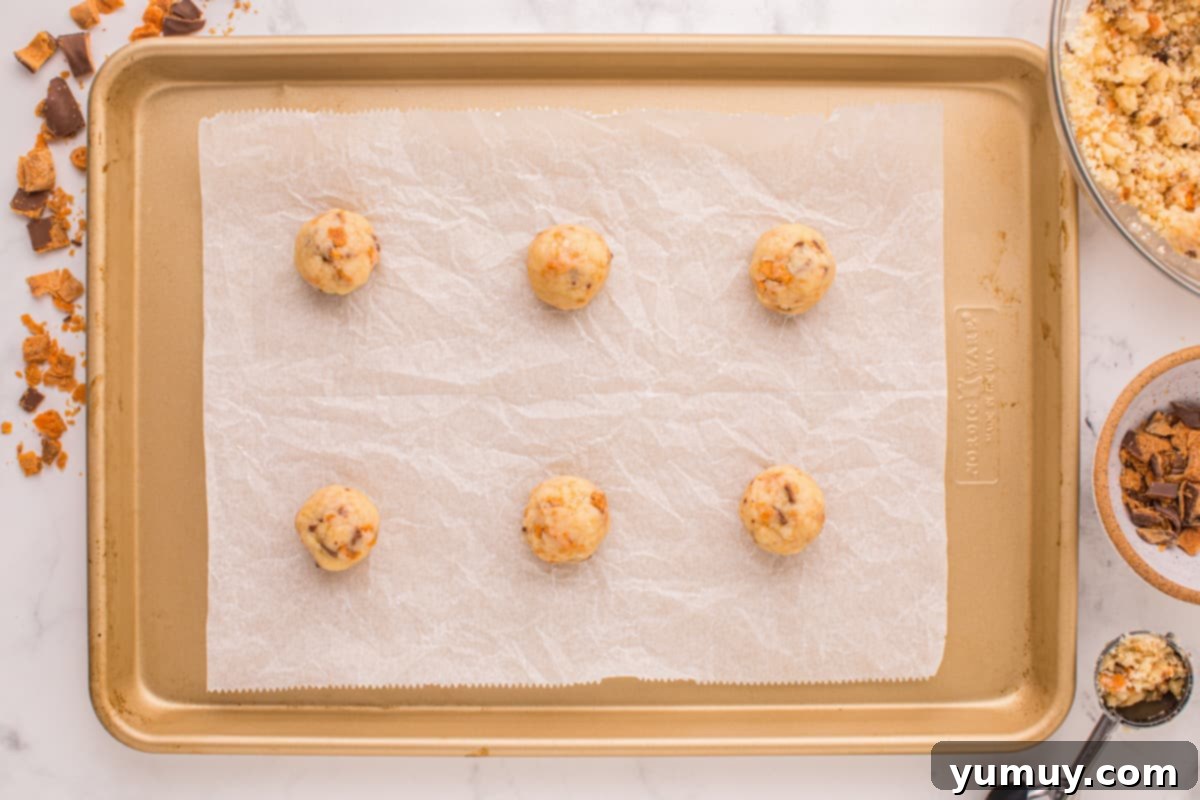
After scooping, take each portion of dough and roll it smoothly between your palms to form a neat, even ball. Carefully place each dough ball onto your prepared baking sheets. It’s crucial to leave at least 1 inch of space between each cookie and from the edges of the sheet. This generous spacing allows the cookies to spread properly during baking without merging into one another. Continue this process with all the remaining dough until your baking sheets are filled. Depending on the size of your sheets, you might comfortably fit 6 to 9 cookies per tray. I typically bake 6 at a time to ensure optimal air circulation and even browning.
5. Bake to Golden Perfection
Slide your prepared trays of cookie dough into the preheated 350°F (175°C) oven. Bake for approximately 9-13 minutes. Keep a close watch; the cookies are ready when their edges appear lightly golden and set, and their tops are no longer glossy or wet-looking, but rather slightly crinkled. The centers might still seem very soft, but they will firm up as they cool. The golden rule for chewy cookies is to avoid overbaking! Once baked to perfection, remove the baking sheets from the oven and let the cookies cool on the sheets for at least 5 minutes. This cooling time on the warm sheet allows them to set and prevents them from falling apart when you transfer them. After 5 minutes, carefully move them to a wire rack to cool completely. Enjoy your warm, delightful Butterfinger cookies!

How to Store Your Delicious Butterfinger Cookies
Ensuring your Butterfinger cookies remain fresh and delicious is simple with proper storage. For short-term enjoyment, store any leftover cookies in an airtight container at room temperature. They will maintain their soft texture and delightful crunch for up to 3 days. If you need to keep them fresh for a bit longer, transfer them to the refrigerator, where they can last for up to 5 days. For extended storage, these cookies are perfect for freezing! Place them in a freezer-safe airtight container or bag, and they will stay fresh for up to 3 months. When you’re ready to enjoy a frozen cookie, simply let it thaw overnight in the refrigerator. You can then serve them at room temperature or warm them gently in the microwave for a few seconds to recapture that irresistible gooey center, almost like they were freshly baked!
More Irresistible Cookie Recipes to Try!
Classic Butter Cookies
Brownie Mix Crinkle Cookies
Delightful Churro Cookies
Chocolate Pudding Cookies
Browse All Our Cookie Recipes
