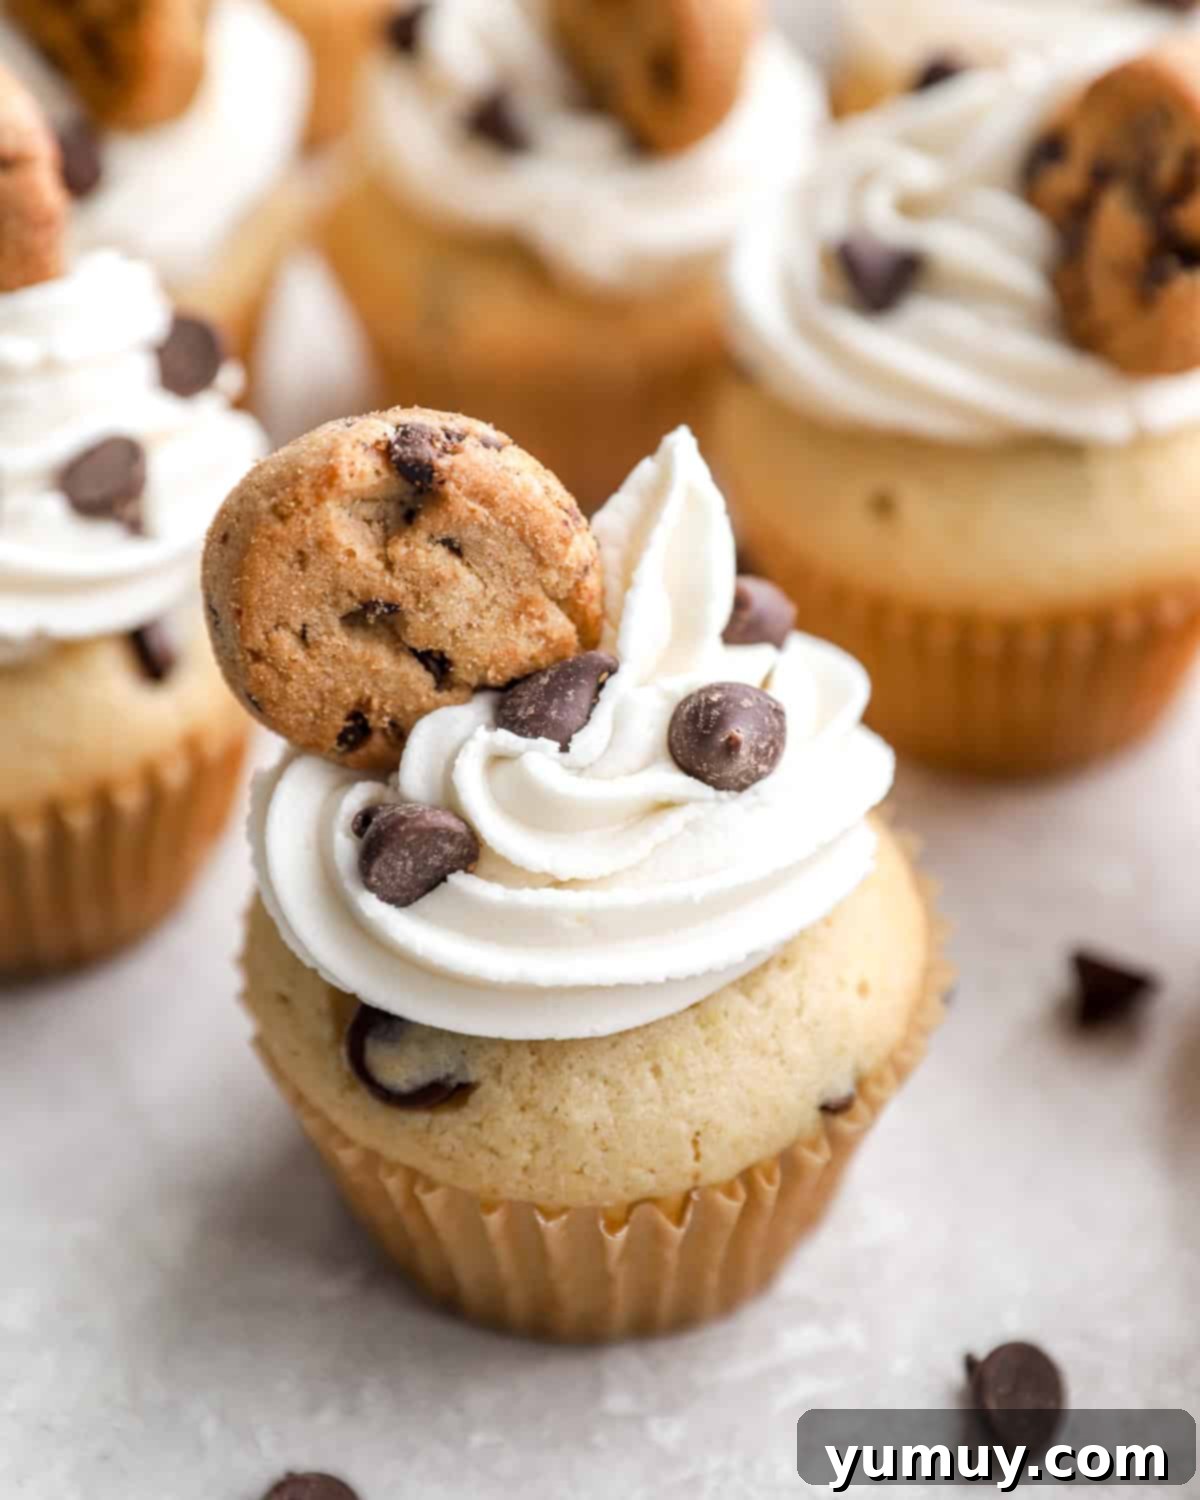
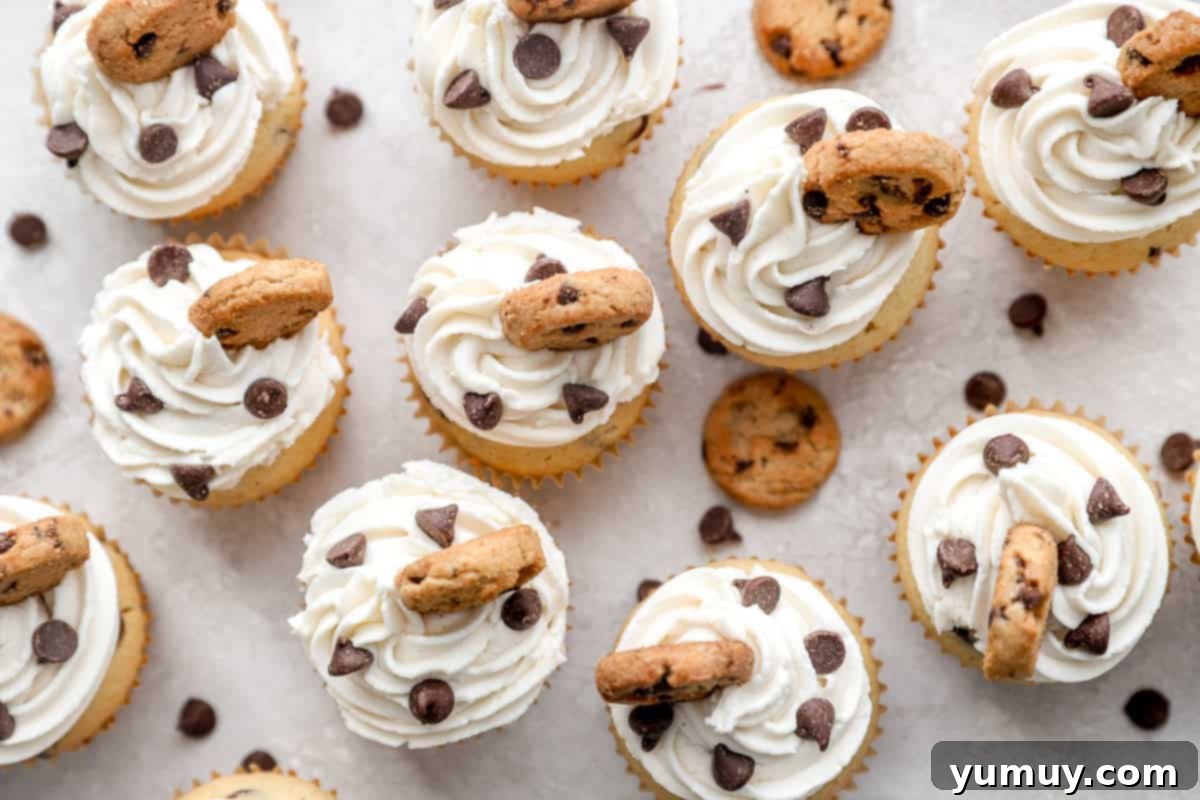
These homemade chocolate chip cupcakes are not just a treat; they’re a celebration in every bite! As my signature go-to dessert, they are perfect for any occasion that calls for something quick, sweet, and undeniably crowd-pleasing. For years, I’ve lovingly prepared these delightful chocolate chip cookie cupcakes for festive birthdays, bustling bake sales, and spontaneous fun afternoons with my children. Without fail, they vanish almost as quickly as they appear! Each cupcake boasts a wonderfully soft and fluffy texture, generously studded with luscious, melty chocolate chips, and elegantly crowned with the most exquisite vanilla buttercream frosting. To elevate these moist vanilla cupcakes to an extra-special delight, I adore garnishing them with additional chocolate chips and adorable mini chocolate chip cookies, creating a truly irresistible presentation that hints at the joy within.

Top Reader Reviews
“I made the recipe today and it came out delicious, very moist and yummy. Thank you very much” -Maria
“I’ve been trying to make cupcakes for weeks now trying different recipes. I’ve thrown out a few batches too because they were so hard they were inedible. These I made 2x…second batch I added 1/3 more of oil. I don’t think I’ve ever had such a soft spongy amazingly perfect cupcake…never going back to any other recipe…these are it! Thank you…we like them really moist so that’s why I added more oil.” -Daiana
Irresistible Chocolate Chip Cookie Cupcakes: A Dessert Masterpiece
Having explored countless chocolate chip cupcake recipes over the years, from convenient boxed cake mixes to gourmet bakery creations, I can confidently say that this homemade version reigns supreme as my absolute favorite. What sets these cupcakes apart is their exquisite balance: a light, tender crumb that melts in your mouth, a rich and aromatic vanilla flavor that captivates the senses, and the perfect abundance of gooey, melted chocolate chips distributed throughout. My children adore joining me in the kitchen to create these delightful treats, and I particularly cherish the fact that with just 10 simple, readily available ingredients, I can whip up these incredible chocolate chip cookie cupcakes in under an hour. This recipe isn’t just about baking; it’s about creating cherished memories and enjoying a truly exceptional dessert without fuss.
For those moments when only more chocolate will do, these versatile cupcakes are also spectacular when adorned with my decadent chocolate buttercream or my rich and tangy chocolate cream cheese frosting! The possibilities are endless for customizing your chocolate chip cupcake experience.

Expert Tip: Tossing Chocolate Chips to Prevent Sinking
One common challenge many bakers encounter when creating chocolate chip cupcakes is the unfortunate tendency of chocolate chips to sink to the bottom of the batter during baking. This often results in a sad, chip-less top and an overly dense, chocolate-heavy base. When I was perfecting this chocolate chip cupcake recipe, I found that overmixing the batter was a primary culprit for this issue. The goal is a light, tender crumb, and excessive mixing develops too much gluten, which can cause the chips to fall. Gently folding in the chocolate chips typically ensures they remain beautifully suspended throughout the cupcake. However, for an extra layer of reassurance – especially if you’re new to baking or simply want foolproof results – I highly recommend a clever trick: lightly toss your chocolate chips in just a teaspoon of all-purpose flour before incorporating them into the batter. This thin coating of flour creates friction, helping the chips cling to the batter and resist sinking. For an even more consistent distribution of chocolate in every bite, mini chocolate chips are an excellent choice, as their lighter weight makes them less prone to sinking. If you opt for mini chips, consider adding a few extra to compensate for their smaller size and ensure that rich chocolatey burst in every single spoonful.
Classic Chocolate Chip Cupcakes Recipe
: 50 minutes
Print
Rate
Ingredients
For the Cupcakes
- 1½ cups all-purpose flour
- 1 teaspoon baking powder
- ½ teaspoon kosher salt
- 1¼ cup granulated sugar
- ½ cup vegetable oil
- ½ cup milk
- 2 large eggs
- 1 teaspoon pure vanilla extract
- 1 cup semisweet chocolate chips divided
For the Frosting
- ½ cup unsalted butter room temperature (1 stick)
- 2½ cups powdered sugar
- 1 teaspoon pure vanilla extract
- 1 tablespoon milk
- mini chocolate chip cookies (optional, for topping)
Equipment
- Kitchen Scale (optional)
- Cupcake Tin
- Cookie Portion Scoop (optional)
- Hand Mixer or Stand Mixer
- Piping Tip Set (optional)
Instructions
For the Cupcakes
- Preheat oven to 350°F and line a 12-count cupcake tin with paper liners (or spray with nonstick spray). Set aside.
- Combine the flour, baking powder, and salt in a large bowl.1½ cups all-purpose flour, 1 teaspoon baking powder, ½ teaspoon kosher salt
- In a separate large bowl, using a hand or stand mixer fitted with the paddle attachment, beat the sugar and vegetable oil until light and frothy.1¼ cup granulated sugar, ½ cup vegetable oil
- Add in the milk, eggs, and vanilla, and beat until smooth and foamy.½ cup milk, 2 large eggs, 1 teaspoon pure vanilla extract
- Add the dry ingredients to the wet ingredients in 3 increments, beating until smooth after each addition. Fold in the chocolate chips.1 cup semisweet chocolate chips
- Divide the batter evenly between the lined wells of the cupcake tin.
- Bake the cupcakes in the preheated oven until the tops become a light brown color, about 18-20 minutes.
- Let cool for 5-10 minutes in the pan, then transfer the cupcakes to a wire rack to cool completely.
For the Buttercream Icing
- While the cupcakes are baking, use a hand or stand mixer fitted with the whisk attachment to beat the butter until smooth and creamy.½ cup unsalted butter
- Add in the powdered sugar, a little at a time, until fully incorporated. Then, add in the vanilla and milk, and mix until combined.2½ cups powdered sugar, 1 teaspoon pure vanilla extract, 1 tablespoon milk
- Once the cupcakes have completely cooled, pipe the icing onto the cupcakes.
- Place a few chocolate chips and a mini chocolate chip cookie onto the piped icing, if desired.mini chocolate chip cookies
Notes for Perfect Cupcakes
- **Accurate Measuring is Key:** Always spoon and level your dry ingredients, especially flour. Baking is a precise science, and even a small excess of flour can lead to dry, dense cupcakes, compromising their fluffy texture.
- **Prevent Overmixing:** To ensure a tender crumb, add the dry ingredients to the wet ingredients in 3 separate additions. This gradual incorporation allows for thorough mixing without overworking the batter, which can develop too much gluten and make your cupcakes tough.
- **Keep Chocolate Chips from Sinking:** Gently fold in the chocolate chips after the batter is combined. If the batter is overbeaten or too thin, the chocolate chips are more likely to sink. A pro tip: lightly toss the chocolate chips in about a teaspoon of all-purpose flour before adding them to the batter. This light coating helps them stay suspended evenly throughout the cupcakes.
- **Even Baking:** For perfectly uniform cupcakes that bake consistently, use a cookie scoop or a ¼-cup measuring cup to divide the batter evenly among the cupcake liners. This ensures each cupcake bakes at the same rate and achieves a consistent golden-brown finish.
- **Test for Doneness:** To check if your cupcakes are perfectly baked, insert a clean toothpick into the center of one. If it comes out clean or with only a few moist crumbs attached, they are ready to be removed from the oven.
- **Room Temperature Butter for Frosting:** Softened, room temperature butter is crucial for a smooth, creamy, and light buttercream frosting. Cold butter will result in a lumpy, difficult-to-spread frosting with an unappealing texture.
- Nutritional information does not include optional ingredients.
Make-Ahead Convenience: These delicious cupcakes can be baked up to 2 days in advance, providing a wonderful head start for entertaining. Store them in an airtight container at room temperature or in the refrigerator before applying the frosting.
Optimal Storage: To maintain their freshness and delightful texture, store frosted chocolate chip cupcakes in an airtight container at room temperature for up to 2 days. If you need to keep them longer, they will stay fresh in the refrigerator for up to 4 days.
Calories from Fat 216
@easydessertrecipes
for a chance to be featured.
Effortless Delight: Enhancing Boxed Cake Mix Cupcakes
Even with my love for homemade baking, I understand that sometimes life calls for a convenient shortcut, and there is absolutely no shame in reaching for a boxed cake mix – I do it often! This smart hack allows you to enjoy a delicious dessert without the extensive prep time. To transform a simple boxed mix into something truly special, start by selecting your favorite flavor; yellow, white, or vanilla cake mix works beautifully, though this method is versatile enough for almost any flavor. Prepare the cake mix according to the package directions, then stir in a generous 1 cup of rich chocolate chips. That’s all it takes to elevate the flavor and texture! While the boxed mix handles the cake base, I still wholeheartedly recommend making my homemade vanilla buttercream frosting. It comes together in just a few minutes and is the secret weapon to making these semi-homemade cupcakes taste entirely from scratch, lending them an irresistible freshness and quality that no store-bought frosting can match.
How to Craft Perfect Chocolate Chip Cupcakes: A Step-by-Step Guide
Creating these heavenly chocolate chip cupcakes is a delightful and straightforward process when you follow these easy steps. By paying attention to each stage, you’ll achieve perfectly moist, fluffy cupcakes bursting with chocolatey goodness.
Step 1: Prep Your Workspace and Ingredients
Begin by gathering all your necessary ingredients and equipment. This ensures a smooth and stress-free baking experience. Remember to bring the butter for your frosting to room temperature while you prepare and bake the cupcakes; this is crucial for a smooth buttercream. Preheat your oven to 350°F (175°C) and meticulously line a 12-count cupcake tin with paper liners. If you prefer, you can lightly spray the wells with a nonstick baking spray. Set the prepared tin aside.
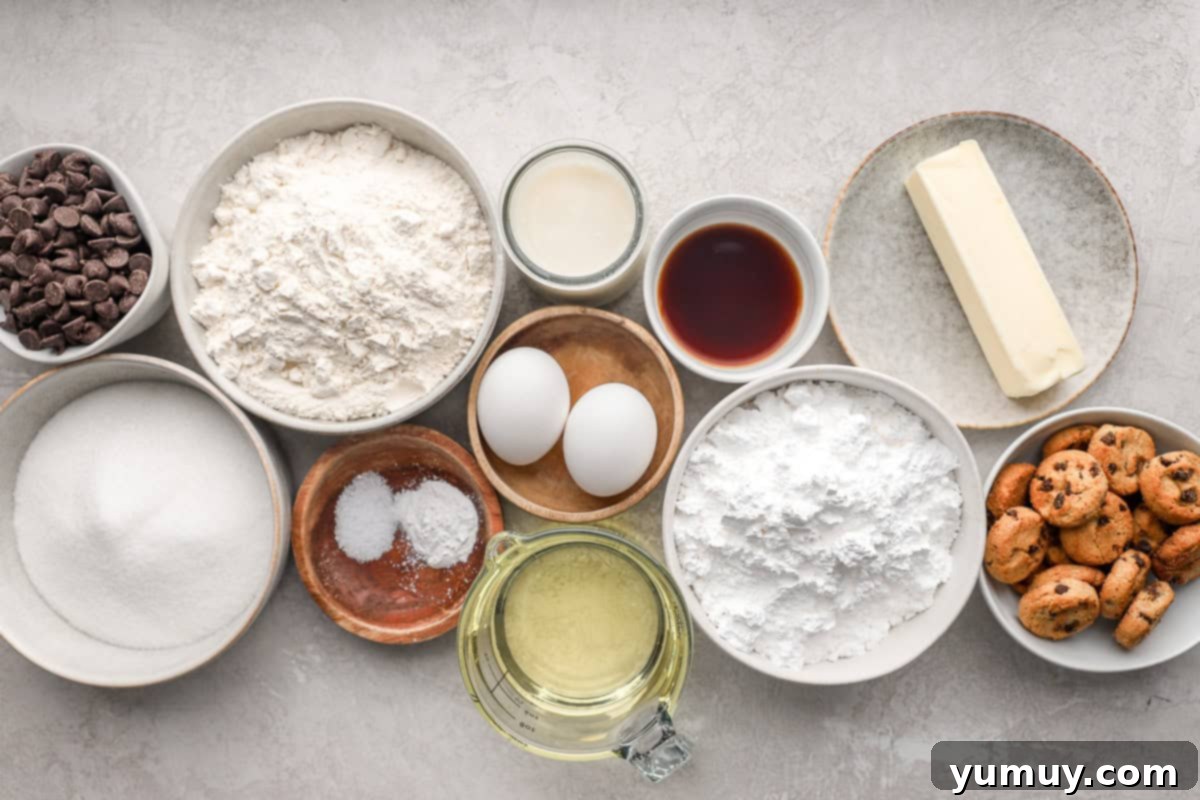
Step 2: Combine the Dry Ingredients for a Balanced Base
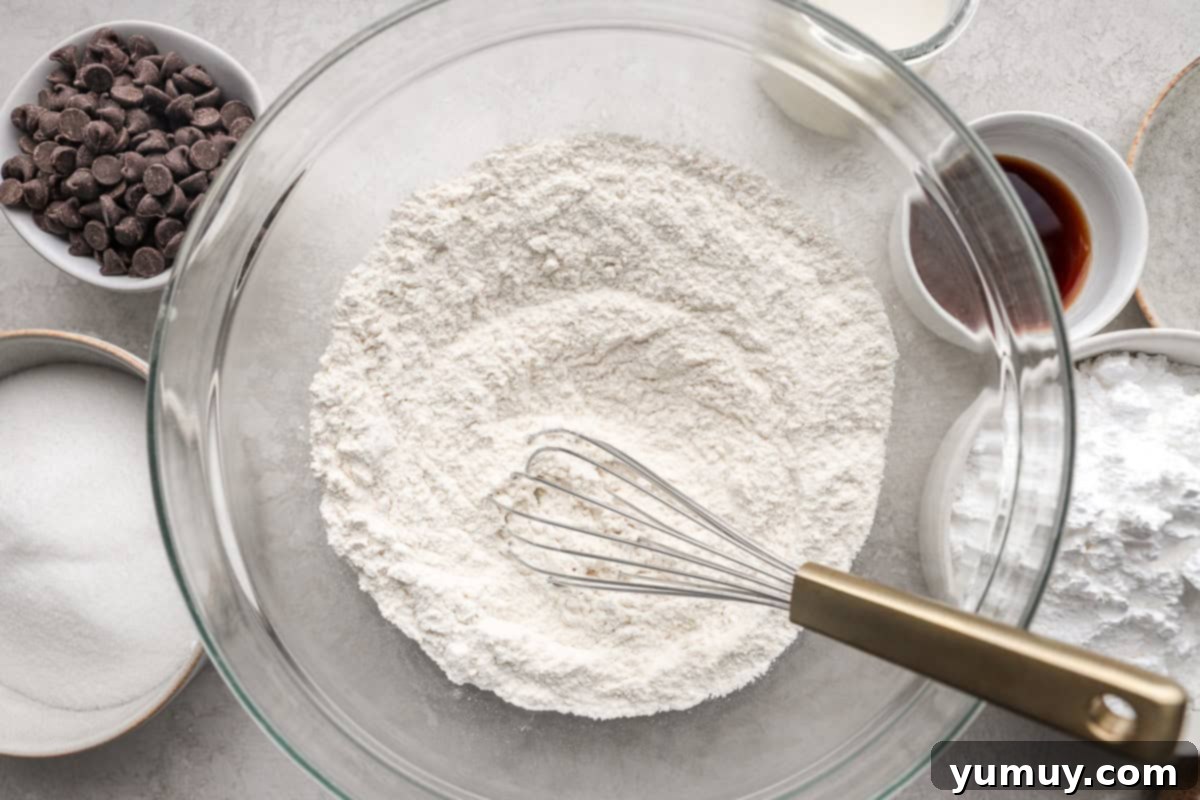
In a spacious mixing bowl, meticulously combine 1½ cups of all-purpose flour, 1 teaspoon of baking powder, and ½ teaspoon of kosher salt. For optimal results, I strongly recommend using the spoon-and-level method when measuring your flour. This involves lightly spooning flour into your measuring cup until it overflows, then leveling off the excess with the back of a knife. This technique prevents you from accidentally adding too much flour, which can lead to dry, dense, and crumbly cupcakes, instead of the desired light and moist texture.
Step 3: Cream Sugar and Oil for a Light and Airy Texture
In a separate large bowl, using either a handheld mixer or a stand mixer fitted with the paddle attachment, combine 1¼ cups of granulated sugar and ½ cup of vegetable oil. Beat these ingredients together on medium speed until the mixture becomes noticeably light in color and airy and frothy in texture. This creaming process incorporates air into the mixture, which is fundamental for achieving a light and tender cupcake crumb.
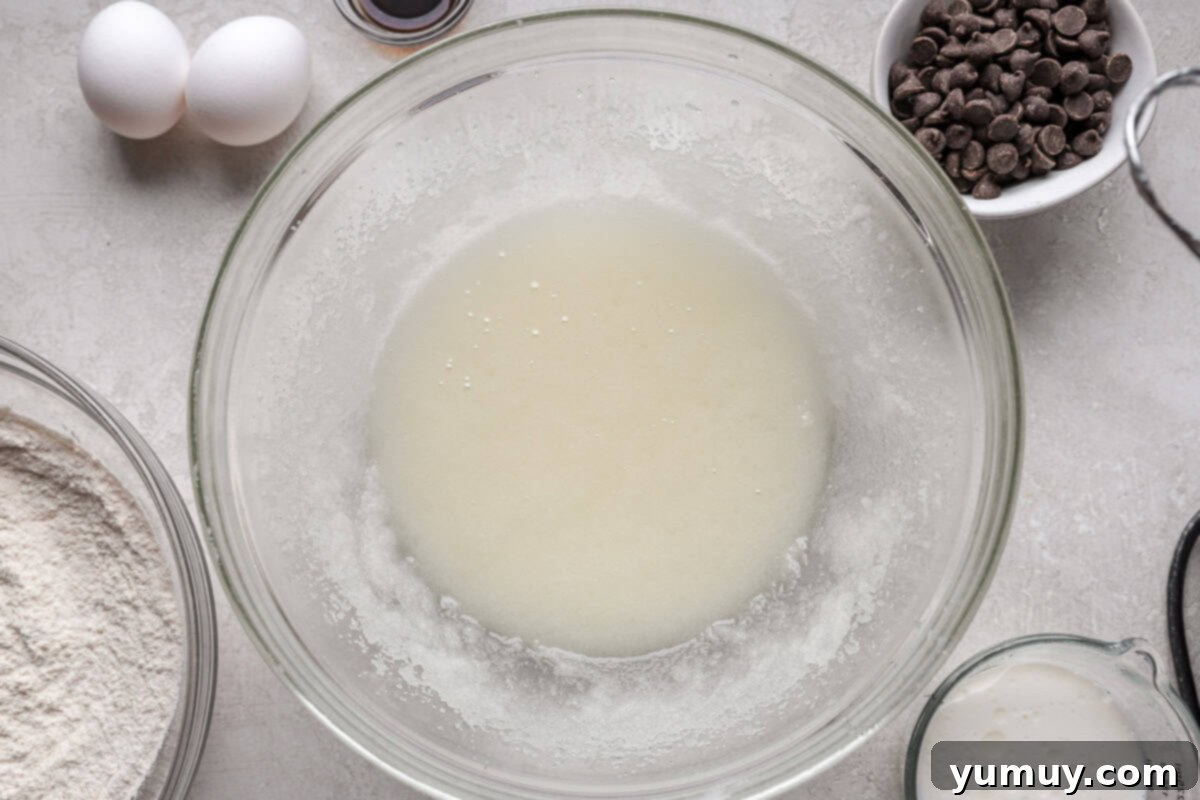
Step 4: Incorporate the Wet Ingredients for Smoothness
To the beaten sugar and vegetable oil mixture, carefully add ½ cup of milk, 2 large eggs, and 1 teaspoon of pure vanilla extract. Continue beating these wet ingredients until they are thoroughly combined, resulting in a smooth and slightly foamy consistency. Ensure that the eggs are fully incorporated, as this provides structure and moisture to your cupcakes.
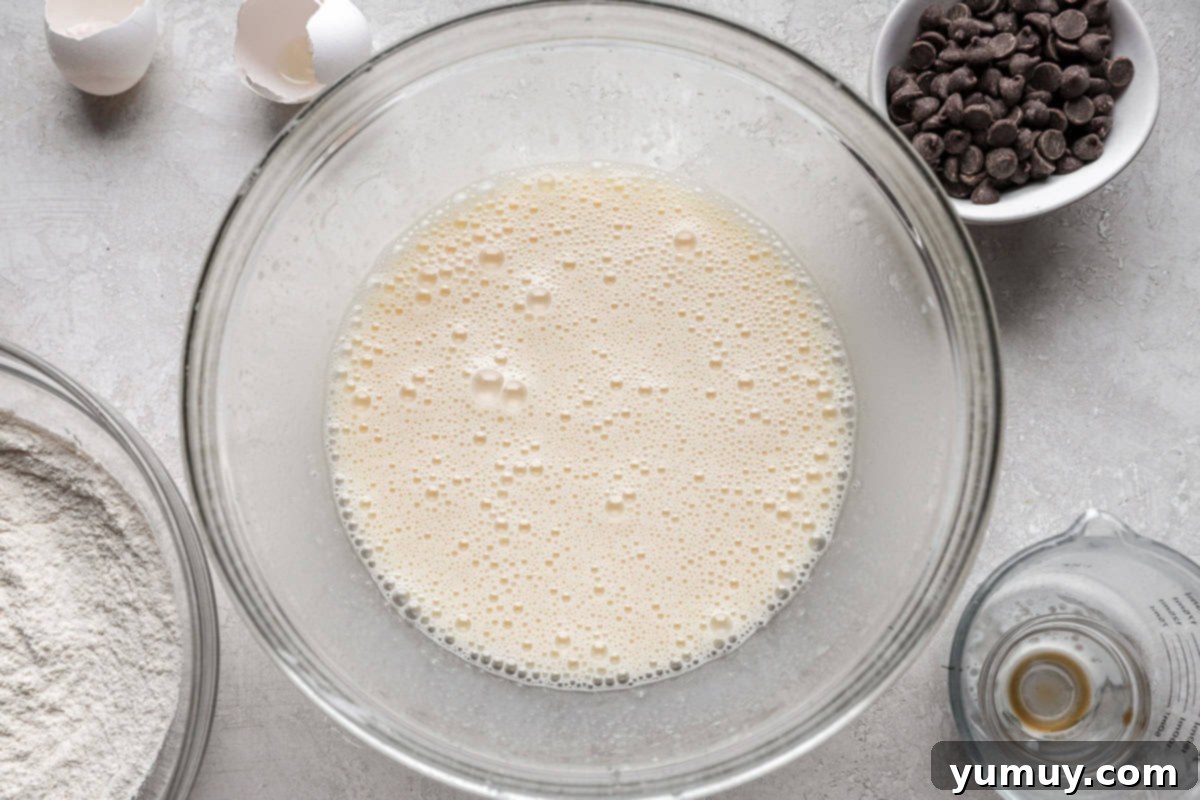
Step 5: Masterfully Combine the Batter and Add Chocolate Chips
Now, it’s time to marry your dry and wet ingredients. Gradually add the dry ingredient mixture to the wet ingredients in three separate increments. After each addition, beat the batter gently until it is just smooth, being careful not to overmix. It’s vital to avoid adding all the dry ingredients at once, as this can create pockets of unmixed flour and lead to an overdeveloped gluten structure, making the cupcakes tough. Once the batter is cohesive and no longer shows streaks of flour, it’s time for the star ingredient: gently fold in 1 cup of semisweet chocolate chips. To prevent the chips from sinking to the bottom, a helpful trick is to lightly toss them in just a teaspoon of flour before carefully incorporating them into the batter with a spatula, using the gentlest possible motion.
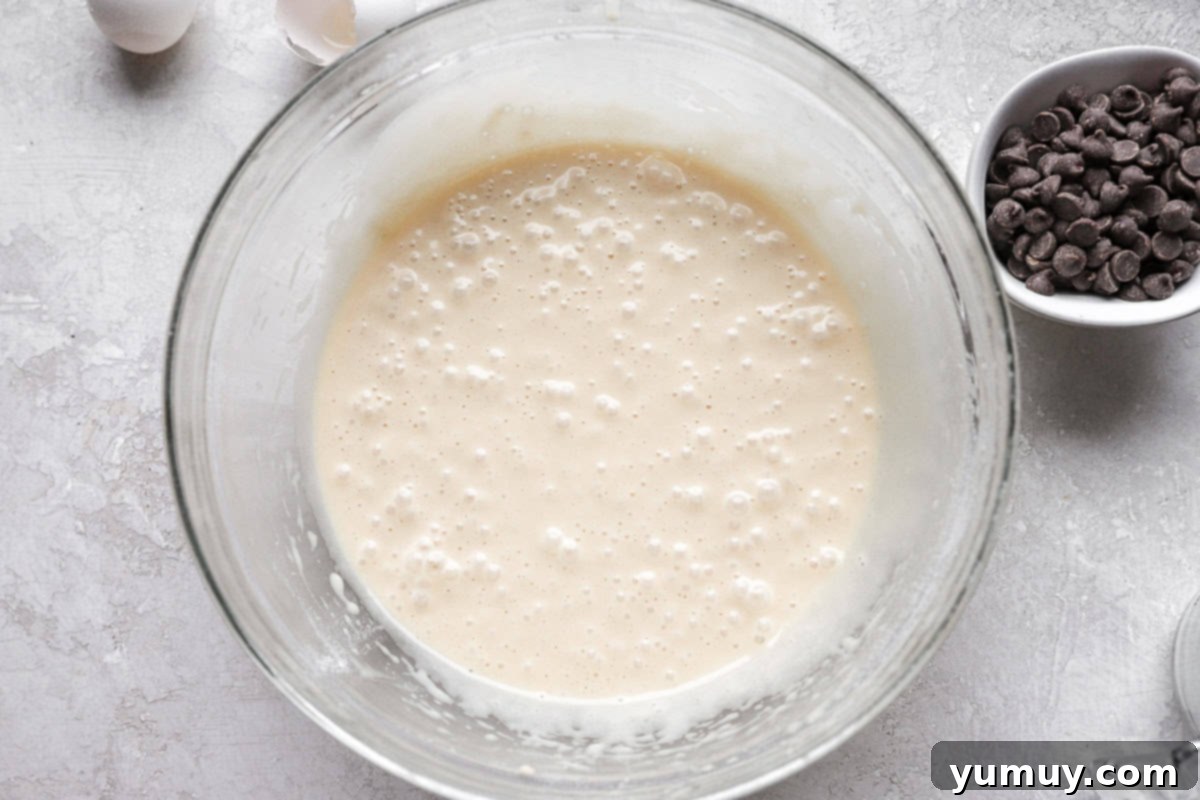
Step 6: Fill the Cupcake Tins Evenly for Consistent Baking
Using a cookie portion scoop or a ¼-cup measuring cup, carefully divide the prepared batter evenly among the lined wells of your cupcake tin. This step is crucial for ensuring that each cupcake bakes uniformly and to prevent them from overflowing. Aim to fill each liner approximately ¾ full. For an extra touch of visual appeal and flavor, you can sprinkle a few additional chocolate chips or a dusting of coarse sugar over the top of the cupcakes just before they enter the oven.
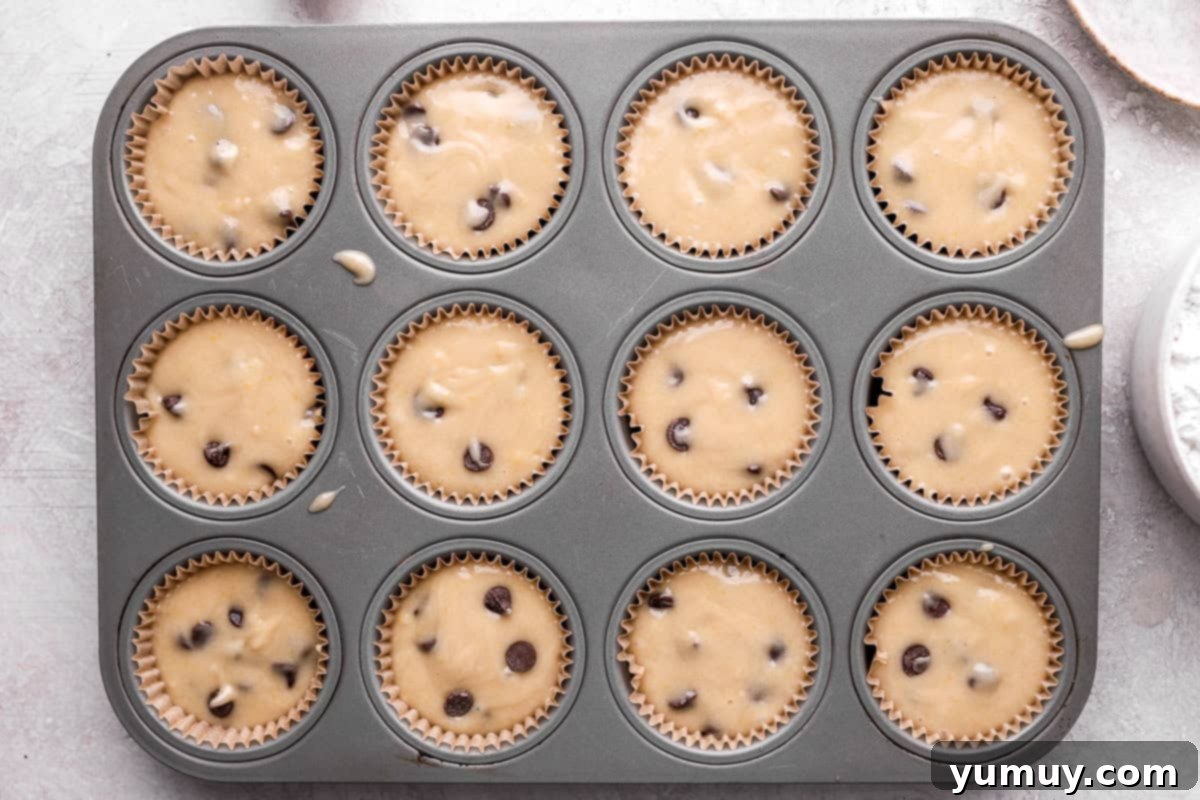
Step 7: Bake to Golden Perfection and Cool Properly
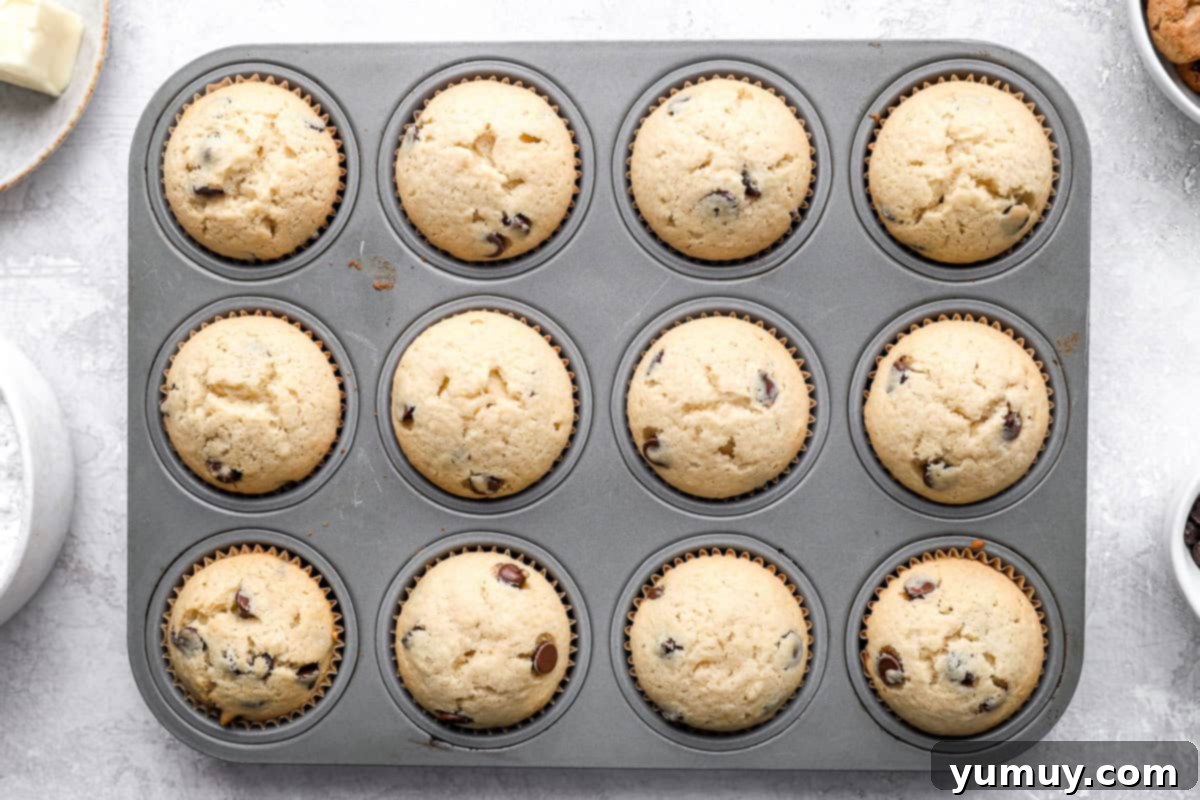
Carefully place your chocolate chip cupcakes into the preheated oven. Bake them for approximately 18-20 minutes, or until their tops achieve a beautiful light golden-brown hue and a toothpick inserted into the center of a cupcake comes out clean, indicating they are fully cooked. Once baked, remove the tin from the oven and allow the cupcakes to cool in the pan for about 5-10 minutes. This resting period helps them set before gently transferring them to a wire rack to cool completely. It is absolutely essential that the cupcakes cool to room temperature before you even think about frosting them; otherwise, your beautiful buttercream will melt and slide right off!
Step 8: Prepare the Silky Smooth Vanilla Buttercream
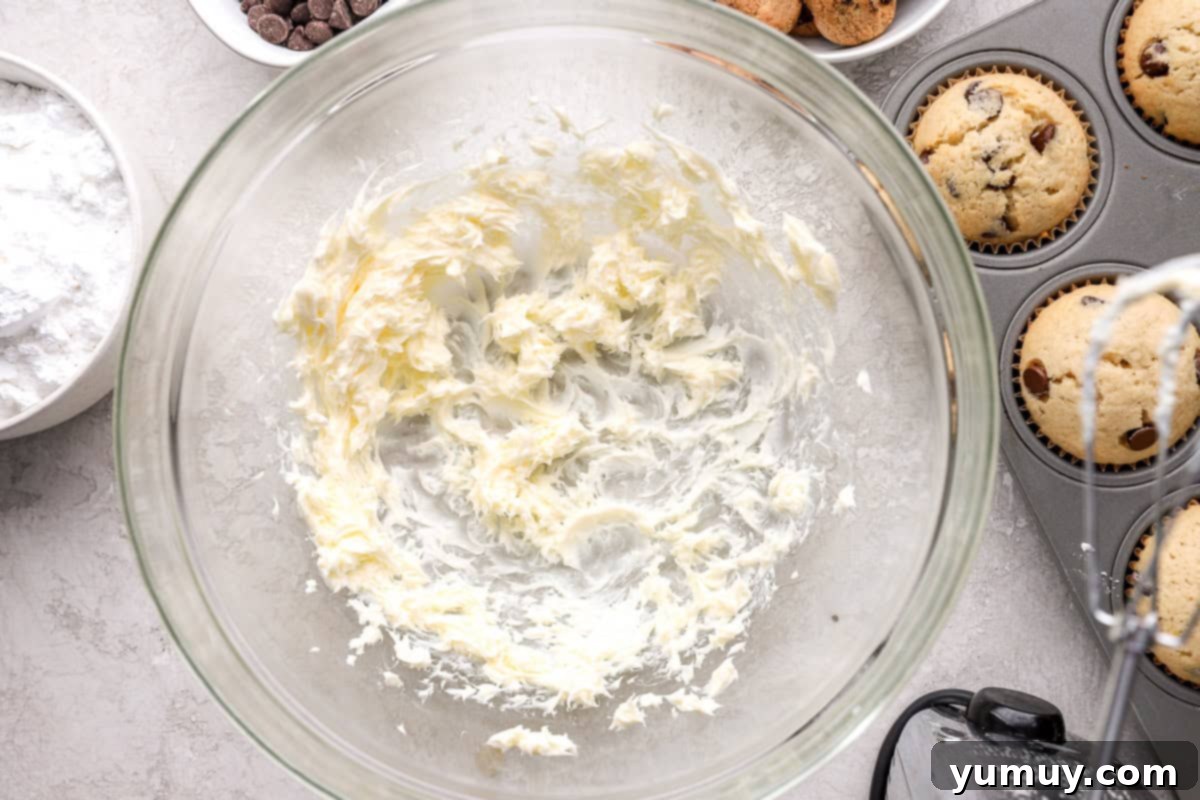
While your delightful cupcakes are baking and cooling, you can start on the crowning glory: the vanilla buttercream frosting. In a mixing bowl, using either a hand or stand mixer fitted with the whisk attachment, beat ½ cup of unsalted butter that has softened to room temperature. Continue beating until the butter transforms into a light, airy, and wonderfully creamy consistency, resembling fluffy clouds. This process is key to achieving that signature smooth buttercream texture.
Step 9: Mix the Frosting to Velvety Perfection
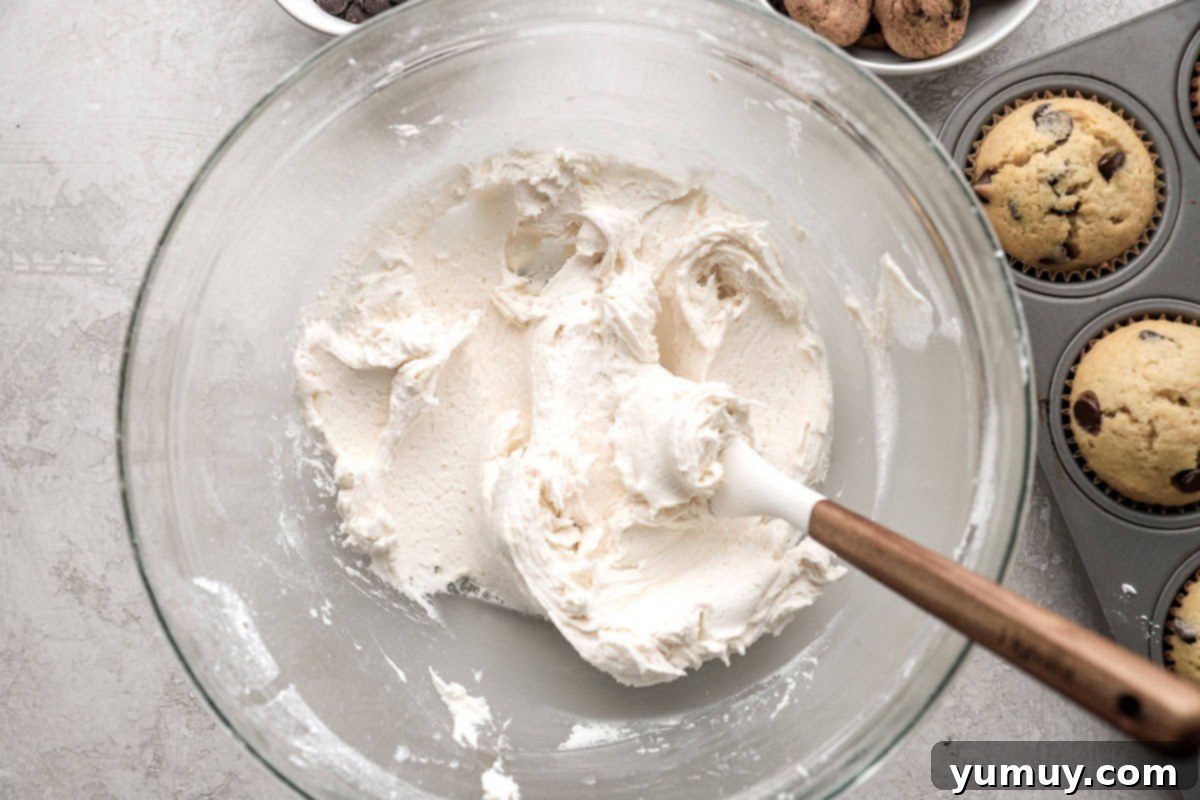
To the creamed butter, gradually add 2½ cups of powdered sugar, a little at a time, beating after each addition until fully incorporated. This gradual approach is crucial to prevent a “sugar cloud” from erupting from your mixer! Once the sugar is combined, add 1 teaspoon of pure vanilla extract and 1 tablespoon of milk. Continue mixing on medium-high speed until the frosting becomes light, incredibly fluffy, and wonderfully creamy. If the frosting seems too thick, add a tiny bit more milk (half a teaspoon at a time) until you reach your desired consistency. If it’s too thin, add a little more powdered sugar.
Step 10: Frost Your Masterpieces with Flair
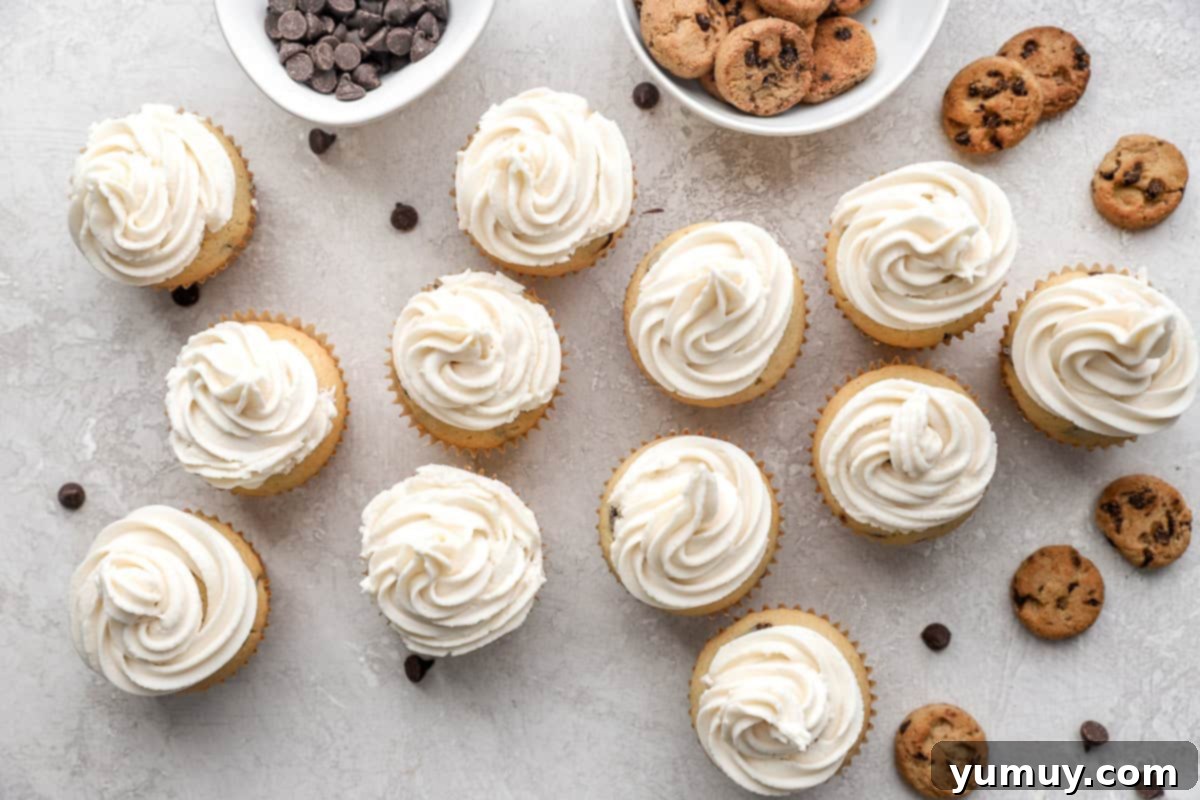
Once your cupcakes have completely cooled to room temperature, it’s time for the most enjoyable part: decorating! Transfer your luscious vanilla buttercream frosting to a piping bag fitted with the tip of your choice (I personally love using a Wilton 1M tip for beautiful swirls) or simply use a sturdy Ziplock bag with one corner snipped off. Elegantly pipe the frosting onto each cupcake, creating swirls, dollops, or any design that sparks your creativity.
Step 11: Final Touches and Serving Suggestions
To add that extra special touch, if desired, carefully place a few extra chocolate chips and a charming mini chocolate chip cookie on top of the piped icing of each cupcake just before serving. These delightful garnishes not only enhance the visual appeal but also add an additional layer of texture and flavor, making your homemade chocolate chip cupcakes truly unforgettable. Serve immediately and watch them disappear!
Preserving Freshness: How to Store and Freeze Your Cupcakes
Ensuring your delicious homemade chocolate chip cookie cupcakes stay fresh and delightful for as long as possible is simple with proper storage techniques. For immediate enjoyment, store any leftover frosted cupcakes in an airtight container at room temperature for up to 2 days. If you need to extend their freshness a bit longer, they will keep beautifully in the refrigerator for up to 4 days. Always ensure the container is airtight to prevent the cupcakes from drying out or absorbing unwanted odors from the fridge.
If you’re looking to enjoy these treats at a later date, freezing is an excellent option. To freeze your cupcakes effectively, first place them (unfrosted is best for freezing, but frosted can also work if you’re careful) on a baking sheet and pop them into the freezer. Allow them to freeze uncovered until they are completely solid, which typically takes about 1-2 hours. This initial flash-freezing prevents them from sticking together. Once solid, carefully wrap each individual cupcake tightly in plastic wrap, then place them in a freezer-safe bag or an airtight container. They can be stored in the freezer for up to 1 month. When you’re ready to indulge, transfer the frozen cupcakes to the refrigerator to thaw overnight, then allow them to come to room temperature before enjoying or frosting, ensuring they regain their moist and tender texture.
More Easy Cupcake Recipes to Try!
Black Forest Cupcakes
Boston Cream Pie Cupcakes
Homemade Chocolate Cupcakes
Berry Cupcakes
All Cupcakes
