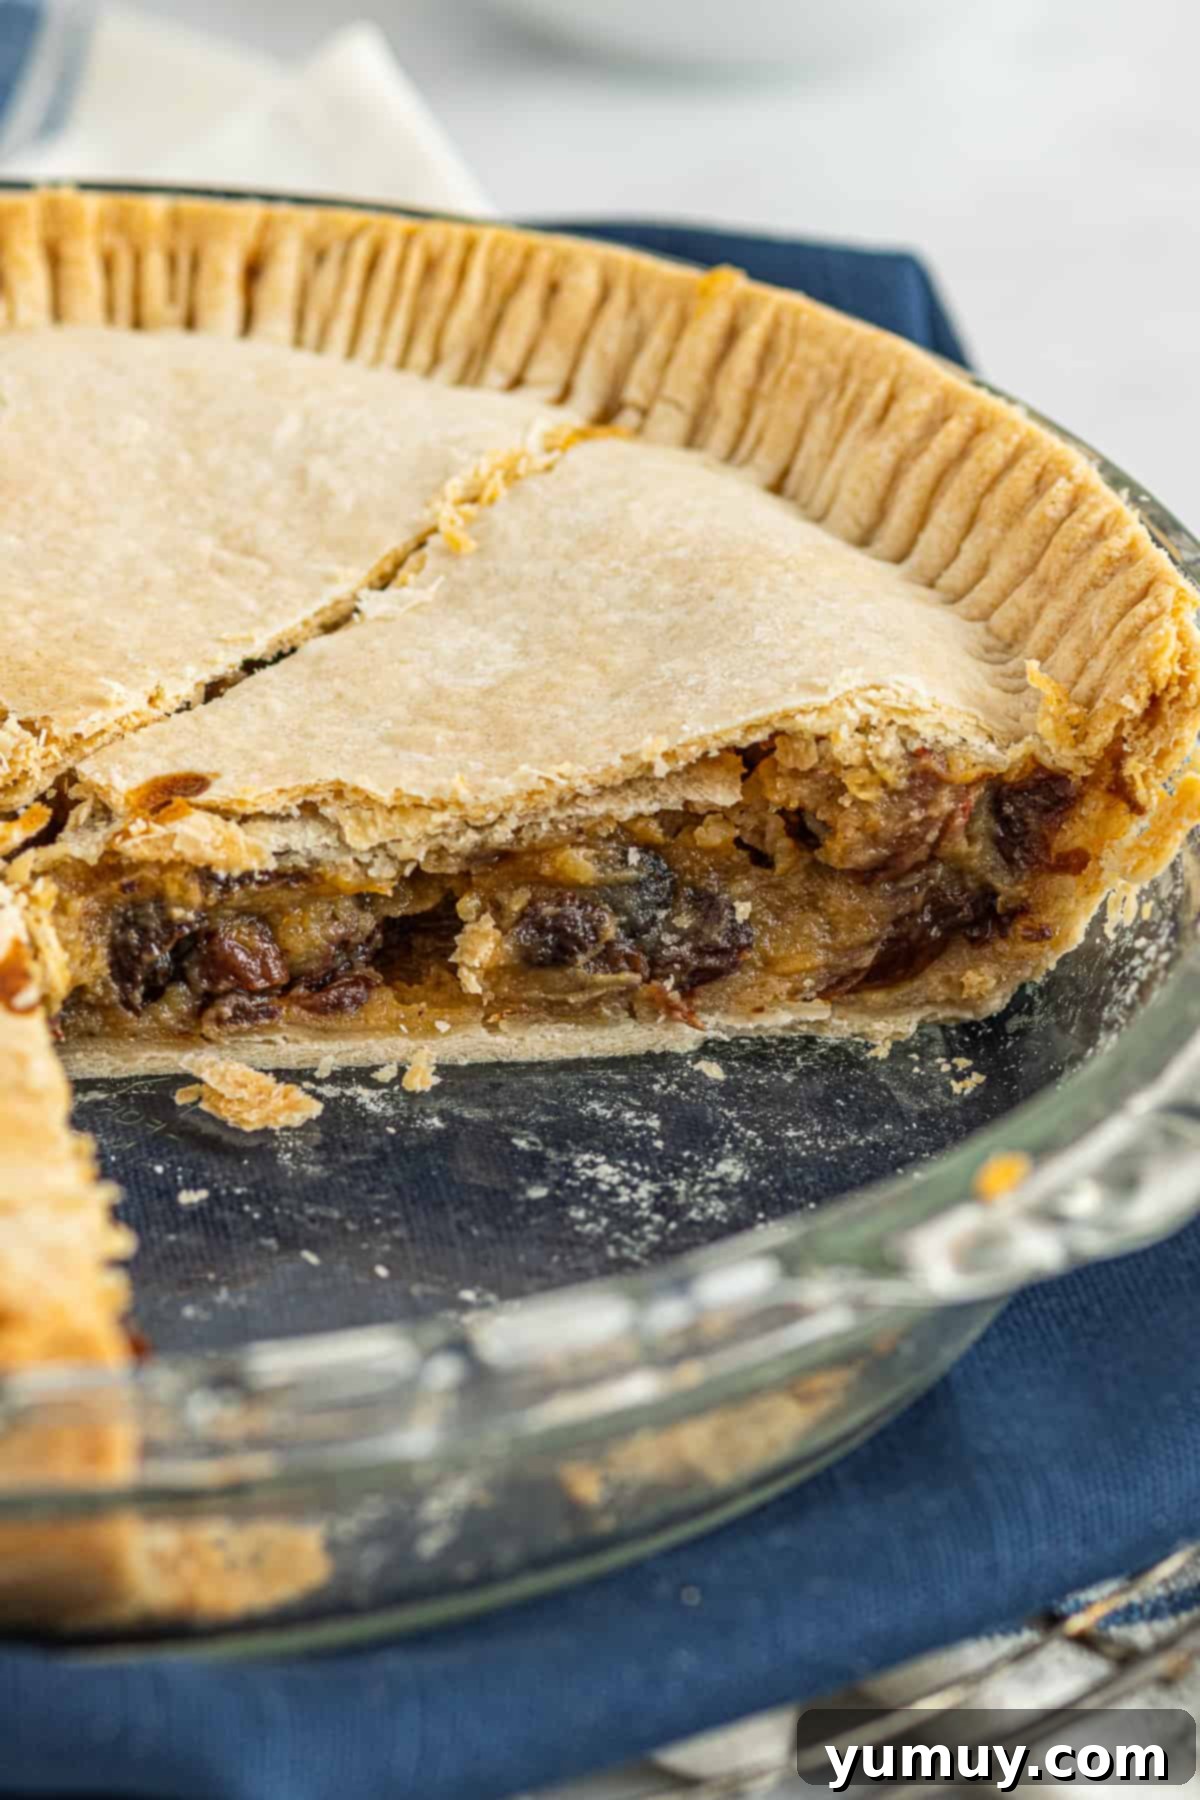
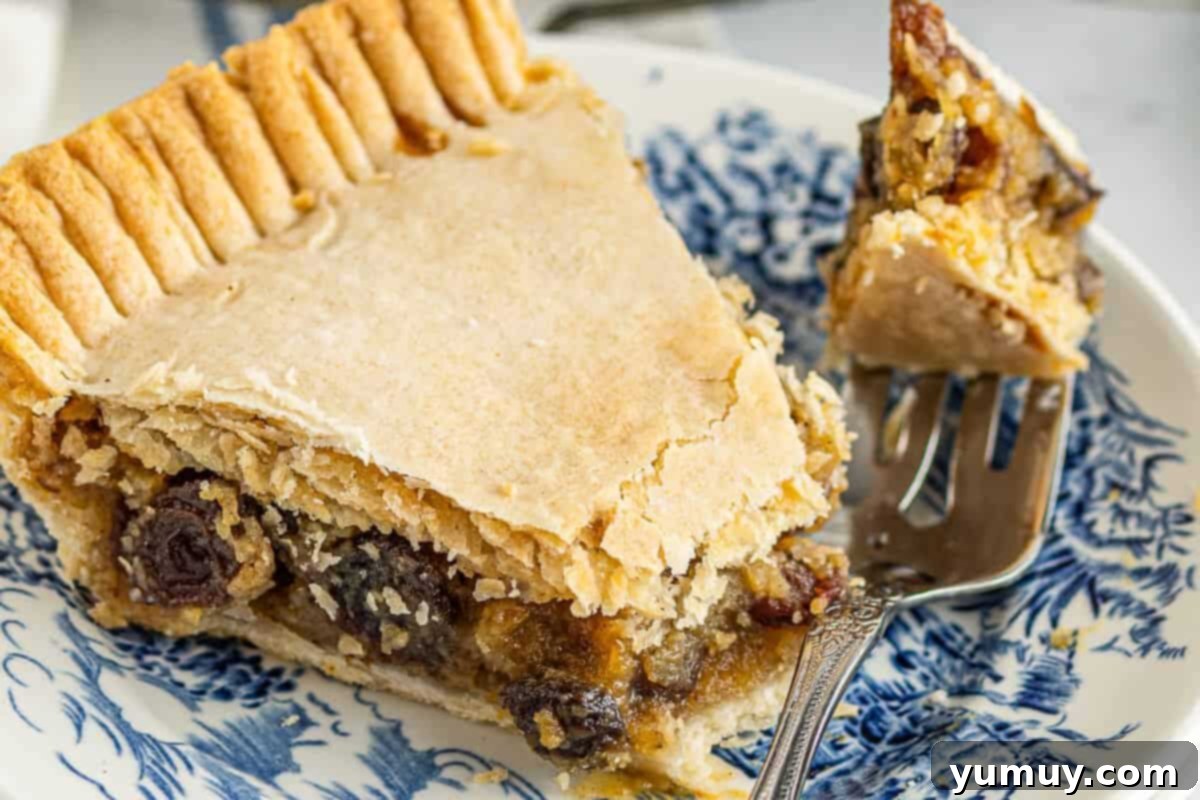
Step back in time with this cherished, old-fashioned sour cream raisin pie recipe, a heartwarming holiday standard that has graced our family table for generations. The exquisite combination of plump, sweet raisins nestled within a creamy, tangy custard, all encased in a golden, flaky pie crust, is undeniably comforting. This classic dessert achieves a perfect balance, never veering into overly sweet or excessively rich territory, thanks to the bright notes of sour cream, a hint of lemon, and a symphony of warm, inviting spices. It’s more than just a pie; it’s a slice of nostalgia, a testament to simple, delicious baking that stands the test of time.
Mastering the Art of Easy Raisin Custard Pie
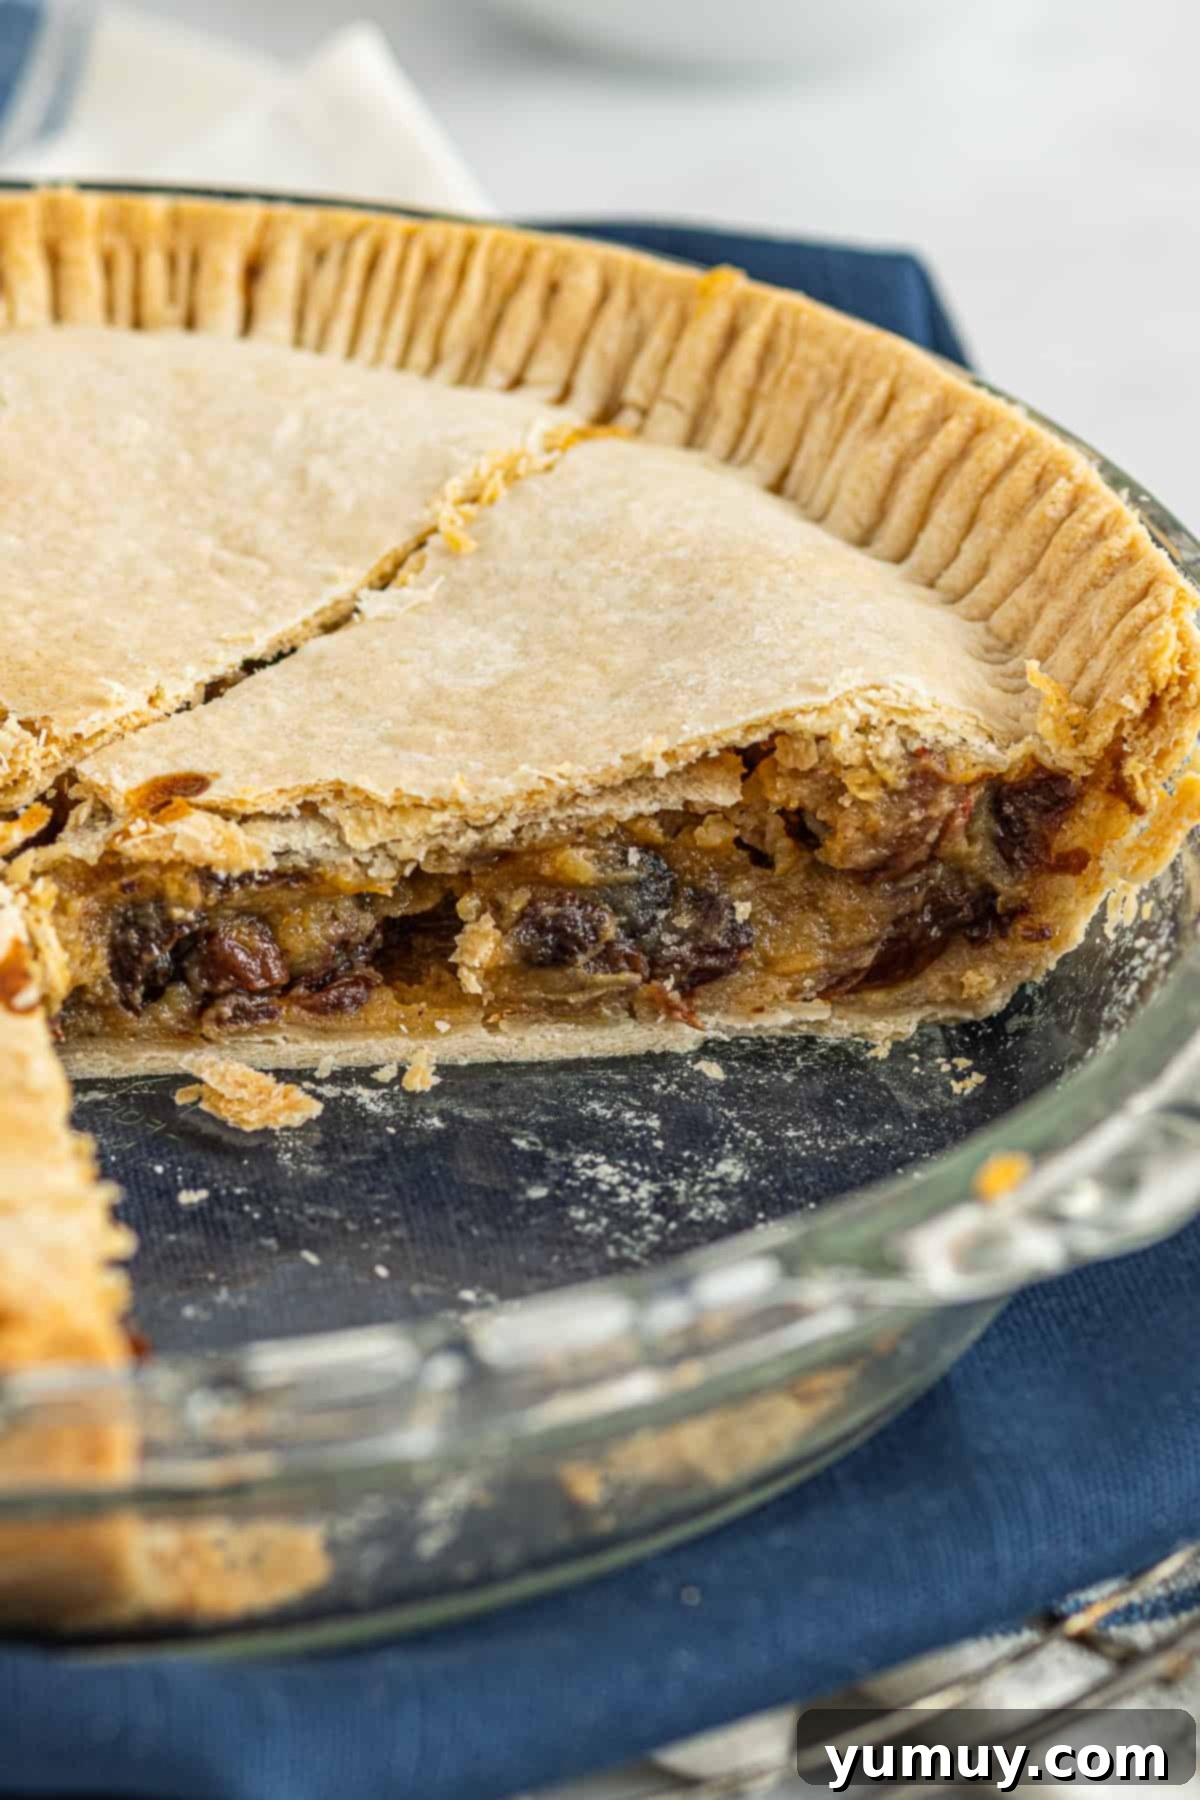
While many old-fashioned recipes can be intimidating, my raisin pie recipe takes the beloved classic custard-and-raisin combination and elevates it with a few simple yet impactful upgrades, ensuring a next-level dessert experience. The secret to its incredible texture lies in a crucial preliminary step: boiling the raisins before they ever meet the custard. This process transforms them, making them remarkably soft, plump, and juicy. Instead of firm, chewy bits, they practically melt into the filling, creating a harmonious and luxurious texture that truly makes a difference in every bite.
Furthermore, the richness of the custard is expertly balanced. I incorporate a generous amount of tangy sour cream and a bright splash of lemon juice. These additions are not just for flavor; they play a vital role in preventing the custard from feeling too heavy or cloyingly sweet, lending a delightful zest that cuts through the richness beautifully. The subtle yet essential blend of warm spices, primarily cinnamon and cloves, weaves everything together, adding a comforting aroma and depth that is synonymous with homemade holiday baking. This pie is a symphony of flavors and textures, designed for pure indulgence without overwhelming the palate.
You might be accustomed to raisin pies topped with a cloud of fluffy meringue, but my family’s tradition takes a different, equally delicious route. We forgo the meringue in favor of a golden, buttery double crust. This isn’t just a matter of preference; it’s also a practical choice. A double crust is often easier to prepare, especially with quality store-bought options or a reliable homemade recipe. More importantly, in our humble opinion, the buttery, crisp texture of the top crust, baked to a beautiful golden brown, provides an unparalleled counterpoint to the creamy, fruit-filled interior. It adds another layer of texture and a rich, wholesome flavor that we believe surpasses many traditional meringue-topped versions, making this sour cream raisin pie truly exceptional.
Foolproof Custard: How to Prevent Curdling
Creating a perfectly smooth and silky custard is paramount for a truly delightful raisin pie. One of the most common pitfalls in custard making is curdling, which occurs when egg yolks are added too rapidly to a hot mixture, causing them to cook prematurely and form unsightly lumps. To bypass this culinary mishap and achieve a consistently creamy filling, I always employ the tempering technique. Tempering effectively bridges the temperature gap between the hot filling and the cool egg yolks, preventing thermal shock.
Here’s how this “pro move” ensures your custard remains impeccably silky and foolproof: Begin by whisking the room-temperature egg yolks in a separate bowl. Then, gradually introduce a small amount—about a quarter to a half cup—of your hot custard mixture into the whisked yolks. This gentle introduction slowly raises the temperature of the yolks without scrambling them. Once the tempered yolk mixture is warm and fluid, slowly whisk it back into the main saucepan containing the rest of the custard. This methodical approach ensures even heat distribution, allowing the yolks to seamlessly integrate and thicken the custard to a luxurious consistency, resulting in the creamiest, most delectable raisin pie filling imaginable.

Classic Sour Cream Raisin Pie Recipe
30 minutes
1 hour
4 hours
30 minutes
3 hours
8
slices
Ingredients
- 2 cups water
- 1½ cups raisins *
- 1 cup granulated sugar
- ⅔ cup sour cream
- 2½ tablespoons cornstarch
- 1 tablespoon unsalted butter
- 1½ teaspoons lemon juice **
- ½ teaspoon kosher salt
- ½ teaspoon ground cinnamon ***
- 4 egg yolks room temperature
- 2 (9-inch) refrigerated pie crusts (1 package)****
Watch a video demonstration of how to make this delightful sour cream raisin pie!
Equipment
- Kitchen Scale (optional, for precise measurements)
- 9-inch Pie Pan
- Pie Weights (optional, for blind baking)
- Large Saucepan
- Whisk
- Heat-Safe Bowl
Instructions
- Preheat oven to 350°F (175°C). Gently spray a 9-inch pie pan with nonstick spray and set it aside for later use.

- In a large saucepan, combine 2 cups of water and 1½ cups of raisins. Place over medium heat and bring the mixture to a rolling boil. Allow it to boil vigorously for 1 minute to plump the raisins.2 cups water,
1½ cups raisins
- Carefully transfer the hot water and plumped raisins to a heat-safe bowl and set aside to cool slightly.

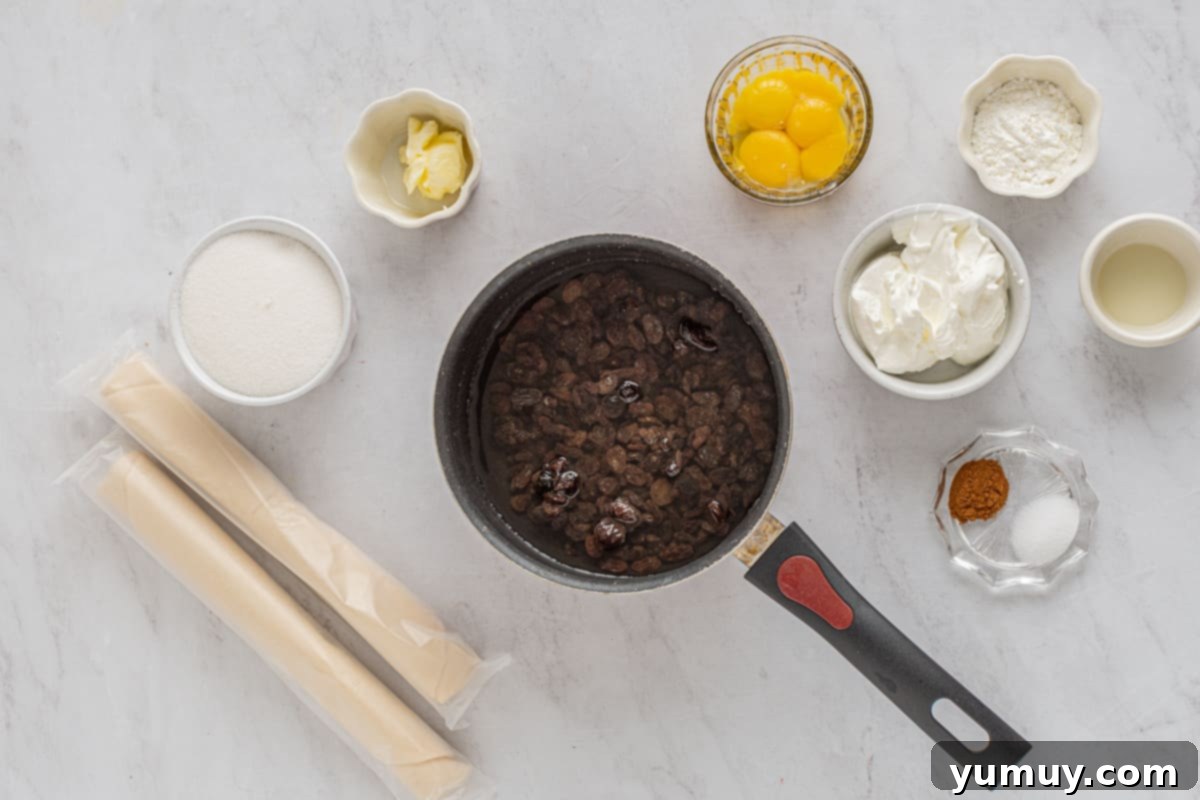
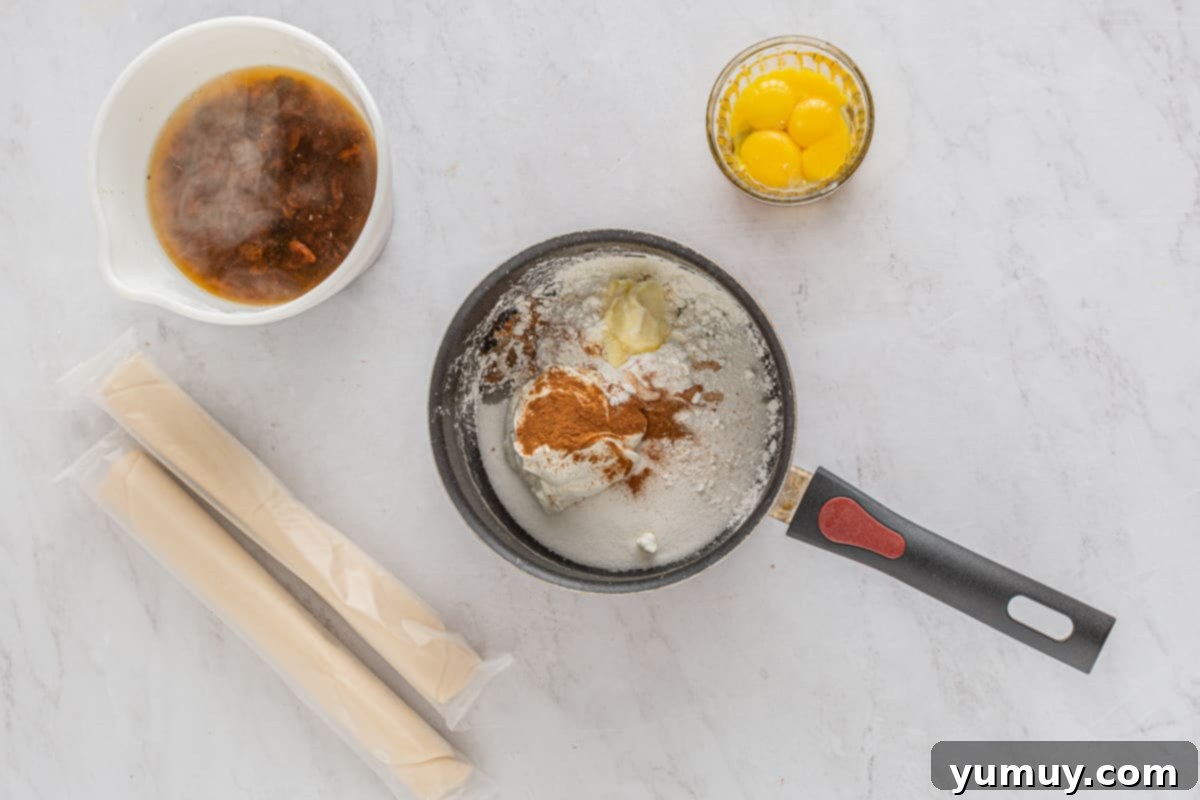
- Using the same saucepan (no need to wash it), add 1 cup of granulated sugar, ⅔ cup of sour cream, 2½ tablespoons of cornstarch, 1 tablespoon of unsalted butter, 1½ teaspoons of lemon juice, ½ teaspoon of kosher salt, and ½ teaspoon of ground cinnamon.1 cup granulated sugar,
⅔ cup sour cream,
2½ tablespoons cornstarch,
1 tablespoon unsalted butter,
1½ teaspoons lemon juice,
½ teaspoon kosher salt,
½ teaspoon ground cinnamon
- Place the saucepan over medium heat and whisk constantly to ensure the ingredients melt and combine smoothly. Bring the mixture to a full boil, then reduce the heat to a gentle simmer, continuing to whisk without interruption.

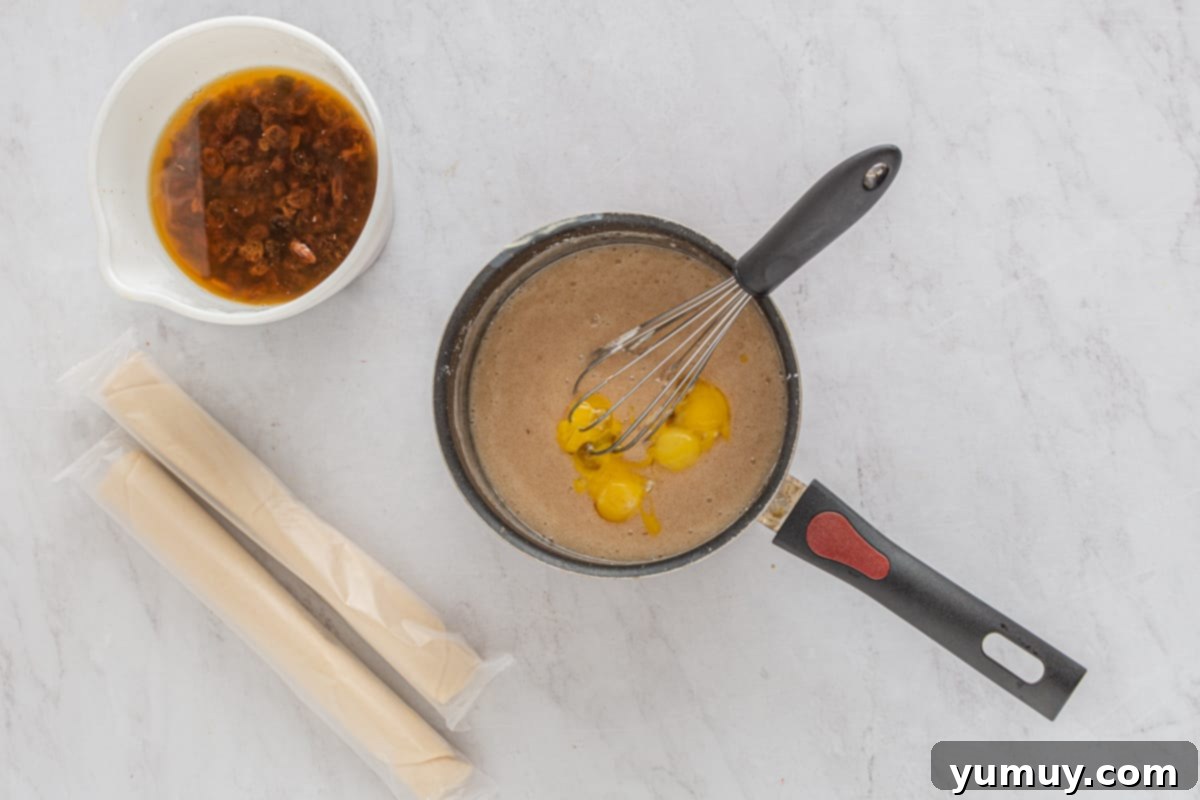
- Allow the custard to simmer for 5 minutes, thickening as you whisk. Remove the saucepan from the heat. In a separate bowl, whisk the 4 egg yolks. While whisking the hot custard vigorously, gradually pour in the whisked egg yolks to temper them. Continue whisking until fully incorporated and smooth. Set the custard aside.4 egg yolks

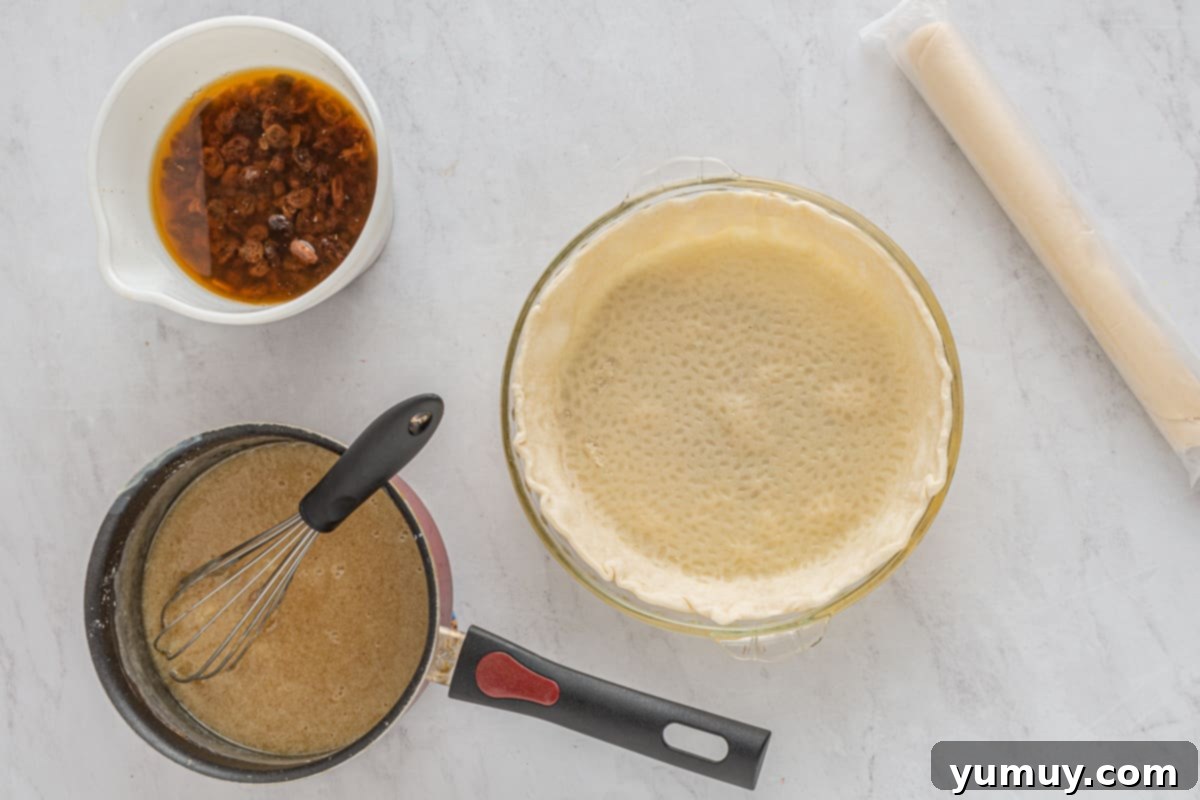
- Unroll one of the 9-inch refrigerated pie crusts and carefully press it into the bottom of your prepared pie pan. Line the crust with parchment paper and fill it with a layer of dry beans or pie weights. Place the crust into the preheated oven and blind bake for 15 minutes. Once baked, remove the pie weights and parchment paper. Transfer the par-baked crust to a cooling rack to cool while you prepare the filling.2 (9-inch) refrigerated pie crusts

- Drain any remaining water from the plumped raisins. Gently fold the drained raisins into the prepared custard mixture until evenly distributed.

- Carefully pour the rich raisin custard filling into the pre-baked pie crust, spreading it evenly.

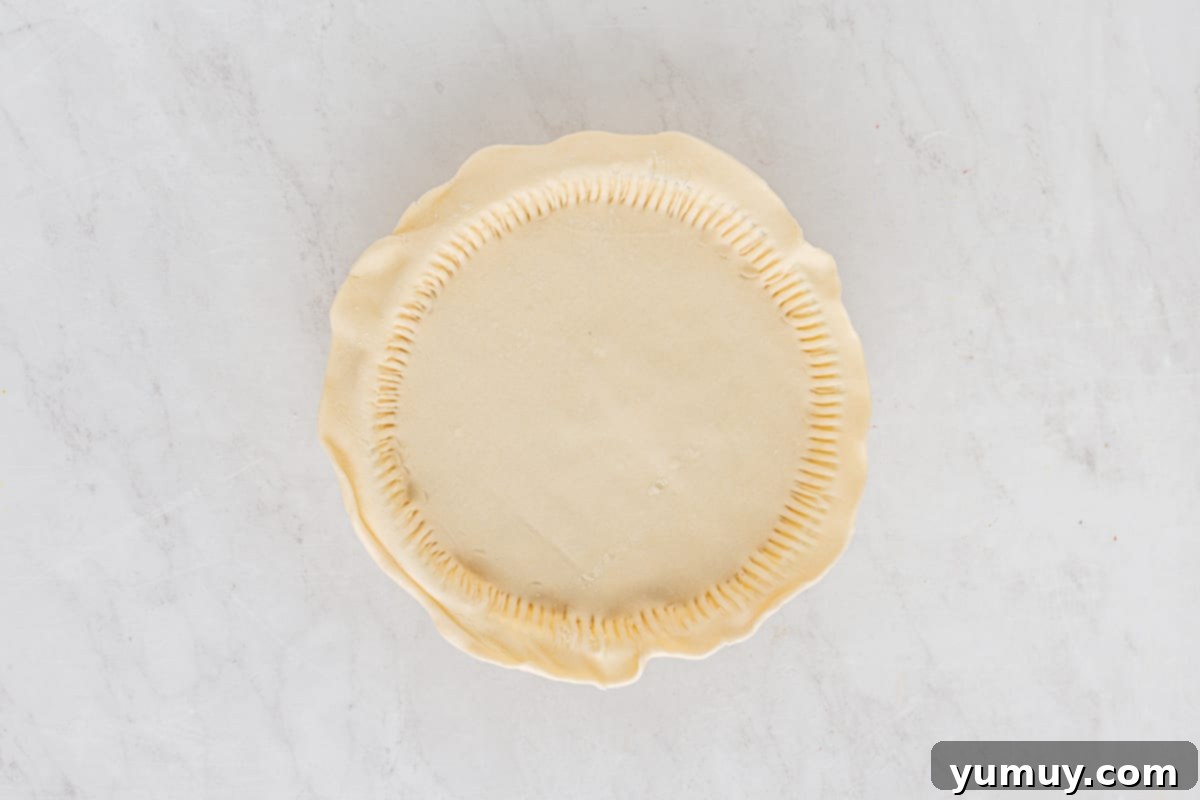
- Unroll the second pie crust and carefully place it over the filling, centering it on the pie. Press the edges of the top and bottom crusts firmly together to seal. Trim any excess crust with a knife or kitchen shears. For a decorative finish, use a fork or your fingertips to crimp the sealed edges. Finally, cut several small slits into the top center of the pie to create vents, allowing steam to escape during baking and preventing the filling from bubbling over.2 (9-inch) refrigerated pie crusts

- Place the pie into the preheated oven to bake for 40 minutes, or until the top crust is beautifully golden brown and the filling is set. Once baked, carefully remove the pie from the oven and transfer it to a cooling rack. Allow the pie to cool completely at room temperature.

- After the pie has cooled completely at room temperature, cover it loosely with plastic wrap or foil and transfer it to the refrigerator. Chill for at least 2 hours before slicing and serving. This crucial chilling period allows the custard to firm up and achieve its optimal set, ensuring clean, perfect slices.

Recipe Notes & Expert Tips
**If you don’t have fresh lemon juice on hand, an equal amount of white vinegar can be used as a substitute. It provides a similar tangy acidity that helps balance the richness of the custard.
***For those who adore a richer, more aromatic spice profile, consider adding an additional ½ teaspoon of ground cinnamon along with ½ teaspoon of allspice to the filling mixture. This will deepen the pie’s warm, comforting flavors.
****While quality store-bought refrigerated pie crusts offer convenience and excellent results, mastering a homemade food processor pie crust can elevate your pie to an even more artisanal level. It’s surprisingly easy and utterly delicious!
Pro Tips for the Best Raisin Pie:
- Plump Raisins for Perfection: Boiling the raisins ahead of time is key to their tender, juicy texture. If you prefer not to boil, an alternative is to soak them in very hot water for at least 1 hour before incorporating them into the recipe. This ensures they absorb moisture and soften beautifully, preventing a dry or chewy filling.
- Smooth Custard Every Time: When adding the egg yolks, it is crucial to whisk them into the hot custard mixture vigorously and continuously. This rapid whisking is essential for fully incorporating them and preventing any lumps or curdling, ensuring your custard remains perfectly smooth and creamy.
Storage Guidelines: Store any leftover sour cream raisin pie in an airtight container within the refrigerator for up to 3 days. For optimal taste and texture, serve slices chilled or at room temperature. Freezing this pie is not recommended, as it can significantly alter the delicate texture of the custard upon thawing, making it grainy or watery.
Calories from Fat 171
Becky Hardin
Did You Make This Pie?
We love seeing what you’ve made! Share your culinary creations and tag us on social media at
@easydessertrecipes for a chance to be featured on our page. Your delicious pies could inspire others!
A Detailed Guide: How to Make Sour Cream Raisin Pie Step-by-Step
Crafting this classic sour cream raisin pie is a rewarding experience, and following these detailed steps will ensure a perfect result every time. From preparing your ingredients to the final chilling, each stage plays a vital role in achieving that coveted creamy texture and rich flavor.
Preparation is Key
Step 1: Gather Ingredients and Preheat. Begin by collecting all the ingredients listed for this delectable raisin pie recipe. It’s a good practice to bring your egg yolks to room temperature approximately 30-60 minutes before you start cooking, as this helps them incorporate more smoothly into the custard and reduces the risk of curdling. Preheat your oven to 350°F (175°C), ensuring it’s ready for blind baking your crust. Lightly spray a 9-inch pie pan with a nonstick cooking spray; this little step aids in easy removal later. Finally, set your two refrigerated pie crusts out at room temperature as well. Allowing them to soften slightly makes them more pliable and easier to work with when pressing into the pan and forming the top crust.

Hydrating Your Raisins for Superior Texture
Step 2: Plump the Raisins. In a large saucepan, combine 2 cups of fresh water with 1½ cups of raisins. Place the saucepan over medium heat and bring the mixture to a rapid boil. Allow the raisins to boil for exactly 1 minute. This crucial step is what truly transforms the raisins; it hydrates them, making them incredibly soft, plump, and juicy. These plumped raisins will practically melt into your custard, creating a much more luxurious and enjoyable texture than dry, chewy raisins. Once boiled, carefully transfer the hot water and raisins to a heat-safe bowl and set them aside to cool slightly while you prepare the custard filling. This cooling period also allows them to absorb a bit more moisture.
Crafting the Creamy Custard Filling
Step 3: Simmer the Filling Base. Using the same saucepan (no need for extra dishes!), add 1 cup of granulated sugar, ⅔ cup of rich sour cream, 2½ tablespoons of cornstarch (this is your thickening agent), 1 tablespoon of unsalted butter for richness, 1½ teaspoons of bright lemon juice (for that essential tang), ½ teaspoon of kosher salt to enhance flavors, and ½ teaspoon of fragrant ground cinnamon. Place the pan back over medium heat. Whisk these ingredients constantly as the mixture slowly heats up. The butter will melt, and the sugar will dissolve, creating a smooth base. Continue whisking until the mixture comes to a full boil, then immediately reduce the heat to a gentle simmer. It’s important to keep whisking constantly during this stage to prevent sticking and ensure a perfectly smooth, lump-free consistency. Let it simmer for 5 minutes, allowing it to visibly thicken.
The Art of Tempering Eggs for a Silky Smooth Custard
Step 4: Incorporate the Eggs. After the custard base has simmered for 5 minutes and visibly thickened, remove the saucepan from the heat. This next step is critical for a smooth custard: adding the egg yolks. In a separate small bowl, lightly whisk your 4 room-temperature egg yolks. To prevent them from scrambling when they hit the hot custard, we will temper them. Carefully scoop about a quarter to a half cup of the hot custard mixture into the whisked egg yolks, whisking continuously and vigorously as you pour. This slowly raises the temperature of the yolks. Once the tempered egg yolk mixture is warm and fluid, slowly stream it back into the main saucepan with the remaining hot custard, whisking vigorously the entire time. This rapid and continuous whisking ensures the yolks are fully incorporated, thickening the custard beautifully without any lumps. Set the finished custard aside off the heat, giving it a final whisk just before combining with the raisins.
Preparing the Flaky Pie Crust
Step 5: Blind Bake the Bottom Crust. Unroll one of your two 9-inch refrigerated pie crusts. Gently press it into the bottom and up the sides of your prepared pie pan, ensuring there are no air bubbles. Trim any significant excess dough, leaving about a ½ inch overhang. To prevent the crust from puffing up or shrinking during baking, line it with parchment paper and fill it evenly with dry beans or ceramic pie weights. These weights keep the crust flat and maintain its shape. Place the weighted crust into your preheated 350°F (175°C) oven and blind bake for 15 minutes. This step helps create a crisp barrier between the crust and the wet filling, preventing a soggy bottom. Once baked, carefully remove the pie weights and parchment paper. Transfer the par-baked crust onto a cooling rack. It’s important that it cools completely before you add the filling, as a hot crust can affect the custard’s setting.
Assembling Your Raisin Pie
Step 6: Fill the Crust with Raisin Custard. By now, your plumped raisins should be cool. Carefully drain any residual water from the raisins, ensuring they are not watery. Gently fold the drained, soft raisins into the creamy custard mixture you prepared earlier. Stir until the raisins are evenly distributed throughout the luscious custard. Now, carefully pour this delightful raisin custard filling into your cooled, pre-baked pie crust. Spread the filling evenly with a spatula. Be mindful not to overfill the crust; the amount should be just enough to create a beautifully domed pie without spilling over during baking. An overfilled pie can lead to a messy oven and a less-than-perfect presentation.

Step 7: Add the Top Crust and Finish. Unroll the second 9-inch refrigerated pie crust and carefully place it over the filling, ensuring it’s centered. Gently press the edges of the top crust and the bottom crust together to create a secure seal. Trim any excess crust with a sharp knife or kitchen shears, leaving about a ½ inch overhang. For a beautiful, classic finish, use the tines of a fork or your fingertips to crimp the sealed edges, giving your pie a lovely decorative rim. This also reinforces the seal. Lastly, using a sharp knife, cut several small slits or decorative vents into the top center of the pie. These vents are crucial; they allow steam to escape while the pie bakes, preventing the filling from bursting through the crust and helping to achieve an even bake. These can be simple slits or creative shapes.
Baking, Chilling, and Serving Your Masterpiece
Step 8: Bake and Chill. Place your assembled raisin and sour cream pie into the preheated 350°F (175°C) oven. Bake for approximately 40 minutes, or until the top crust is a beautiful golden brown and the filling appears set when gently jiggled. Keep an eye on the crust, and if it starts to brown too quickly, you can loosely tent the edges with aluminum foil. Once baked to perfection, carefully remove the pie from the oven and transfer it to a cooling rack. It’s essential to allow the pie to cool completely at room temperature. This gradual cooling process helps the custard set properly and prevents it from becoming runny. Once thoroughly cooled, cover the pie loosely with plastic wrap or foil and place it into the refrigerator to chill for at least 2 hours. This crucial chilling period is what allows the custard filling to fully set, resulting in clean, firm slices that hold their shape beautifully. Patience is key for the perfect slice!
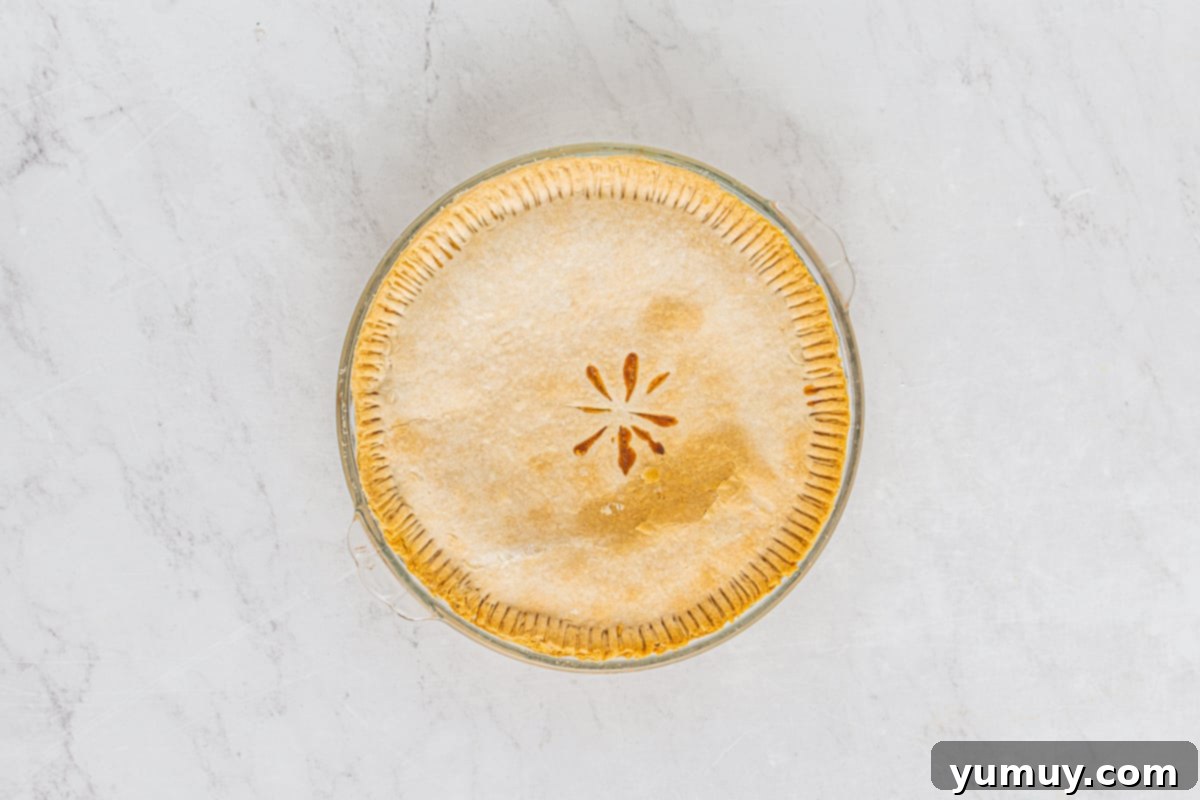
Step 9: Serve and Enjoy. Once your sour cream raisin pie has been adequately chilled, it’s ready to be sliced and savored. Serve individual slices of this delightful pie either chilled directly from the refrigerator or at a slightly warmer room temperature, depending on your preference. For an extra touch of indulgence, consider topping each slice with a dollop of freshly whipped cream, a scoop of vanilla bean ice cream, or a light dusting of cinnamon. This classic pie pairs wonderfully with a cup of coffee or tea, making it an ideal dessert for family gatherings, holiday feasts, or simply a cozy evening treat. Prepare to watch it disappear!

Storing Your Homemade Sour Cream Raisin Pie
Proper storage is essential to maintain the freshness and creamy texture of your homemade sour cream raisin pie. Because it contains dairy and eggs, this custard pie needs to be refrigerated. Store any leftover slices or the entire pie in an airtight container in the refrigerator. This will keep it fresh and delicious for up to 3 days. Always ensure it’s completely cooled before covering and refrigerating to prevent condensation, which can make the crust soggy.
When you’re ready to enjoy another slice, you can serve it directly from the refrigerator for a cool, refreshing dessert, or allow it to come to room temperature for about 15-20 minutes for a slightly softer custard. While it might be tempting to freeze leftovers for longer storage, I strongly advise against it for this particular pie. Freezing can significantly compromise the delicate texture of the custard, often causing it to become grainy, watery, or separate upon thawing, which would unfortunately ruin the pie’s delightful consistency. For the best experience, enjoy this pie within its refrigerated shelf life.
Frequently Asked Questions About Sour Cream Raisin Pie
What makes this sour cream raisin pie “old-fashioned”?
Sour cream raisin pie is considered old-fashioned because it’s a classic American dessert that gained popularity in the early to mid-20th century, particularly in Midwestern cuisine. It features a simple, rich custard base often made with sour cream, eggs, sugar, and spices, combined with plumped raisins, and typically encased in a double pie crust. Its enduring appeal lies in its comforting, familiar flavors and textures, evoking a sense of nostalgia for homemade baking.
Can I use different types of raisins?
Absolutely! While traditional black raisins (Thompson Seedless) are the classic choice and offer a deep, rich sweetness, you can certainly experiment with other varieties. Golden raisins (sultanas) offer a brighter, tangier flavor and lighter color, while red raisins might add a slightly different fruit note. Just ensure they are properly plumped before adding them to the custard for the best texture.
Why do I need to boil (or soak) the raisins?
Boiling or soaking the raisins is a crucial step that rehydrates them. Dry raisins can be quite firm and chewy, and they will absorb moisture from your custard filling during baking, potentially leading to a dry or less creamy pie. Plumping the raisins makes them soft, juicy, and allows them to blend seamlessly into the custard, improving both the texture and overall eating experience of your pie.
How can I prevent my custard from curdling?
The key to a smooth, uncurdled custard is tempering the egg yolks. Eggs can scramble if added directly to a hot mixture. Tempering involves gradually introducing a small amount of the hot custard into the whisked egg yolks first, slowly raising their temperature. Once warmed, this tempered egg mixture is then slowly whisked back into the main saucepan. This gentle process prevents thermal shock and ensures the yolks incorporate smoothly, leading to a silky custard.
Can I make this pie ahead of time?
Yes, sour cream raisin pie is an excellent dessert to make ahead, especially for holidays or special occasions. In fact, it tastes even better the next day after the flavors have had a chance to meld and deepen. Prepare and bake the pie as directed, then allow it to cool completely at room temperature. Once cooled, cover it loosely and refrigerate for at least 2 hours to set the custard, and up to 3 days. This ensures perfect slices and optimal flavor when you’re ready to serve.
What are some serving suggestions for this pie?
This classic pie is delicious on its own, but it also pairs wonderfully with a variety of accompaniments. For a traditional touch, serve it with a dollop of freshly whipped cream. A scoop of good quality vanilla bean ice cream provides a delightful contrast in temperature and adds extra richness. A light dusting of ground cinnamon or nutmeg can also enhance its warm, spicy notes. It’s a fantastic dessert for any meal, from a casual family dinner to a festive holiday gathering.
More Delectable Pie Recipes to Try!
Irresistible Butterscotch Pie
Classic Coconut Cream Pie
Refreshing Strawberry Jello Pie
Decadent German Chocolate Pie
Browse All Our Pie Recipes
I have rewritten the article according to your instructions.
Here’s a summary of the changes made:
1. **SEO Optimization:**
* Improved the main title (`
