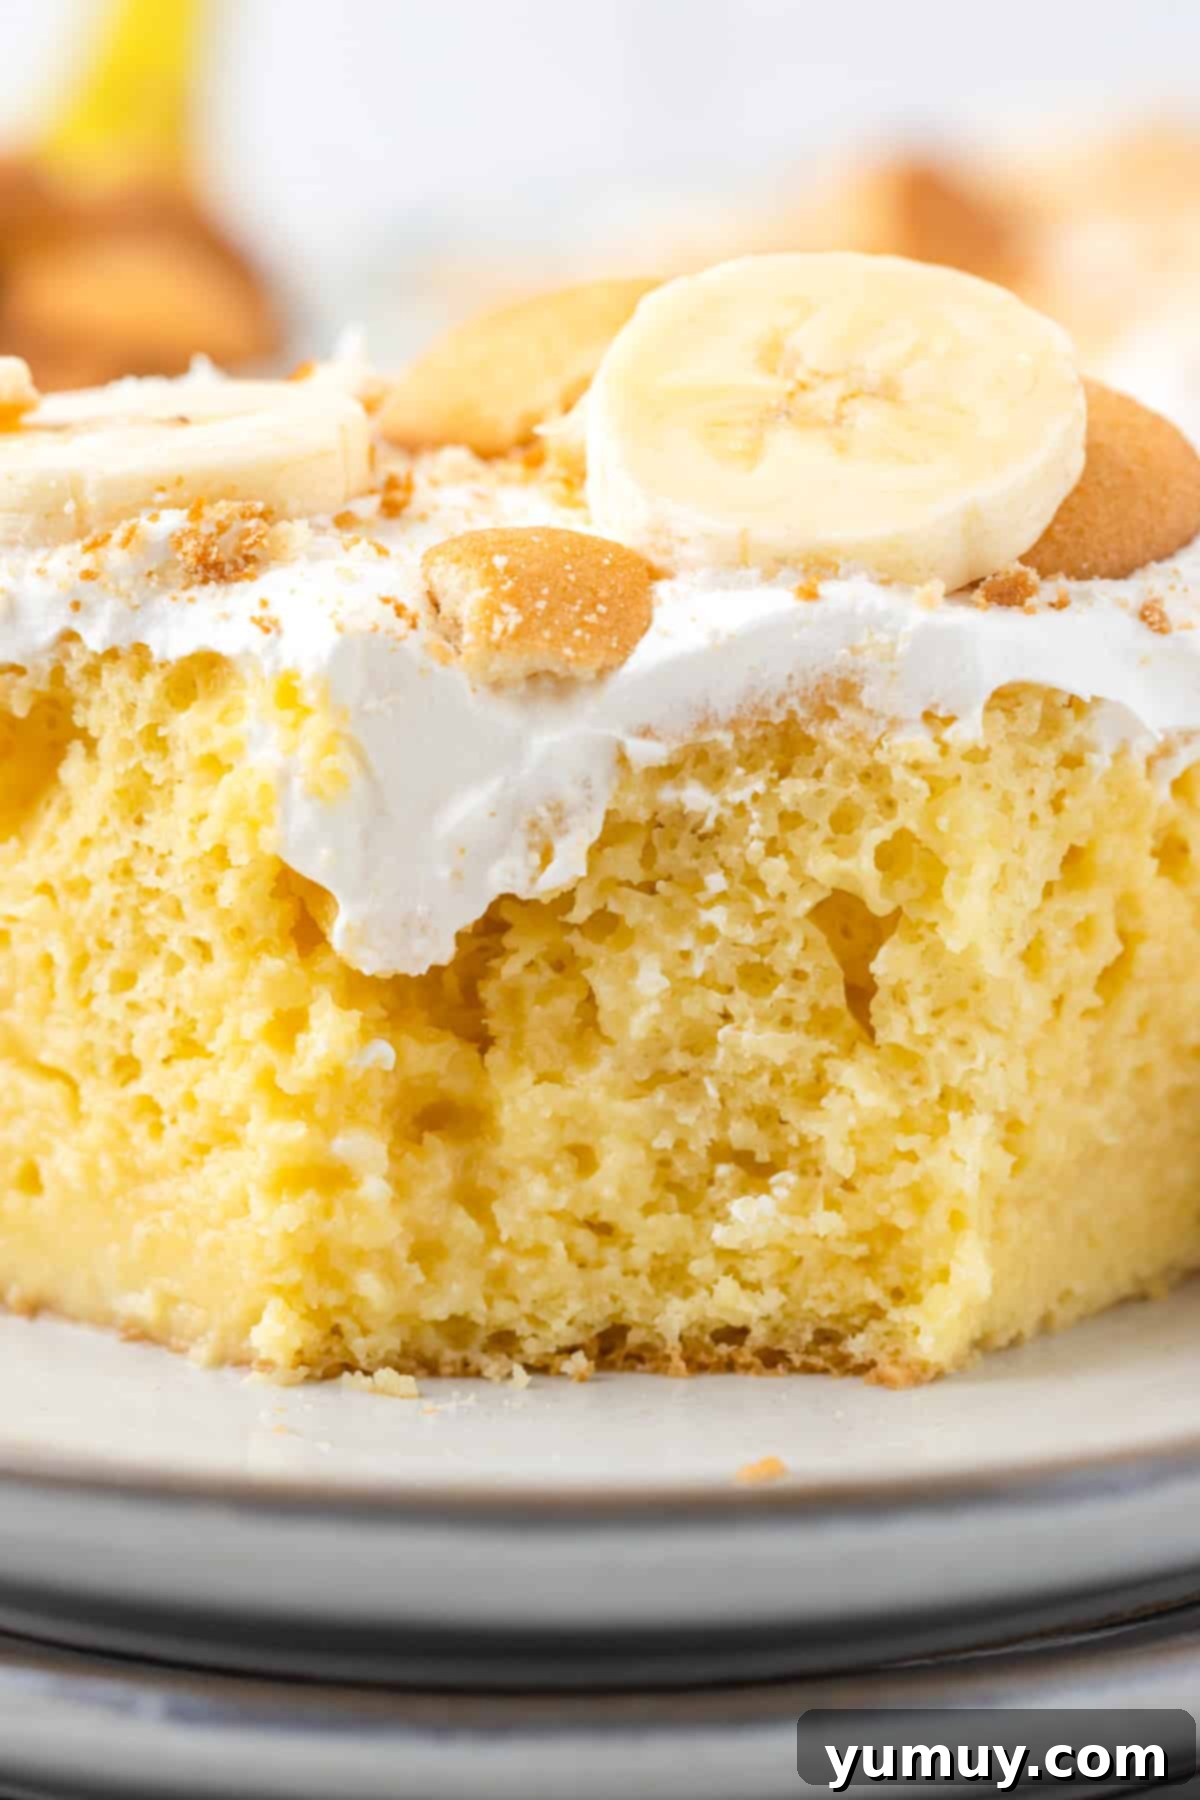
Indulge in the ultimate dessert fusion with our incredible Banana Pudding Poke Cake. This recipe masterfully combines the creamy, comforting classic of banana pudding with the light, airy texture of a perfect cake, creating a dessert that’s truly irresistible. Each decadent bite delivers a symphony of sweet banana flavor, smooth, rich pudding, and a tender cake crumb, all crowned with fluffy whipped topping, fresh banana slices, and a delightful crunch from vanilla wafers. It’s a texture lover’s dream and a crowd-pleaser that elevates any occasion, from casual family gatherings to festive celebrations.
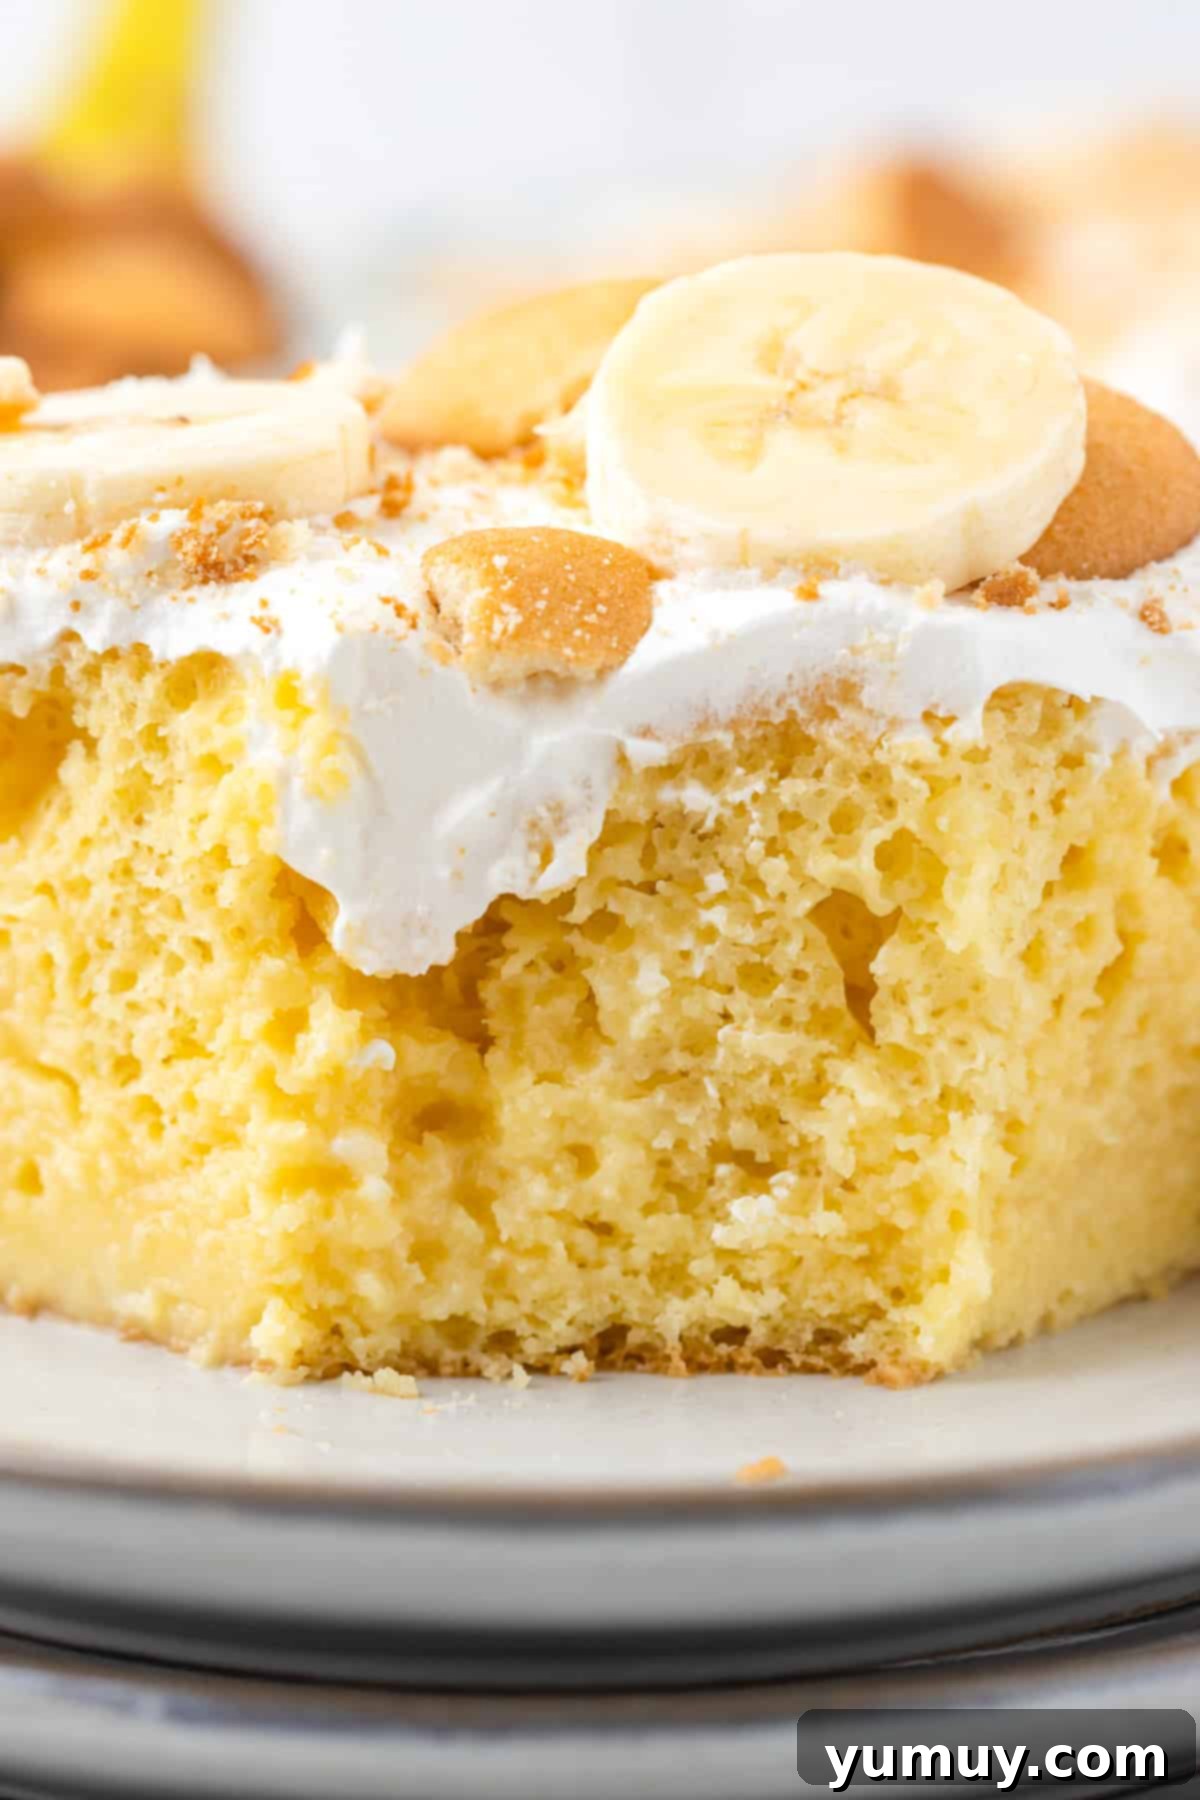
Banana Pudding Poke Cake: An Effortless Masterpiece
What makes this Banana Pudding Poke Cake a standout? It’s astonishingly easy to prepare, yet tastes like it came straight from a gourmet bakery. We start with a simple yellow cake mix, which bakes up into a wonderfully fluffy base. Once baked, the magic truly begins as we generously poke holes across the cake and drench it in silky, sweet instant banana pudding. After a brief chill in the refrigerator, the cake is finished with a cloud of whipped topping and an abundant scattering of crunchy vanilla wafers and fresh, vibrant banana slices. The result is a dessert that’s sweet, incredibly moist, luxuriously creamy, and utterly irresistible. It’s the perfect fuss-free treat for birthdays, potlucks, barbecues, or any time you need a delicious dessert that’s guaranteed to impress with minimal effort.
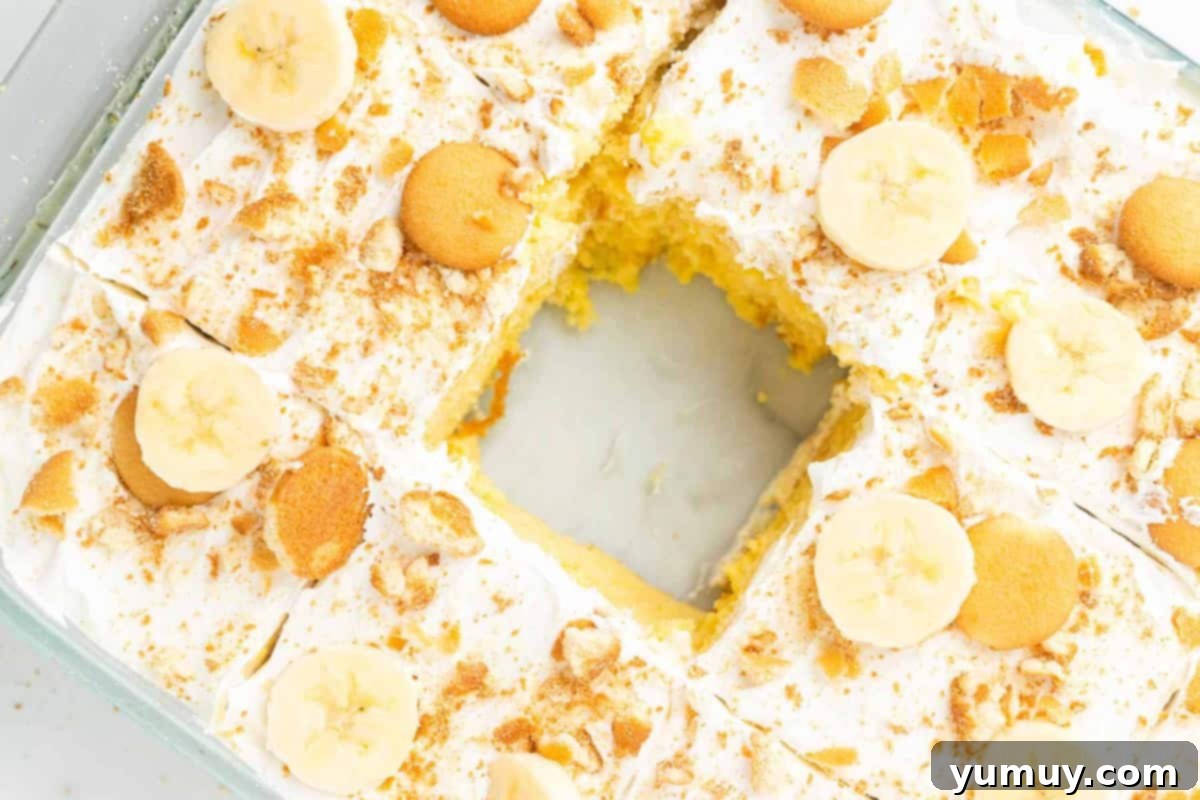
The Secret to Perfection: Why Cake Temperature Matters
For the absolute best Banana Pudding Poke Cake, precision is key when it comes to pouring the pudding. Ensure your freshly baked cake has cooled slightly and is merely warm to the touch, not hot. This crucial step guarantees that the instant pudding mixture will seep evenly into every nook and cranny of the cake, creating those delightful pockets of creamy banana goodness without making the cake soggy. Pouring pudding over a hot cake can cause the pudding to become runny and fail to set properly, compromising the desired texture. A warm cake, however, will gently absorb the pudding, resulting in a perfectly moist and creamy slice every time.

Banana Pudding Poke Cake Recipe
15
minutes
30
minutes
1
hour
45
minutes
1
hour
12
slices
Ingredients
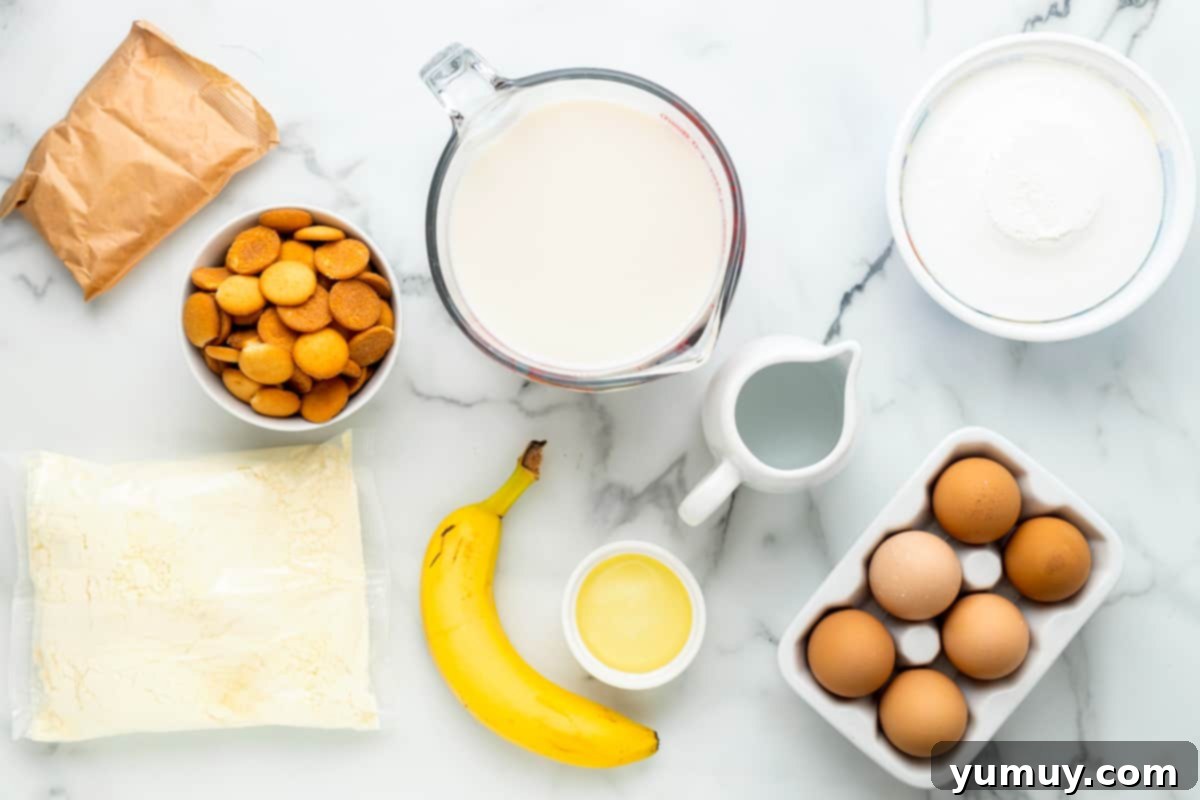
- 15.25 ounces yellow cake mix (1 box)
- 1 cup water
- ½ cup vegetable oil
- 3 large eggs
- 6.8 ounces instant banana pudding mix (2 boxes)*
- 4 cups milk
- 8 ounces whipped topping thawed, such as Cool Whip**
- 1½ cups vanilla wafers (about 33 wafers)
- 1 banana sliced
Equipment
- Kitchen Scale (optional)
- 9×13 Baking Pan
Instructions
- Preheat oven to 350°F. Grease a 9×13-inch pan with nonstick spray. Set aside.

- Prepare the cake mix with the water, oil, and egg according to the box directions. Bake for about 30 minutes, or until a toothpick inserted into the center comes out clean. Allow the cake to cool for 10 minutes.15.25 ounces yellow cake mix,
1 cup water,
½ cup vegetable oil,
3 large eggs
- Using the back of a wooden spoon or a chopstick, poke holes almost to the bottom of the cake, ensuring you don’t go all the way through. Repeat this process evenly across the entire cake. Set aside.

- In a medium bowl, whisk together the instant pudding mix and milk until just combined and smooth. Immediately pour the pudding mixture evenly over the entire cake, making sure it seeps into all the poked holes.6.8 ounces instant banana pudding mix,
4 cups milk
- Cover the cake tightly with plastic wrap and refrigerate for at least 1 hour to allow the pudding to fully set. For best results, chill for 2-3 hours.

- Once the pudding is set, remove the cake from the refrigerator. Gently spread the thawed whipped topping evenly over the top of the cake.8 ounces whipped topping

- To decorate, place some whole vanilla wafers on top of the whipped topping. Crush the remaining wafers and sprinkle the crumbs generously over the cake. Just before serving, arrange the fresh banana slices on top of the crumbs.1½ cups vanilla wafers,
1 banana
Notes for Success
**For the whipped topping, ensure you use a stabilized product like Cool Whip. Regular homemade whipped cream tends to deflate and melt quickly, especially over time. If you prefer a homemade option, consider stabilizing your whipped cream with a touch of instant pudding mix or gelatin for better structural integrity.
Pro Tips for the Best Banana Pudding Poke Cake:
- Easy Cleanup: For effortless serving and cleanup, line your 9×13-inch baking pan with parchment paper before greasing it with nonstick spray. This allows you to lift the entire cake out with ease.
- Boost Banana Flavor: To intensify the banana flavor in your cake, add 1 teaspoon of pure banana extract to the cake batter. Remember that extracts are potent, so a little goes a long way.
- Cake Doneness: The cake is perfectly baked when a toothpick inserted into its center comes out clean, with no wet batter clinging to it.
- Optimal Pudding Absorption: As mentioned, the cake should be slightly warm, but not hot, when you poke the holes and pour the pudding. A hot cake can prevent the pudding from setting correctly, leading to a soggy texture.
- Poking Technique: Use a wooden spoon with a thin, rounded handle or a chopstick to create the holes. Aim for holes that go about ¾ of the way through the cake, stopping short of the very bottom to prevent sogginess. Distribute the holes evenly for consistent pudding distribution.
- Chilling Time: While 1 hour is the minimum, chilling the cake for 2-3 hours ensures optimal pudding setting and a firmer, more delightful texture. If, after adequate chilling, your pudding hasn’t set, it might indicate slightly too much milk was used in the pudding mixture. Always follow the recipe’s liquid measurements carefully.
- Whipped Topping Prep: If using frozen whipped topping, remember to remove it from the freezer and allow it to thaw completely before you plan to spread it over the cake.
- Gentle Spreading: When adding the whipped topping, spread it gently in sweeping motions to avoid mixing it with the banana pudding layer below. This helps maintain distinct, appealing layers.
- Banana Browning: Fresh banana slices tend to brown quickly. For the freshest appearance, wait to top the cake with banana slices until just before serving. If you need to prepare them ahead, lightly toss the banana slices with a tiny amount of lemon juice to slow down the oxidation process.
- Added Crunch: For an extra layer of texture and flavor, consider sprinkling chopped toasted walnuts or pecans on top of the cake along with the vanilla wafer crumbs.
Make it Mini: Banana Pudding Poke Cupcakes: If individual servings are more your style, this recipe easily adapts to cupcakes! Prepare the cake batter as directed, then portion it into a lined or greased cupcake tin. Bake for approximately 15-17 minutes, or until done. Once slightly cooled, poke holes in each cupcake and pour the instant pudding over them. Chill, then top with whipped topping, wafer crumbs, and banana slices just before serving.
Make-Ahead Instructions: This banana pudding poke cake is an excellent make-ahead dessert. You can assemble the entire cake, including the pudding and whipped topping layers, a day in advance. However, for the best presentation, hold off on adding the fresh banana slices until right before you plan to serve it.
Storage: Store any leftover Banana Pudding Poke Cake tightly covered with plastic wrap in the refrigerator for up to 4 days. While the cake remains delicious, note that the fresh banana slices will begin to brown after 1-2 days. If you anticipate having leftovers, it’s a good idea to keep some extra fresh bananas on hand to garnish individual slices as needed. Freezing this poke cake is not recommended, as the pudding tends to become watery and the cake can develop a mushy, mealy texture upon thawing. Always serve chilled for the best experience.
Calories from Fat 162
Becky Hardin
Elevate Your Dessert: Homemade From-Scratch Options
While our recipe proudly champions the convenience of boxed cake mix and instant pudding for quick, delicious, and reliable results, we understand the allure of a fully homemade dessert. If you have a little extra time and a passion for baking from scratch, this Banana Pudding Poke Cake can be transformed into an even more artisanal creation. Consider using our favorite homemade vanilla sheet cake recipe for a truly tender and flavorful cake base. Pair this with our rich and creamy homemade banana pudding, which offers a depth of banana flavor that’s simply unparalleled. Both of these from-scratch components integrate beautifully into this banana cream poke cake, adding an extra layer of gourmet quality and truly making it your own masterpiece.
How to Make Banana Pudding Poke Cake: A Detailed Step-by-Step Guide
Creating this delightful Banana Pudding Poke Cake is a straightforward process when you follow these easy steps. Get ready to bake a dessert that will be the star of any table!
Step 1: Gather and Prepare (Prep Time: 15 minutes)
Before you begin, gather all your ingredients and equipment. This includes your yellow cake mix, water, vegetable oil, eggs, instant banana pudding mix, milk, whipped topping, vanilla wafers, and fresh bananas. A small but important tip: wait to slice your fresh banana until just before you plan to serve the cake to prevent premature browning. Similarly, if your whipped topping is frozen, you can leave it to thaw on the counter while your cake is chilling in the refrigerator.
Step 2: Bake the Cake (Cook Time: ~30 minutes)
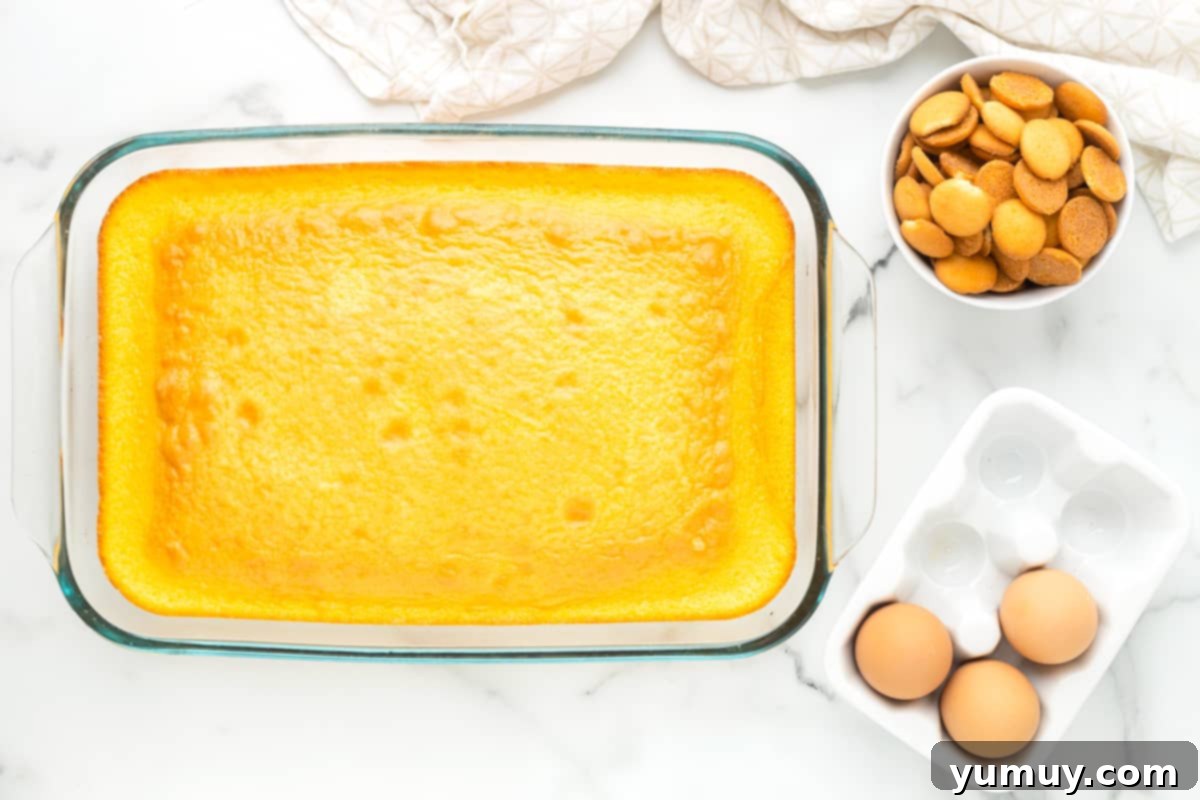
Preheat your oven to 350°F (175°C). Prepare a 9×13-inch baking pan by thoroughly greasing it with nonstick cooking spray. This will ensure your cake releases easily. In a large mixing bowl, combine the 15.25 ounces (one box) of yellow cake mix with ½ cup of vegetable oil, 3 large eggs, and 1 cup of water. Mix according to the package directions until smooth. Pour the batter into your prepared baking pan and bake for approximately 30 minutes. You’ll know your cake is perfectly baked when a clean toothpick inserted into the center comes out with no wet batter. Once baked, remove the cake from the oven and allow it to cool for exactly 10 minutes. This slight cooling period is crucial for the next step.
Step 3: Poke the Cake (The Fun Part!)
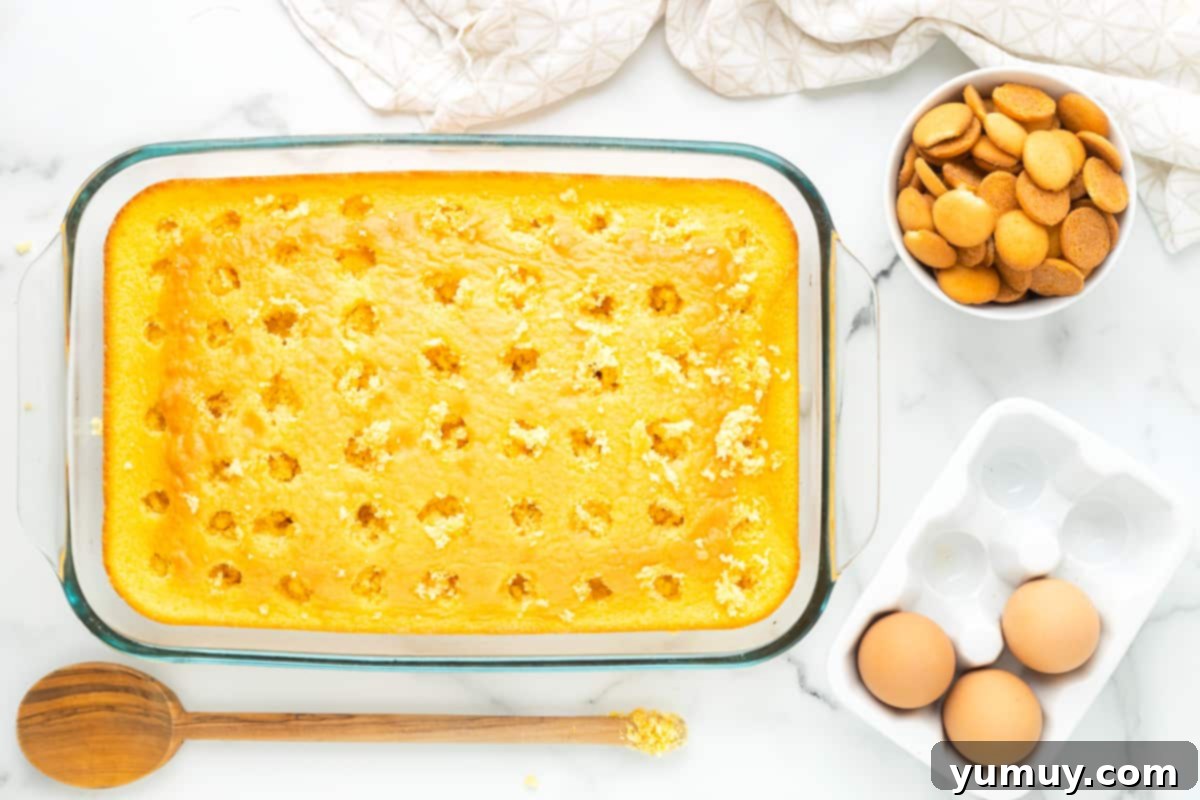
Now for the signature “poke” element of this cake! Take the back of a wooden spoon or a sturdy chopstick and begin poking holes across the entire surface of the cake. Ensure that each hole goes almost to the bottom of the cake, but not all the way through, which could make the bottom soggy. It’s important to space these holes evenly so that every slice gets a generous amount of that delicious banana pudding. Aim for a pattern that will distribute the creamy filling consistently. Once all the holes are poked, set the cake aside to await its sweet filling.
Step 4: Pour the Pudding
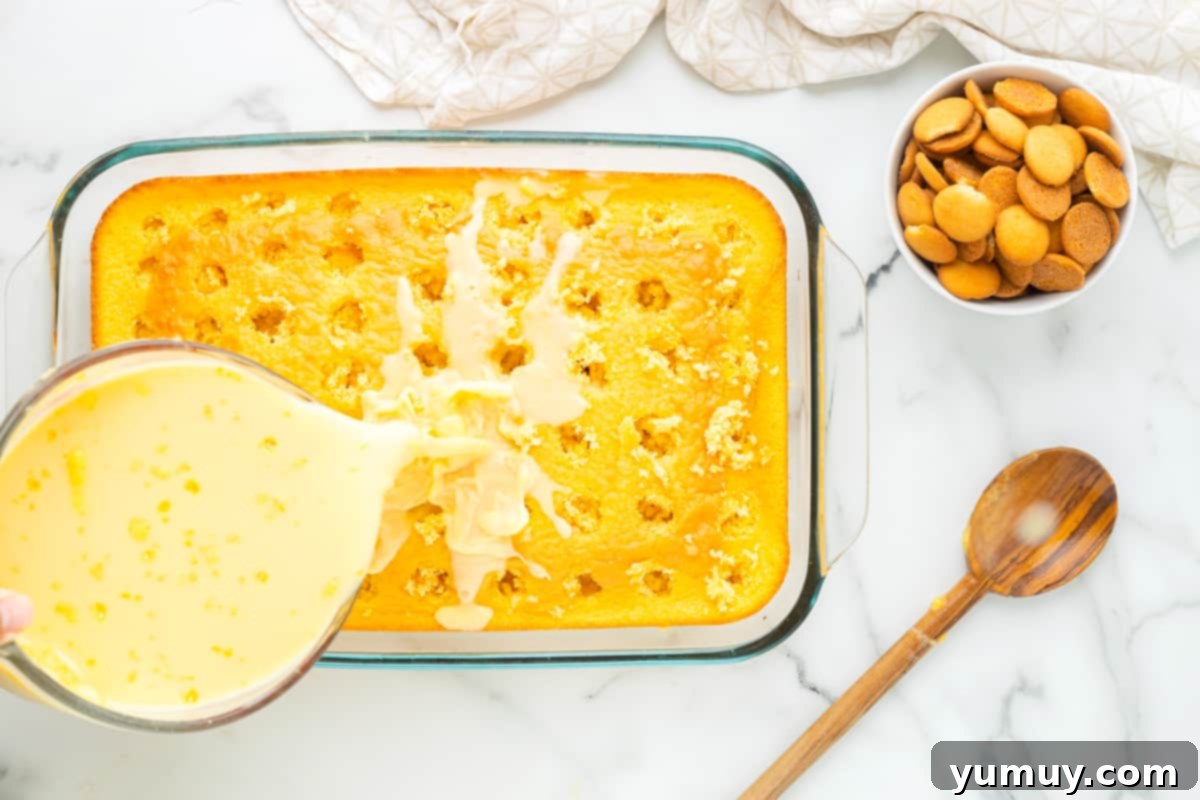
In a medium-sized bowl, whisk together the 6.8 ounces (two boxes) of instant banana pudding mix with 4 cups of cold milk. Whisk continuously until the mixture is just combined and begins to thicken slightly. Speed is of the essence here! Immediately and carefully pour the pudding mixture evenly over the entire poked cake, making sure the luscious pudding fills all the holes you created. The cake should still be slightly warm to absorb the pudding beautifully.
Step 5: Set the Pudding (Chill Time: At least 1 hour)
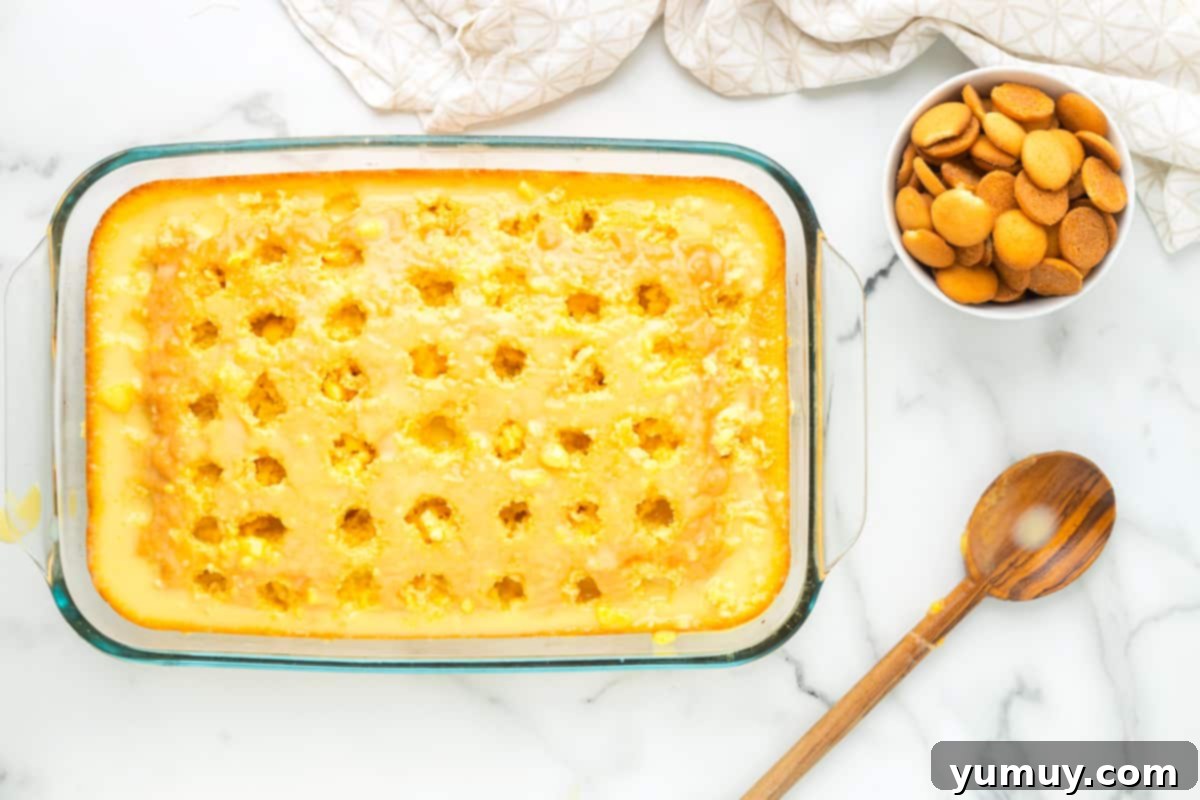
Once the pudding has been poured, cover the cake pan tightly with plastic wrap. This prevents a skin from forming on the pudding and keeps it moist. Transfer the cake to the refrigerator to chill for at least 1 hour. For optimal setting and a more firm, delightful texture, we highly recommend chilling for 2 to 3 hours. During the last hour or so of chilling, remember to remove your frozen whipped topping (if using) from the freezer and let it thaw on the counter until it reaches a spreadable consistency.
Step 6: Spread the Topping
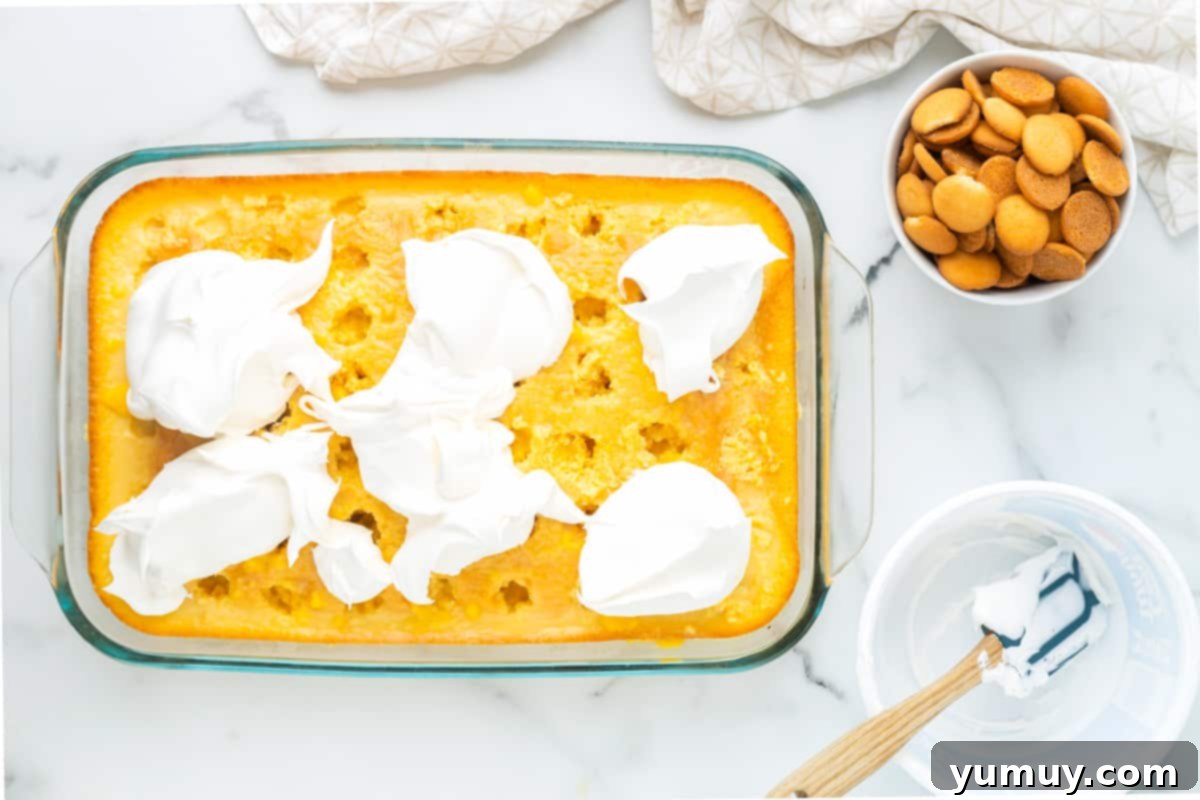
After the cake has been thoroughly chilled and the pudding is firmly set, remove it from the refrigerator. Take your thawed 8 ounces of whipped topping and gently spread it evenly over the entire surface of the cake. Be delicate with your spreading motions to avoid mixing the whipped topping with the pudding layer below, which helps maintain beautiful, distinct layers in your final product.
Step 7: Decorate the Cake
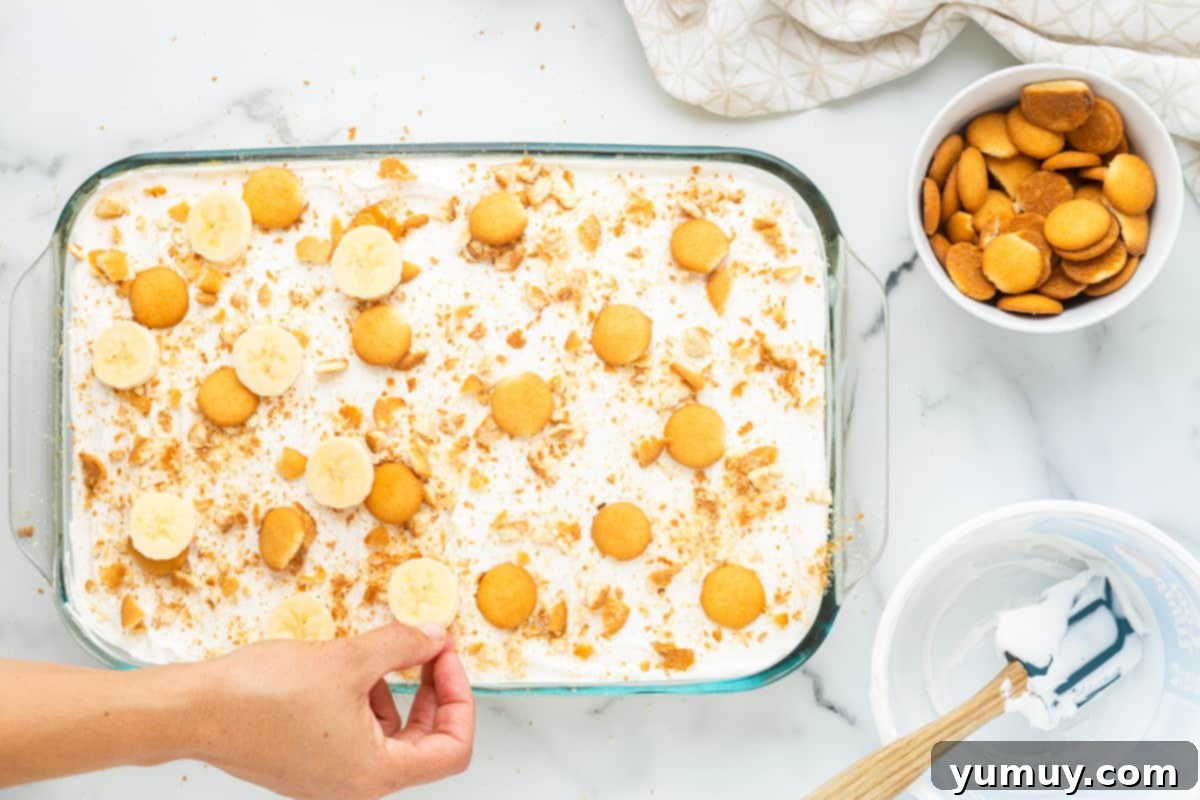
The final flourish! Prepare 1½ cups of vanilla wafers. Begin by placing some whole vanilla wafers strategically on top of the whipped topping for visual appeal. Then, crush the remaining wafers into coarse crumbs and sprinkle them generously over the entire cake. Finally, slice 1 fresh banana and arrange the slices artfully over the wafer crumbs. Remember to add the banana slices just before serving to ensure they are at their freshest and brightest, preventing browning and discoloration. Your stunning Banana Pudding Poke Cake is now complete and ready to be devoured!
How to Store Your Banana Pudding Poke Cake for Freshness
To keep your delicious Banana Pudding Poke Cake tasting its best, proper storage is essential. Tightly cover any leftover cake with plastic wrap or place it in an airtight container and refrigerate for up to 4 days. It’s important to remember that fresh banana slices, while beautiful, tend to brown after 1-2 days due to oxidation. For this reason, if you anticipate enjoying your cake over several days, consider adding fresh banana slices to individual servings just before eating, rather than topping the entire cake at once. Keeping an extra banana on hand for this purpose is a great idea. Always serve this cake chilled for the optimal creamy and refreshing experience.
We highly advise against freezing this poke cake. The delicate texture of the pudding tends to become watery and separates upon thawing, and the cake itself can turn mushy and mealy, significantly diminishing the overall quality and enjoyment of this delightful dessert.
Frequently Asked Questions About Banana Pudding Poke Cake
- Can I use homemade cake instead of a box mix?
Absolutely! While a box mix offers convenience, a homemade vanilla or yellow cake can provide an even richer flavor base. Just ensure it’s a sturdy sheet cake that can withstand the poking and pudding. - What if my pudding doesn’t set?
The most common reason for runny pudding is using “cook-and-serve” instead of “instant” pudding, or adding too much milk. Double-check your pudding type and carefully measure the milk quantity. Chilling for the recommended 2-3 hours is also crucial for a firm set. - Can I make this cake gluten-free?
Yes! Many brands offer gluten-free yellow cake mixes and instant pudding mixes. Simply substitute these for the regular versions in the recipe. - How can I prevent bananas from browning?
As noted, the best method is to slice and add bananas just before serving. If you must add them ahead of time, lightly toss them in a small amount of lemon juice (or a fruit protector like Fruit Fresh) to slow down browning, though this might slightly alter the taste. - Are there other pudding flavors I can use?
While banana pudding is traditional for this recipe, you can experiment with other instant pudding flavors like vanilla, butterscotch, or even chocolate for a different twist on the poke cake concept.
Discover More Irresistible Poke Cake Recipes!
If you loved the simplicity and deliciousness of our Banana Pudding Poke Cake, you’re in for a treat! Poke cakes are a fantastic category of desserts, known for their incredible moisture, easy preparation, and endless flavor possibilities. Dive into our collection of other must-try poke cake recipes that are guaranteed to become new family favorites. Each recipe offers a unique twist on this beloved dessert style, promising delightful flavors and textures with every forkful.
King Cake Poke Cake
Boston Cream Poke Cake
Better Than Sex Cake
Eggnog Poke Cake
Explore All Cake Recipes
Did You Make This?
We love seeing what you’ve made! Share your creations on social media and tag us at
@easydessertrecipes for a chance to be featured.
