Delightful Easter Egg Sugar Cookies with Vibrant Buttercream Frosting
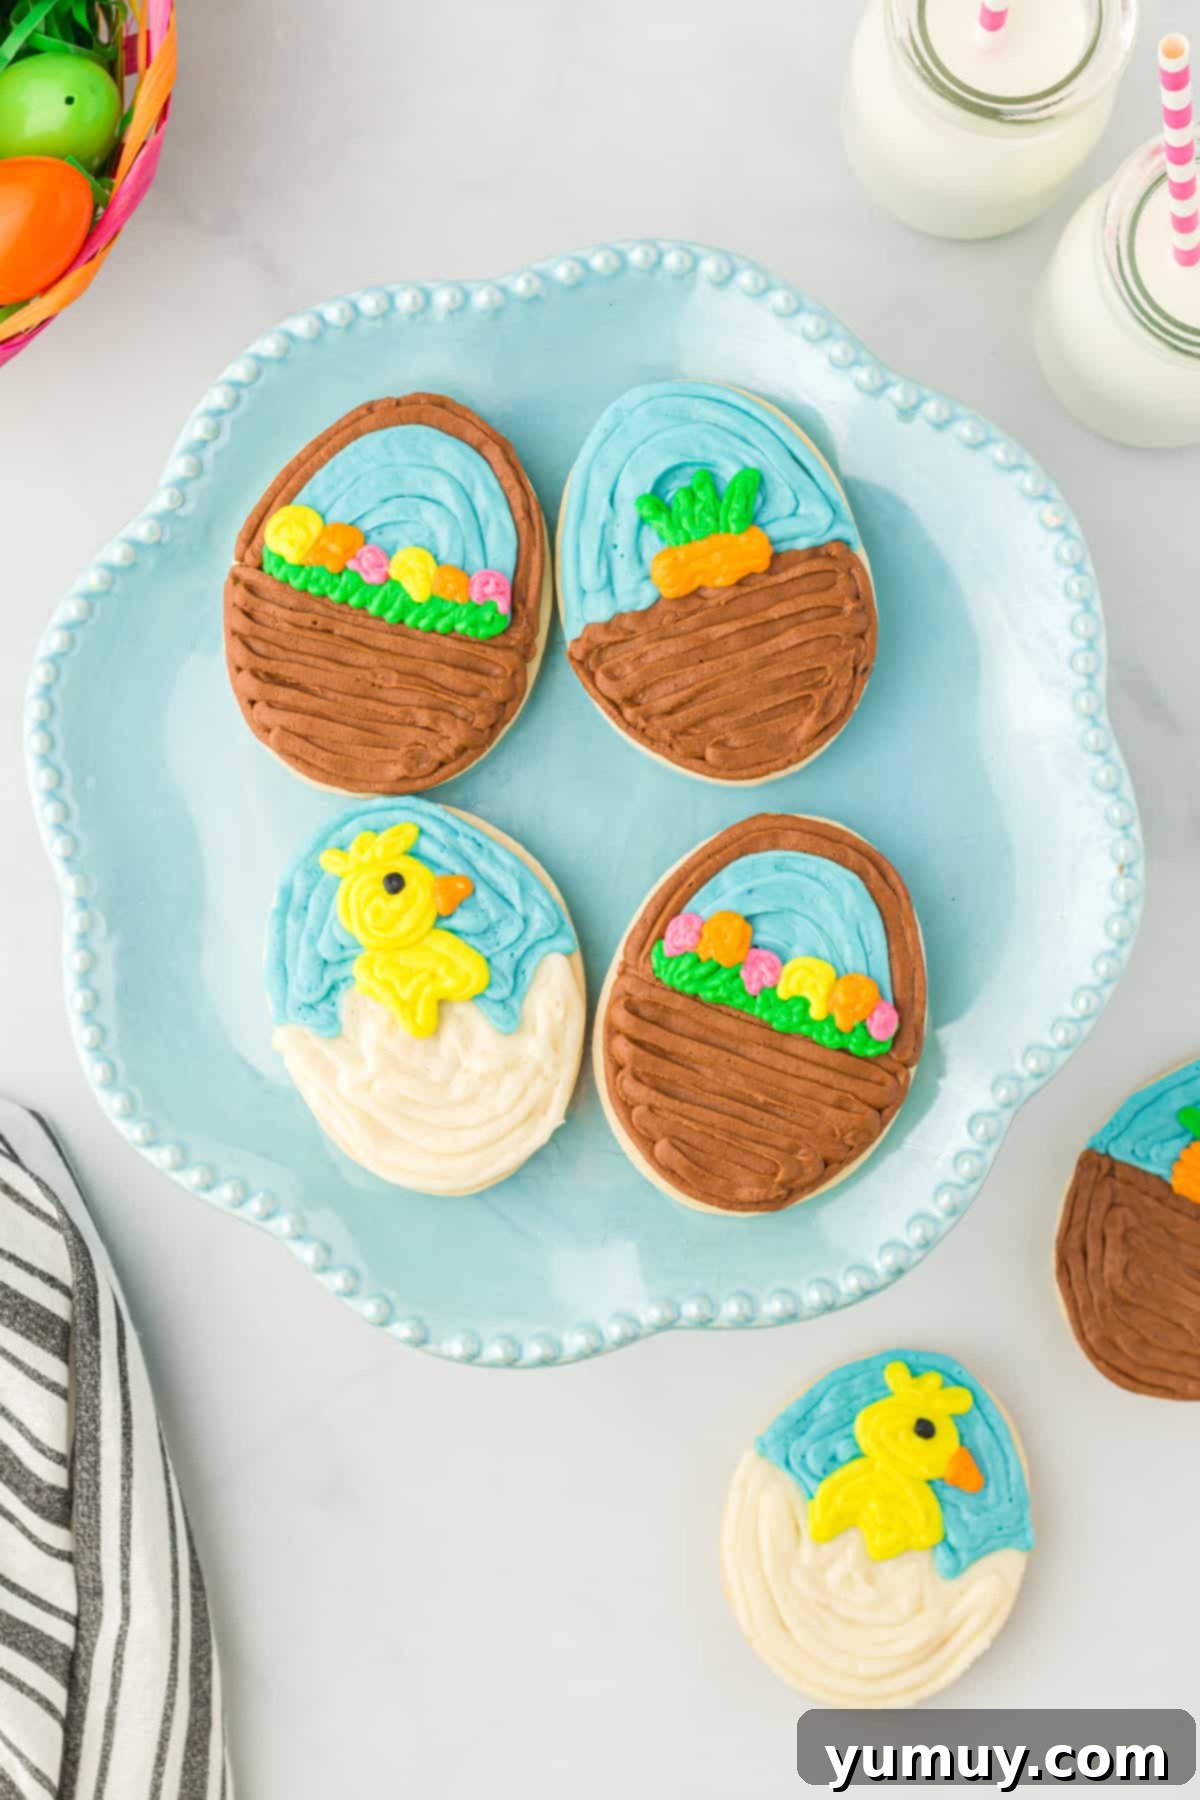
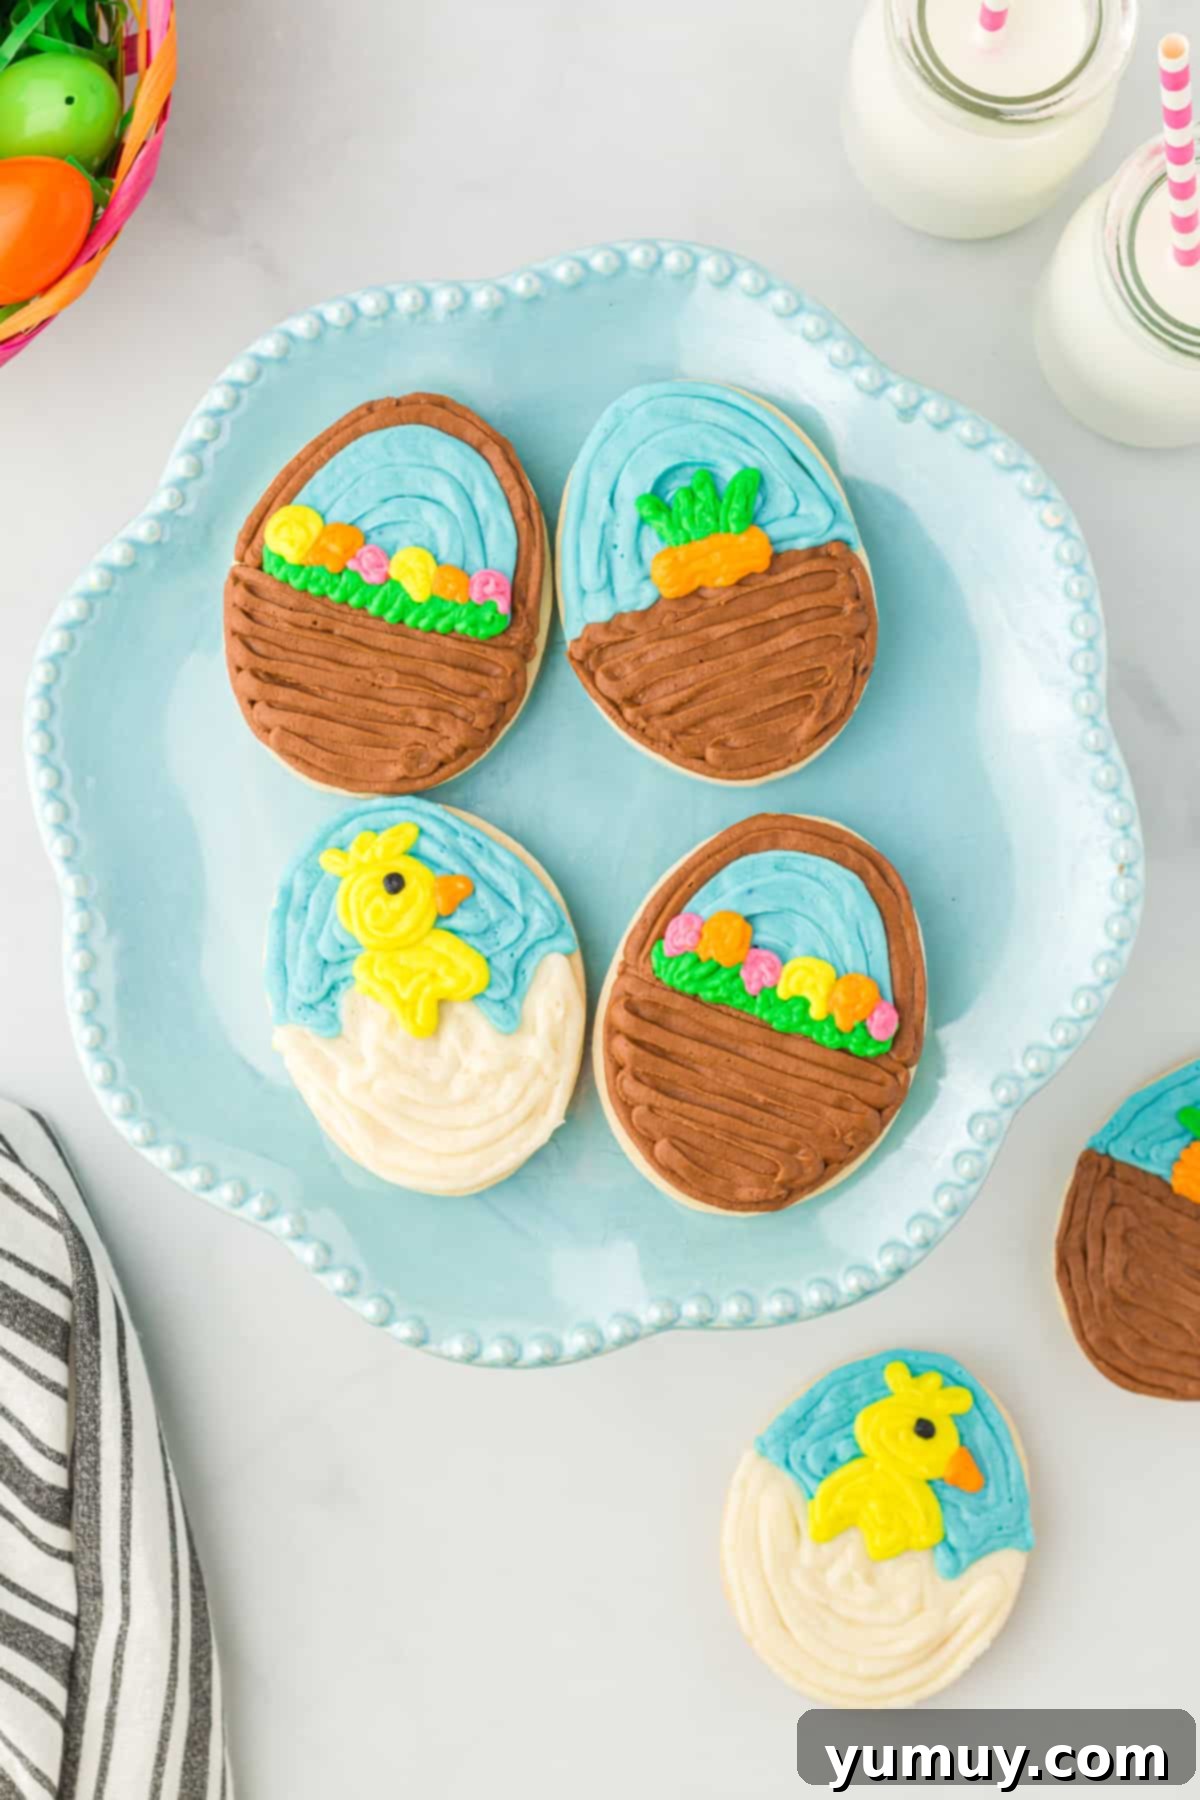
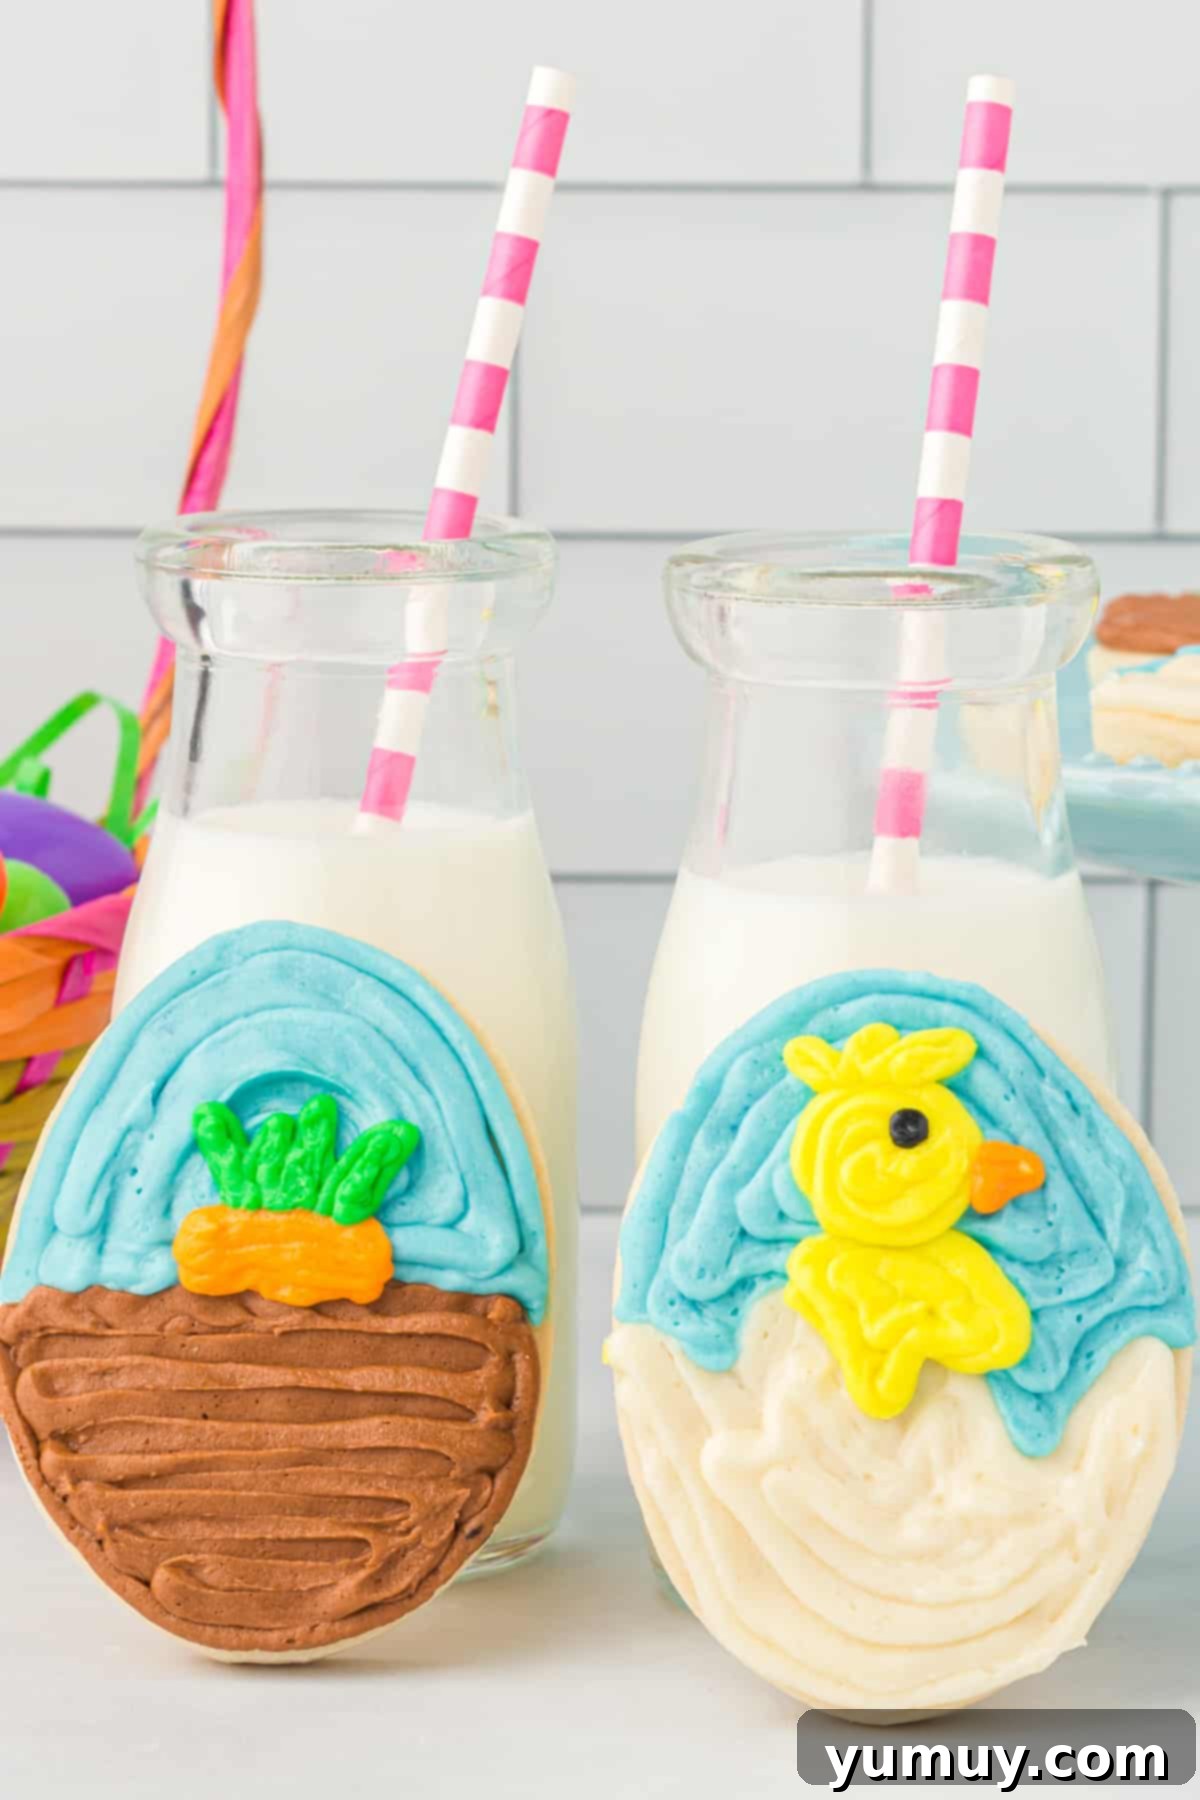
Get ready to add a burst of color and sweetness to your Easter celebrations with these absolutely irresistible Easter Egg Sugar Cookies! They are not just visually stunning but also incredibly delicious, making them a guaranteed showstopper on any dessert table. Imagine soft, tender vanilla sugar cookies, perfectly cut into charming egg shapes, then adorned with a fluffy, colorful buttercream frosting in simple yet impressive designs. This recipe takes classic sugar cookies to an exciting new level, offering a delightful texture that’s both plush and moist. Whether you’re a seasoned baker or just starting, you’ll find joy in creating these festive treats that are sure to bring smiles to everyone’s faces this holiday season.
- Pin this recipe for later!
The Ultimate Easter Egg Sugar Cookie Recipe
Crafting these frosted Easter egg sugar cookies is a delightful experience that’s far simpler than you might imagine. My secret to achieving exceptionally moist and plush sugar cookies that hold their intricate cut-out shapes perfectly is using vegetable shortening in the dough. Unlike butter, shortening helps prevent excessive spreading, ensuring your egg shapes remain defined and beautiful. But don’t worry, the rich, creamy flavor of real butter isn’t lost – I incorporate it generously into the luxurious buttercream frosting, which adds an unparalleled depth of taste. The piping designs I’ve created are incredibly beginner-friendly, much like a simple connect-the-dots activity, allowing even novice decorators to create impressive, professional-looking cookies. This recipe is designed for success, turning a potentially daunting task into a fun and rewarding baking adventure!

Easter Egg Sugar Cookies Recipe
1 hour
12 minutes
1 hour 32 minutes
20 minutes
18 cookies
Print
Rate
Save
Saved!
Ingredients
For the Sugar Cookies
- 1 cup vegetable shortening (1 stick)
- 1 cup granulated sugar
- 2 large eggs, room temperature
- 2 tablespoons milk, room temperature
- 1 tablespoon pure vanilla extract
- 3½ cups all-purpose flour
- 2 teaspoons baking powder
- ½ teaspoon kosher salt
For the Buttercream
- 1 cup unsalted butter, slightly melted (2 sticks)
- 2½ cups powdered sugar
- 1 tablespoon pure vanilla extract
- Gel food coloring
Equipment
- Kitchen Scale (optional)
- Hand Mixer or Stand Mixer
- 2 Baking Sheet(s)
- Rolling Pin
- Piping Tip Set (optional)
Instructions
For the Sugar Cookies
- In a large bowl, using a hand mixer, beat the shortening, sugar, eggs, milk, and vanilla extract together until smooth, about 1-2 minutes.1 cup vegetable shortening, 1 cup granulated sugar, 2 large eggs, 2 tablespoons milk, 1 tablespoon pure vanilla extract

- In a separate bowl, stir together flour, baking powder, and salt.3½ cups all-purpose flour, ½ teaspoon kosher salt, 2 teaspoons baking powder
- Add dry ingredients to wet ingredients and beat just until well combined and the dough starts to stick together, about 1–2 minutes. Do not overmix.

- Line a baking sheet with parchment paper. Set aside.
- Sprinkle a clean work surface lightly with flour, then place about ⅓ of the dough onto the prepared surface to roll out. Sprinkle the top of the dough with flour to prevent the dough from sticking to the rolling pin.
- For soft and thick cookies, it’s recommended to use a rolling pin with thickness rings and use the ⅜-inch thickness ring. If you aren’t cutting these cookies out thick, you’ll want to reduce your baking time to reflect that (start checking cookies after 8 minutes instead of 12 minutes).
- Cut the cookies out using egg-shaped cookie cutters. The eggs shown here are about 3 inches in size, but slightly larger works just fine.

- Place the cut-out cookies onto the prepared baking sheet. The cookies can be placed close together on the baking sheet for this step. Place sugar cookies in the freezer for 20 minutes to chill before baking.

- While the cookies chill, preheat oven to 350°F.
- Line a second baking sheet with parchment paper. Place some cookies onto the baking sheet (about 2 inches apart) and bake for 12-14 minutes for thick-cut cookies, 8-10 minutes for thinner cookies, or until tops of cookies look set (no longer wet but not yet brown) and the bottoms of cookies are slightly brown. The middle of cookies will still be slightly soft to the touch but will continue baking once removed from the oven. Only bake one tray of cookies at a time to ensure even baking time for all cookies.
- Repeat baking steps with remaining cookies.
- Let cookies cool completely before frosting.
For the Buttercream
- In a large bowl, using a hand mixer, beat the butter, powdered sugar, and vanilla together until light and fluffy, about 5 minutes. If the frosting seems too thick, beat in a tablespoon of water.1 cup unsalted butter, 2½ cups powdered sugar, 1 tablespoon pure vanilla extract

Decorating Steps
- Separate the frosting into separate smaller bowls. Use food coloring to color icings in desired colors. Stir completely to make sure all color is worked into the icing.Gel food coloring
- Place icings into tipless piping bags and close the ends (the side you were putting the icing in) using clips or elastics. Cut small openings in the tips of each icing bag. For background colors, the tips can be cut larger. For icings you’ll be printing with or doing finer details with, keep the tip cut small.

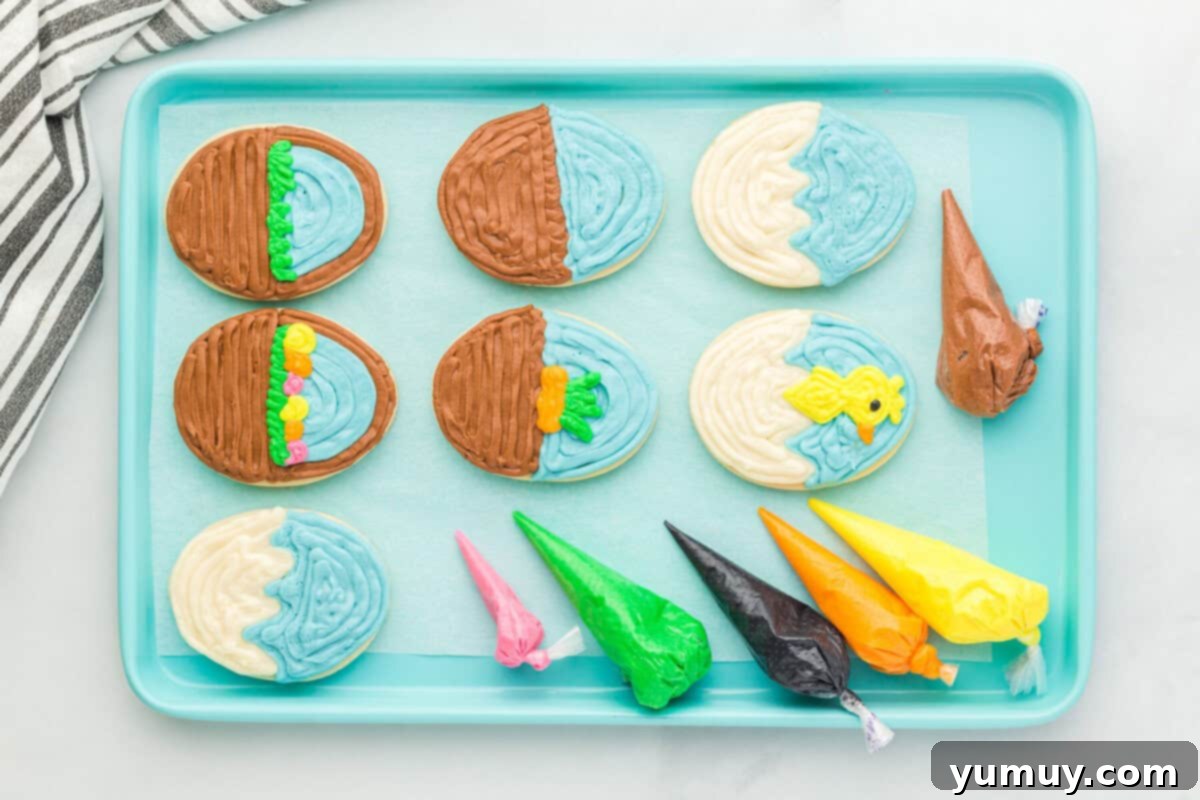
- Start decorating with background colors on all cookies (like the brown of the basket and the blue of the sky). Simply start by lining the outside of the cookie then continue filling in following the shape of the cookie. If icings are not squeezing out of the bags smoothly, roll piping bags between hands to warm icing a bit making it easier to squeeze out. Do not microwave icing – even 5 seconds in the microwave can turn the icing into a melted mess.

- Work on decorating cookies in layers – first the background color, then finer details like the carrot top or eggs in basket. Lay cookies out in a single layer to dry.
Notes for Success
- For irresistibly soft and thick cookies, roll out the dough to a precise ⅜-inch thickness. A rolling pin equipped with thickness rings can be a game-changer for achieving consistent results.
- If you prefer a crispier, thinner cookie, simply roll the dough to a lesser thickness and remember to significantly reduce your baking time.
- Do not underestimate the power of chilling! Skipping the 20-minute freeze can cause your beautifully cut cookies to spread and lose their shape in the oven.
- Guard against overbaking. The key to a soft sugar cookie is to remove it from the oven when the edges are just starting to brown and the tops look set, even if the center feels slightly soft. They will continue to firm up as they cool.
- Ensure your cookies are entirely cool before attempting to frost them. Warm cookies will cause the buttercream to melt, creating a messy, unappealing finish.
- When preparing your buttercream for coloring, divide it into as many bowls as you plan to use distinct colors. Allocate extra frosting to the colors you anticipate using most frequently, and always reserve a bowl of pure white frosting for accents.
- To achieve vibrant, deep frosting colors, be generous with your gel food coloring. For soft, pastel hues, just a tiny drop will suffice. Gel colorings are recommended for their intensity without altering frosting consistency.
- When cutting piping bag tips, make wider openings for flooding large areas or applying background colors. For intricate details, delicate lines, or writing, keep the tip openings very small.
- Seek inspiration! Browse images of decorated Easter eggs online to spark your creativity and discover unique patterns and motifs.
- For beginners, start with simple designs like polka dots, stripes, or zigzags. As your confidence grows, gradually experiment with more complex patterns.
- Always decorate in layers, working from the background to the foreground. For example, pipe the “sky” or “grass” base colors before adding elements like bunnies, carrots, or flowers.
- Don’t fret over imperfections. Buttercream frosting is forgiving! Minor mistakes can often be gently scraped off with a butter knife, allowing you to easily restart that section.
Storage: To keep your Easter egg sugar cookies fresh and delicious, store them in an airtight container at room temperature for up to 3 days. For longer enjoyment, refrigerate them for up to 1 week. For extended storage, freeze them for up to 1 month, ensuring you place parchment paper between each cookie layer to protect the frosting. Always allow frozen cookies to return to room temperature before serving for the best taste and texture.
Calories from Fat 198
Becky Hardin
Did You Make This?
We love seeing what you’ve made! Tag us on social media at @easydessertrecipes for a chance to be featured.
Step-by-Step Guide to Baking & Decorating Easter Egg Sugar Cookies
Follow these detailed steps to create your own batch of charming Easter egg sugar cookies. Each stage, from mixing the dough to the final decorative flourish, is explained with clear instructions and helpful tips to ensure your baking success.
1. Preparing the Ingredients and Mixing the Dough
Begin by gathering all your ingredients. In a large mixing bowl, combine the vegetable shortening, granulated sugar, room temperature large eggs, room temperature milk, and pure vanilla extract. Use a hand mixer (or a stand mixer fitted with the paddle attachment) to beat these wet ingredients together for about 1-2 minutes until the mixture is completely smooth and creamy. Ensure your eggs and milk are at room temperature as this helps them emulsify better with the shortening and sugar, resulting in a more uniform dough.
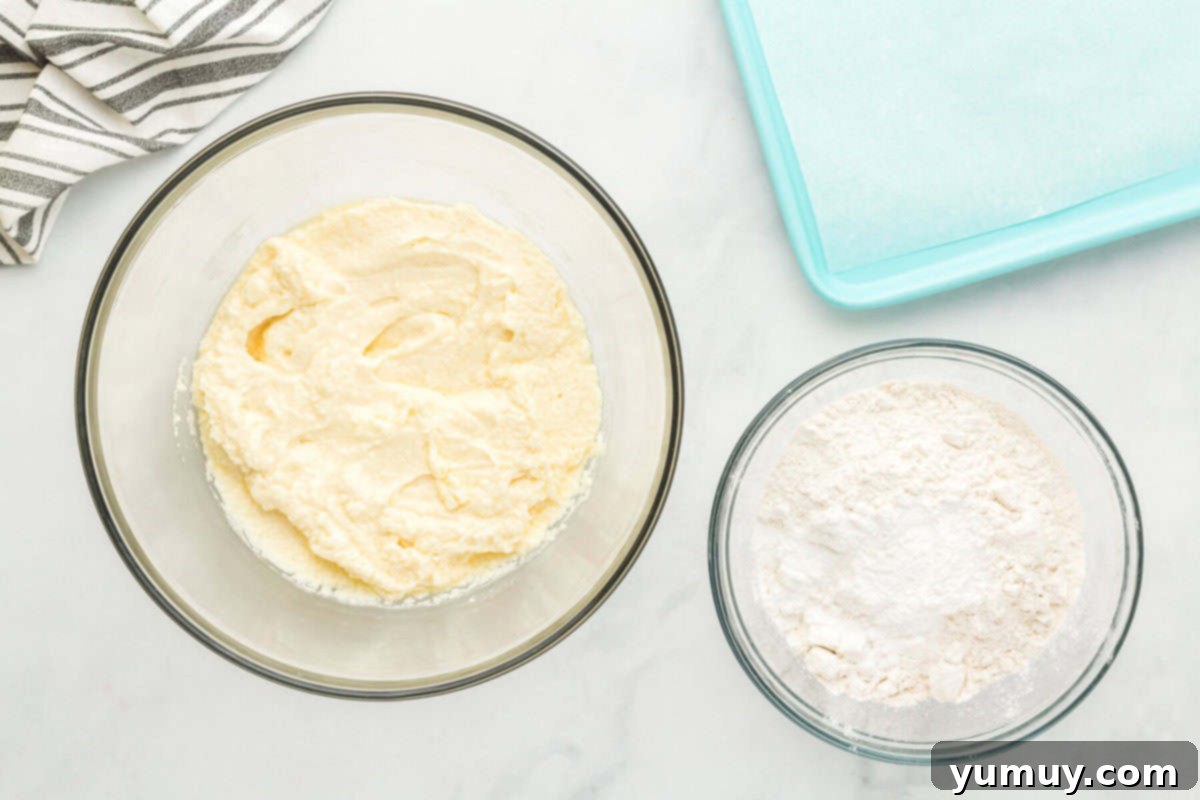
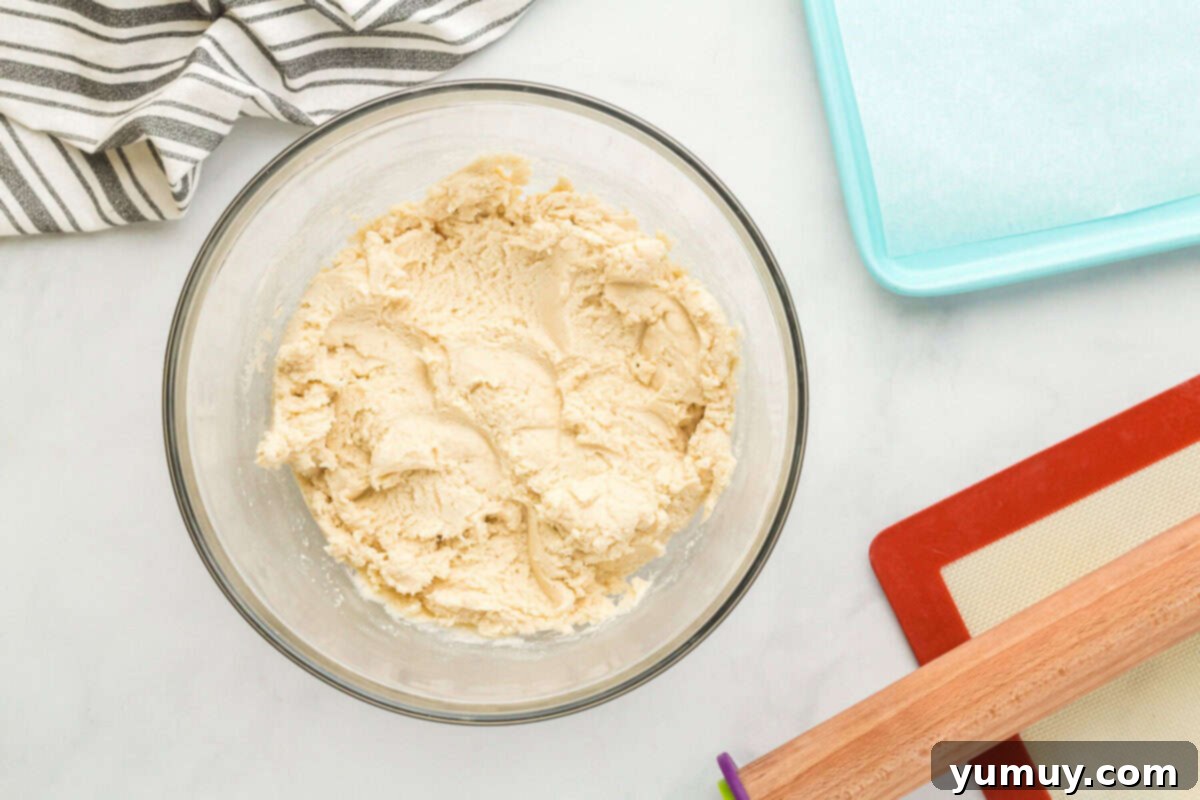
In a separate, medium-sized bowl, whisk together the dry ingredients: all-purpose flour, baking powder, and kosher salt. This step ensures that the leavening agents and salt are evenly distributed throughout the flour, leading to consistent cookie texture. Gradually add the dry mixture to the wet ingredients. Beat on low speed just until the ingredients are well combined and the dough begins to stick together, forming a soft, cohesive mass, typically another 1-2 minutes. Be careful not to overmix the dough, as this can develop the gluten in the flour too much, leading to tough cookies.
2. Rolling, Cutting, and Chilling the Cookies
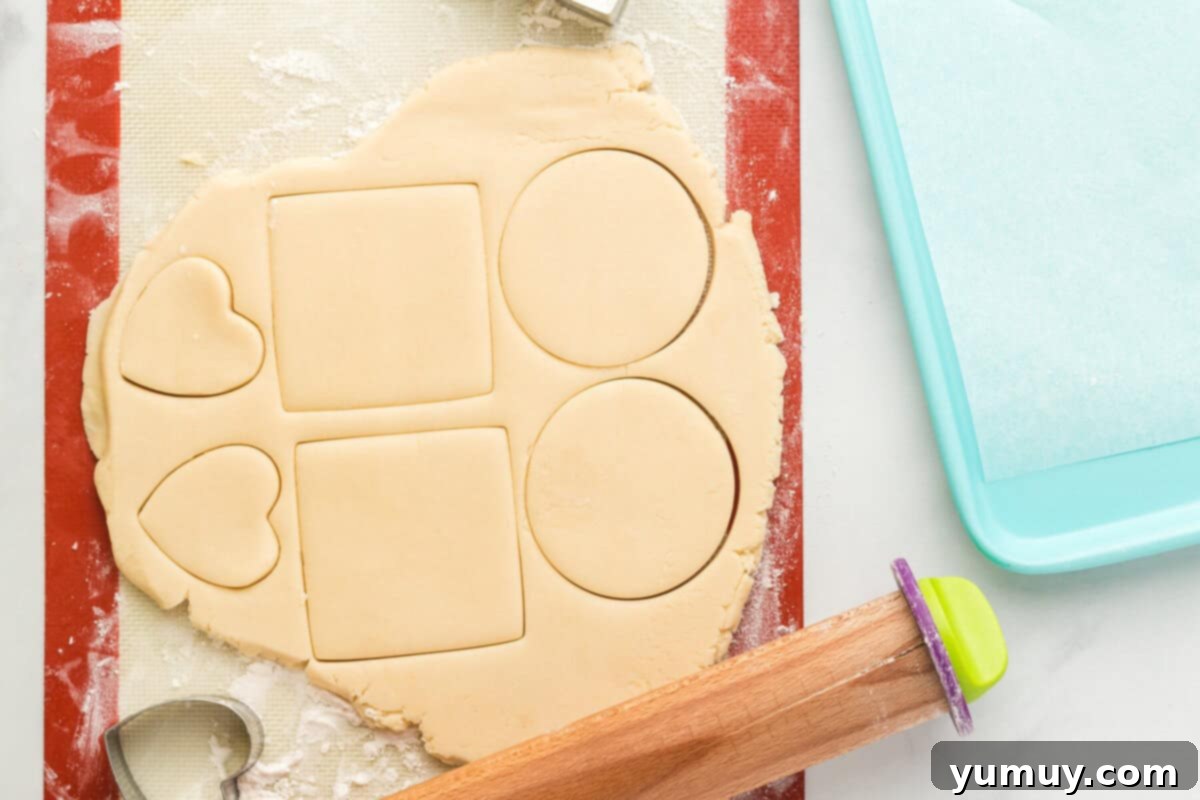
Prepare your baking area by lining a baking sheet with parchment paper. This prevents sticking and makes cleanup a breeze. Lightly sprinkle a clean, dry work surface (like a countertop or large cutting board) with all-purpose flour. Take about one-third of your cookie dough and place it onto the floured surface. Sprinkle a little more flour over the top of the dough and on your rolling pin to prevent sticking. Roll the dough evenly. For soft, thick cookies that hold their shape beautifully, aim for a ⅜-inch thickness. Using a rolling pin with thickness rings can be incredibly helpful for achieving this precise and consistent thickness across all your cookies. If you prefer thinner, crispier cookies, roll the dough thinner, but remember to adjust your baking time accordingly.
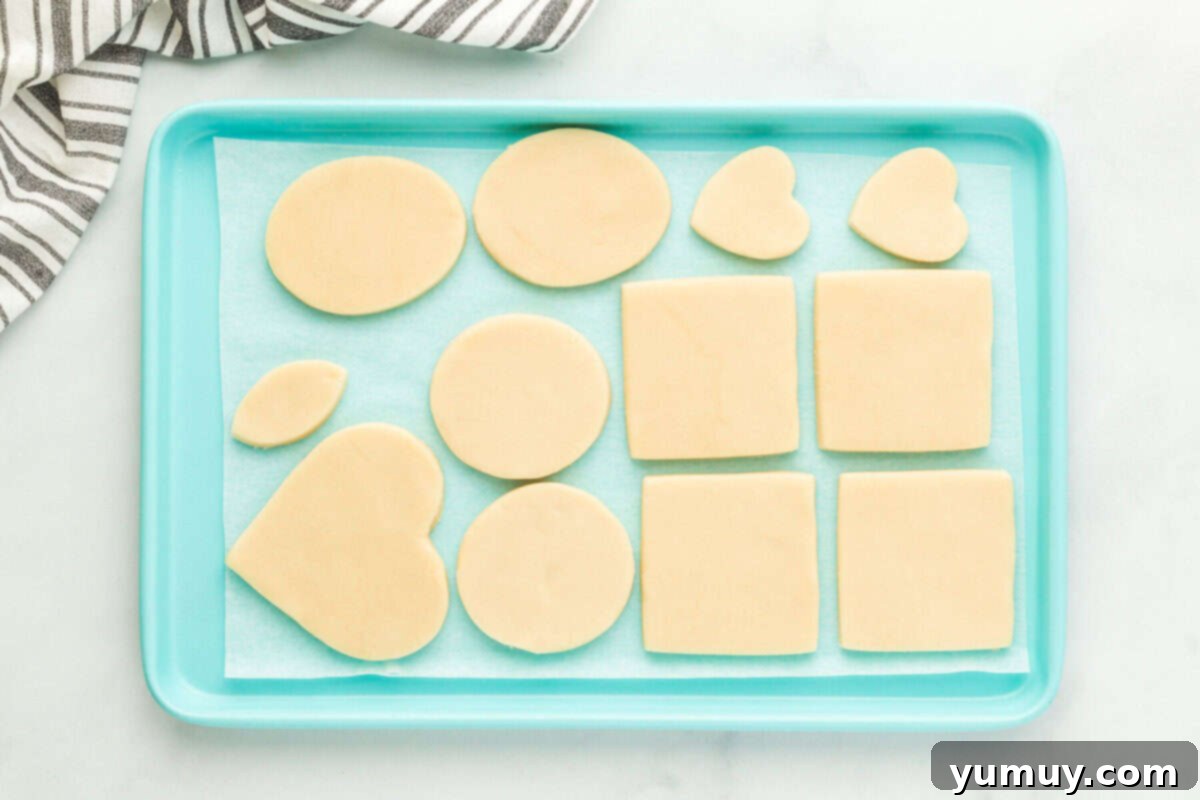
Using your favorite egg-shaped cookie cutters, cut out your cookies. The examples shown here use cutters that are approximately 3 inches in size, but feel free to use slightly larger or smaller cutters to suit your preference. Carefully transfer the cut-out cookies onto your prepared baking sheet. For this chilling step, you can place the cookies fairly close together on the sheet. Once filled, place the entire baking sheet into the freezer for 20 minutes. This crucial chilling period helps the shortening solidify, which in turn prevents the cookies from spreading too much during baking, ensuring they retain their perfect egg shapes.
3. Baking the Sugar Cookies
While your cookies are chilling in the freezer, preheat your oven to 350°F (175°C). Line a second baking sheet with fresh parchment paper. After 20 minutes, remove the chilled cookies from the freezer. Arrange a single layer of cookies onto the newly prepared baking sheet, ensuring they are spaced about 2 inches apart to allow for even baking. Bake the cookies for 12-14 minutes for thick-cut cookies, or 8-10 minutes for thinner cookies. The cookies are done when their tops appear set (no longer wet or glossy, but not yet browned) and the bottoms are very lightly golden brown. The centers may still feel slightly soft to the touch – this is normal, as they will continue to bake and firm up as they cool outside the oven. To ensure consistent baking, it’s best to bake only one tray of cookies at a time. Repeat the baking process with any remaining cookie dough. Once baked, transfer the cookies to a wire rack and allow them to cool completely before even thinking about frosting them. Patience here is key, as warm cookies will melt your beautiful buttercream.
4. Crafting the Fluffy Buttercream Frosting
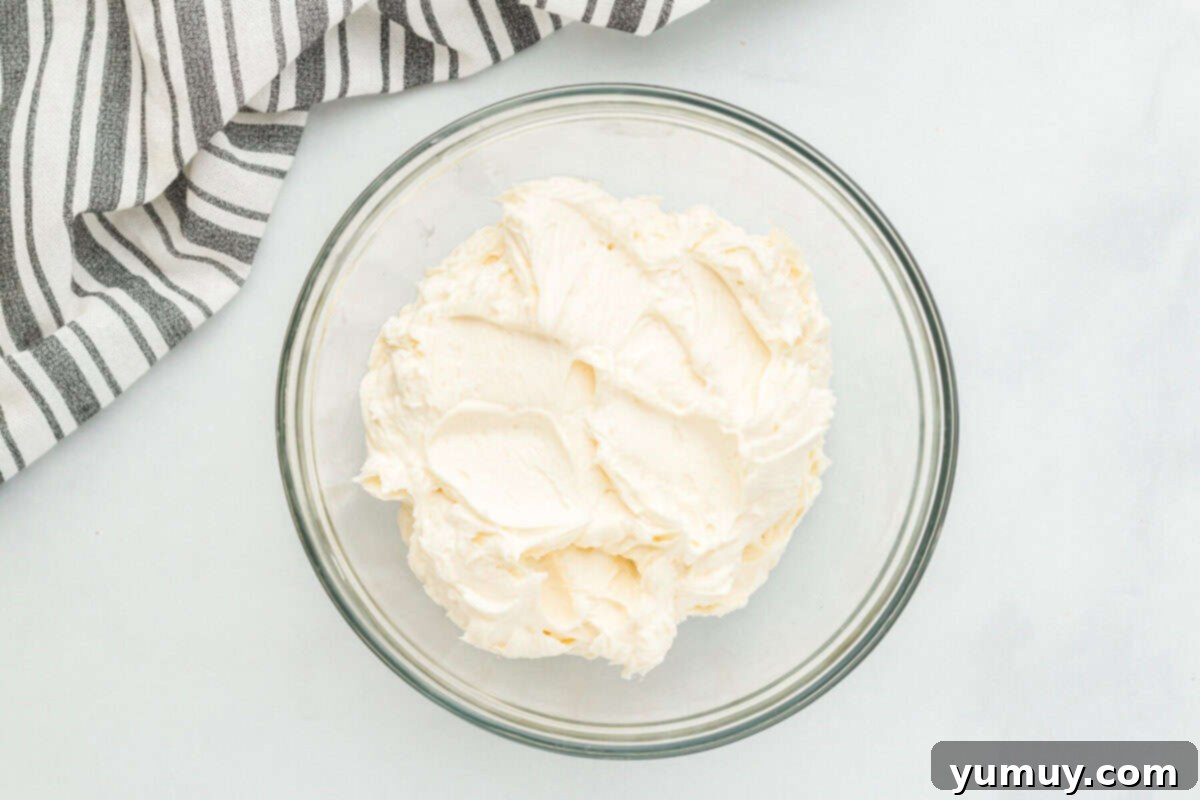
In a large bowl, using your hand mixer (or stand mixer), combine the slightly melted unsalted butter, powdered sugar, and pure vanilla extract. Beat these ingredients together on medium-high speed for about 5 minutes, or until the frosting is wonderfully light, fluffy, and smooth. The “slightly melted” butter helps achieve a creamier consistency more quickly. If, after beating, your frosting appears too thick to pipe easily, gradually add a tablespoon of water (or milk) at a time, beating after each addition, until you reach your desired piping consistency. The goal is a frosting that holds its shape but is soft enough to flow smoothly through a piping bag.
5. Coloring and Preparing the Frosting for Decorating
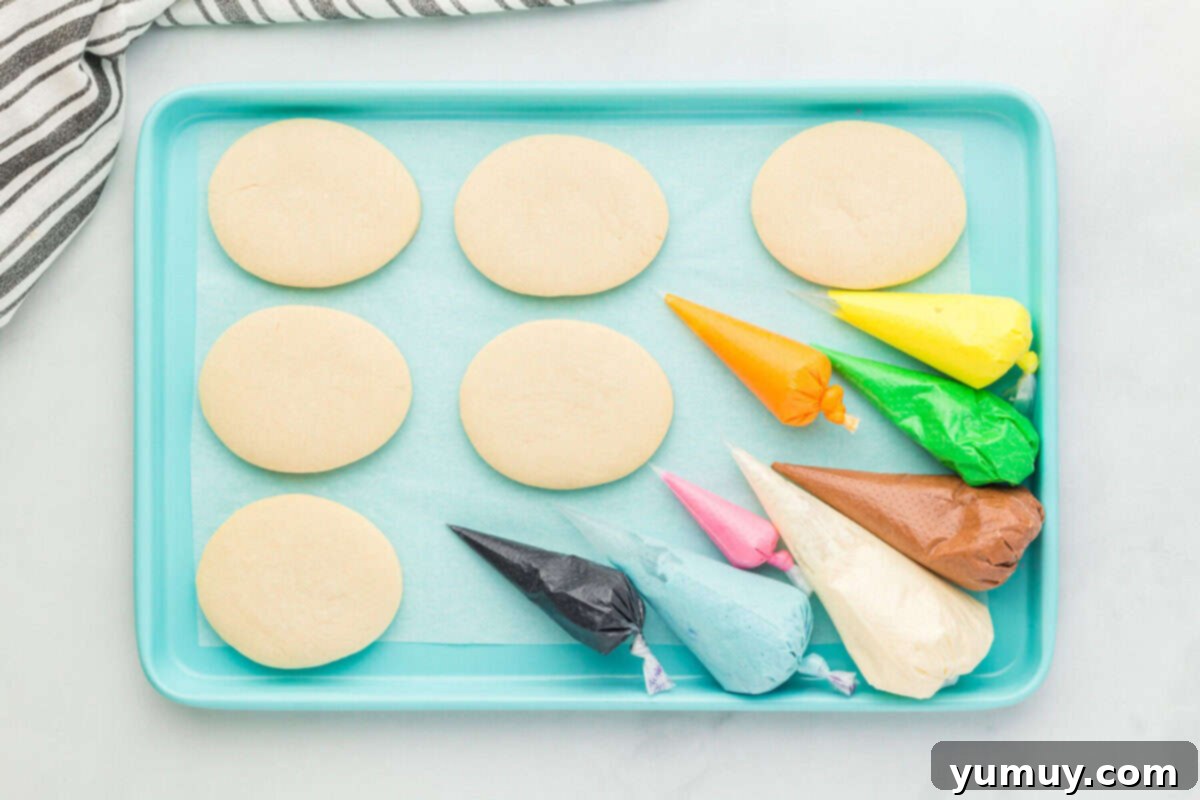
Divide the prepared buttercream frosting into several smaller bowls – one for each color you plan to use. Add gel food coloring to each bowl, starting with just a tiny drop and adding more as needed until you achieve your desired vibrant hues. Stir each color thoroughly to ensure the color is evenly distributed and there are no streaks. Gel food colorings are preferred over liquid ones as they provide intense color without thinning the frosting.
Once colored, transfer each batch of frosting into separate tipless piping bags. Tipless bags are excellent for beginners as they eliminate the need for piping tips, making cleanup easier and designs more forgiving. Secure the open end of each bag with a clip or elastic band. Using sharp scissors, snip a small opening at the very tip of each piping bag. For larger areas or background colors, you can cut a slightly wider opening. For fine details, delicate lines, or writing, keep the opening very small. Practice on a plate first to get a feel for the pressure and tip size.
6. Decorating Your Easter Egg Masterpieces
Now for the fun part! Begin decorating your cooled cookies by applying the background colors first. For instance, if you’re creating a basket design, pipe the brown base. For a sky scene, use blue frosting. Start by outlining the outer edge of the cookie or the specific section you’re filling, then proceed to fill in the center, working in concentric circles or zigzags until the area is completely covered. If you find the frosting difficult to squeeze smoothly from the bag, gently roll the piping bag between your hands for a few moments. The warmth from your hands will slightly soften the buttercream, making it more pliable. Crucially, *never* microwave the frosting, even for a few seconds, as this can quickly turn it into a melted, unusable mess.
Continue decorating in layers, allowing each background color to set slightly before adding finer details. For example, once your “basket” is piped, you can then add smaller elements like “carrot tops” or “eggs” within the basket. Work patiently and enjoy the creative process. Lay your decorated cookies out in a single layer on a flat surface or baking sheet to allow the frosting to fully dry and set. This will prevent smudging and ensure your designs stay pristine. Once dry, your beautiful Easter egg sugar cookies are ready to be admired and enjoyed!
Optimal Storage and Freezing for Freshness
To ensure your delightful Easter egg sugar cookies remain fresh and delicious for as long as possible, proper storage is key. At room temperature, these cookies can be stored in an airtight container for up to 3 days. To extend their freshness, you can refrigerate them for up to 1 week. If you plan to enjoy them beyond that, freezing is an excellent option. Arrange the cookies in a single layer on a baking sheet and freeze until the frosting is firm, then transfer them to an airtight freezer-safe container. Place sheets of parchment paper between layers of cookies to prevent them from sticking together and to protect the delicate frosting designs. They will keep well in the freezer for up to 1 month. Always allow frozen cookies to thaw completely at room temperature before serving to ensure the best texture and flavor. It’s also important to make sure the buttercream frosting has fully set and hardened before stacking the cookies, even if just storing them in the refrigerator, to avoid any damage to your beautiful decorations.
Exploring Royal Icing: A Firmer Frosting Alternative
While buttercream offers a soft, melt-in-your-mouth texture, sometimes a firmer, more structurally stable frosting is desired, especially for intricate designs or for cookies that need to be stacked or transported more easily. This is where royal icing comes in. For a simple royal icing that sets hard, mix 4 cups of powdered sugar with 3 tablespoons of meringue powder (or 2 fresh egg whites) and gradually add about 10 tablespoons of water. Adjust the water or powdered sugar as needed until you achieve your desired consistency – whether it’s a thick, piping consistency for outlines and details, or a thinner “flood” consistency for filling in larger areas. Once mixed, divide and color the frosting as you would with buttercream. A key characteristic of royal icing is its quick setting time, so it’s essential to work efficiently. While less forgiving for mistakes than buttercream (it doesn’t scrape off as easily), royal icing provides a crisp, professional finish that holds sharp details beautifully and allows for easy stacking once fully dried. It’s a fantastic alternative for specific decorative effects or practical needs.
More Easter Dessert Delights to Try!
Easter Macarons
Bunny Bark
Easter Rice Krispie Treats
Birds Nest Cookies
Browse All Easter Desserts
Conclusion: Sweet Memories with Every Bite
These Easter egg sugar cookies are more than just a dessert; they are a canvas for creativity, a heartwarming activity for the family, and a delicious symbol of springtime joy. With their perfectly soft texture and vibrant, easy-to-pipe buttercream, they promise a delightful experience from start to finish. Whether you’re decorating them with intricate designs or simple, cheerful patterns, each cookie becomes a small masterpiece. We hope this comprehensive guide inspires you to bake a batch (or two!) and fill your home with the sweet aroma and festive spirit of Easter. Share them with loved ones, create lasting memories, and savor every beautiful, buttery bite!
