The holiday season just isn’t complete without a batch of homemade Christmas Crack! This irresistible saltine cracker toffee stands out as the ultimate sweet, salty, and crunchy treat, crafted with remarkable ease from just five basic pantry ingredients in less than 30 minutes. Every year, as the festive lights twinkle and carols fill the air, I find myself in the kitchen, joyfully preparing pans upon pans of this delightful Christmas crack toffee. It’s my go-to edible gift for neighbors, teachers, and friends, spreading warmth and cheer with every single bite. This simple yet spectacular recipe truly embodies the spirit of holiday baking, making you feel like a culinary elf, creating pure happiness for all to enjoy.

Saltine Cracker Toffee: The Ultimate Christmas Sweet
While technically not a traditional cookie, this saltine Christmas crack invariably earns a prized spot in my holiday cookie exchange lineup, vanishing from platters just as quickly as any other festive treat. Its magic lies in the exquisite transformation of humble saltine crackers: a rich, buttery toffee caramel seeps into every crevice, creating an incredibly crisp, candy-like foundation. This delightful base is then generously crowned with a layer of velvety melted chocolate and a vibrant scattering of festive sprinkles, resulting in an utterly irresistible bite that perfectly balances nostalgic charm with universal crowd-pleasing appeal.
Beyond its incredible flavor, one of the most appealing aspects of this saltine cracker toffee is its simplicity. You only need a handful of readily available ingredients: saltine crackers, butter, brown sugar, chocolate chips, and, for that extra holiday flair, a sprinkle of seasonal decorations. This makes it an ideal no-fuss holiday dessert, delivering big, satisfying flavors with minimal effort and time commitment. It’s the kind of recipe that empowers even novice bakers to create something truly special for the holidays.
Furthermore, this recipe is wonderfully versatile, inviting endless customization to suit your taste or occasion. Imagine drizzling it with creamy white chocolate for a sophisticated touch, scattering crushed candy canes over the top for a burst of minty freshness, or adding a delicate sprinkle of sea salt to truly elevate the sweet-and-salty dynamic to gourmet levels. Whether you stick to the classic version or experiment with exciting variations, Christmas crack promises a delightful experience that will become a cherished part of your holiday traditions.

Achieving Perfect Toffee: Preventing Separation in Christmas Crack
One of the most common hurdles encountered when crafting homemade Christmas crack with saltines is the frustrating issue of the toffee layer separating from the crackers once it has cooled. This can leave you with a brittle, crumbly mess instead of perfectly adhered candy. Through years of holiday baking, I’ve discovered that this separation typically occurs when the butter and sugar in the toffee mixture don’t fully emulsify or bond together during the boiling process.
To ensure your toffee consistently adheres to the crackers, the secret lies in proper technique during the initial cooking stage. Once you’ve combined the butter and brown sugar in your saucepan and brought it to a boil, it’s crucial to whisk or stir the mixture constantly for the first 2 minutes. This continuous agitation is vital because it helps the butter and sugar integrate thoroughly, creating a stable emulsion. As you stir, you’ll observe the mixture gradually thickening and transforming into a uniform golden caramel color.
This dedicated stirring period is what allows the butter and sugar to bind effectively, forming a cohesive toffee that will set up beautifully. By investing just a few minutes in this step, you prevent potential separation, ensuring that your Christmas crack emerges from the chilling process with a crisp, firm toffee layer that remains perfectly stuck to every single cracker, delivering that satisfying crunch in every bite. It’s a small effort that makes a world of difference in the final texture and stability of this beloved holiday treat.

Christmas Crack Recipe: Sweet & Salty Toffee Delights
Christmas Crack is arguably the easiest and most addictive holiday treat you’ll ever whip up! This simple saltine cracker toffee recipe expertly combines the richness of buttery caramel with the crunch of crackers, all topped with a generous layer of melted chocolate and festive sprinkles. The result is an unforgettable crunchy, sweet, and salty bite that captures the essence of holiday indulgence. Perfect for gifting, sharing, or simply enjoying by yourself, this treat will become an instant favorite in your festive repertoire.
Ingredients
- 1 sleeve Saltine crackers (about 40 crackers)*
- 1 cup unsalted butter (2 sticks)**
- 1 cup brown sugar ***
- 2 cups chocolate chips
- Seasonal sprinkles (optional)
Equipment
- Kitchen Scale (optional)
- XL Baking Sheet (12×17 inches)
Instructions
- Preheat your oven to 325°F (160°C). Prepare an XL baking sheet by spraying it thoroughly with nonstick cooking spray. For even easier cleanup, consider lining the pan first with heavy-duty aluminum foil or parchment paper before spraying.
- Carefully arrange a single layer of saltine crackers across the entire prepared baking sheet, ensuring there are no gaps. This forms the base for your delicious toffee.
- In a medium saucepan, combine the unsalted butter and brown sugar. Place the saucepan over medium-low heat and stir occasionally until the butter is completely melted and the sugar begins to dissolve into it.
- Increase the heat to medium-high and bring the mixture to a rolling boil. Continue to stir vigorously and continuously for approximately 2 minutes, or until the mixture begins to thicken and takes on a rich, uniform caramel color. This step is crucial for achieving a firm, non-separating toffee.
- Carefully pour the hot, bubbling toffee mixture evenly over the layer of crackers on the baking sheet. Use a heat-resistant spatula or a knife to gently spread the caramel to ensure every cracker is fully coated.
- Transfer the baking sheet to the preheated oven and bake for 8-10 minutes. During this time, the toffee will bubble and further bind with the crackers.
- Remove the pan from the oven. Immediately and evenly sprinkle the chocolate chips over the hot, baked cracker toffee. The residual heat will start to melt them.
- Return the pan to the oven for just 2 additional minutes. This short period will gently soften the chocolate chips, making them perfectly spreadable.
- Once removed from the oven, use a knife or offset spatula to smoothly spread the softened chocolate across the entire surface of the toffee-covered crackers. If desired, immediately add seasonal sprinkles or other festive toppings to the warm chocolate. Place the baking sheet in the freezer for 20 minutes to chill and set quickly.
- Once completely firm, remove the Christmas crack from the freezer. Break it into irregular, bite-sized pieces and enjoy your delectable homemade holiday treat!
Notes and Pro-Tips for Perfect Christmas Crack
* While saltine crackers are traditional and highly recommended for their perfect salty crunch, feel free to experiment with other varieties. Ritz, Club crackers, or even sheets of matzah can offer interesting textural and flavor variations. Just ensure they are laid out in a single, even layer.
** I prefer using unsalted butter for this recipe. Saltine crackers already contribute a good amount of salt, allowing you more control over the overall salty-sweet balance. If you only have salted butter, you might reduce the salt elsewhere or simply embrace the extra salty kick!
*** Any kind of brown sugar, light or dark, will work beautifully in this recipe, contributing to that rich caramel flavor. For the chocolate, I personally love using semisweet chocolate chips, but milk chocolate, dark chocolate, or even white chocolate chips are fantastic alternatives. For an even sweeter, more complex flavor profile, try adding butterscotch chips alongside or instead of the chocolate chips.
Essential Tips for Success:
- Prepare Your Pan Wisely: Always use heavy-duty foil or parchment paper to line your baking sheet, and spray it generously with nonstick cooking spray. This crucial step prevents the sticky toffee from adhering to the pan, making cleanup a breeze and allowing you to easily lift the entire hardened sheet out for breaking.
- Boil for Optimal Crispness: Ensure your butter and brown sugar mixture reaches a full, rolling, bubbly boil for at least 3 minutes (after the initial 2 minutes of constant stirring mentioned in the instructions). This extended boiling time is key to ensuring the toffee sets up perfectly crisp, rather than becoming soft and chewy, which can happen if it’s undercooked.
- Timing Your Toppings: After spreading the melted chocolate, allow it to rest for 1-2 minutes before adding any sprinkles, crushed candies, or nuts. This brief pause helps the chocolate firm up slightly, preventing your toppings from sinking to the bottom or bleeding their colors into the chocolate, maintaining a vibrant and appealing finish.
- Customizing Your Crack: While I adore the classic look of red and green sprinkles for Christmas, the possibilities for dressing up your Christmas crack are endless! Consider seasonal M&M’s, finely crushed pecans or walnuts for a nutty element, or even chopped Andes mints for a delightful mint-chocolate twist. Get creative and make it your own!
- Achieving Clean Breaks: For the neatest possible pieces, chill the entire tray of Christmas crack in the freezer for 20-30 minutes until it’s very firm. Then, gently bend the foil or parchment paper underneath the toffee. This slight bending helps the hardened candy pop apart cleanly, minimizing splintering of the chocolate and ensuring beautifully fractured pieces.
- Nutritional Note: Please remember that the nutritional information provided does not account for any optional ingredients or variations you might add.
Storage: To maintain its peak freshness and satisfying crunch, store your Christmas crack in an airtight container at room temperature. It will stay delicious for 7-10 days, making it perfect for preparing ahead of holiday gatherings or enjoying over a week. For longer preservation, you can refrigerate or freeze the toffee. When storing in the fridge or freezer, layer pieces with parchment paper to prevent them from sticking together. It retains its crisp texture and delightful flavor for up to 2 months in the freezer, tasting fantastic even straight from cold storage!
How to Make Christmas Crack: A Step-by-Step Guide
Embark on your journey to creating this delightful Christmas crack with ease. Follow these detailed steps to ensure a perfect batch every time, ready to impress your family and friends. This section breaks down the entire process, providing extra insights for each stage.
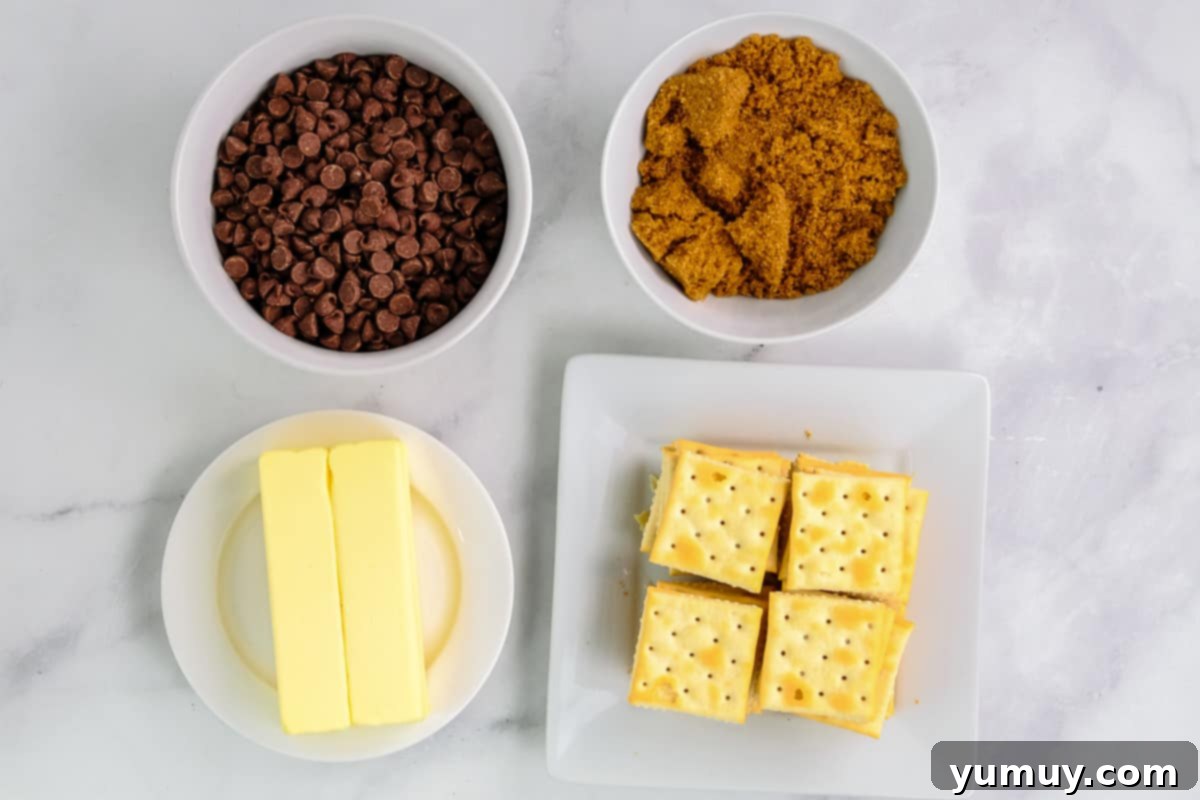
Step 1: Preheat and Prepare Your Baking Sheet
Begin by preheating your oven to 325°F (160°C). This ensures your oven is at the correct temperature when your toffee is ready for baking. Next, take an XL baking sheet (roughly 12×17 inches) and spray it generously with a nonstick cooking spray. For an even smoother cleanup experience, an excellent pro-tip is to first line your baking sheet with heavy-duty aluminum foil or parchment paper before applying the nonstick spray. This creates a non-stick barrier that makes lifting the cooled toffee much easier.
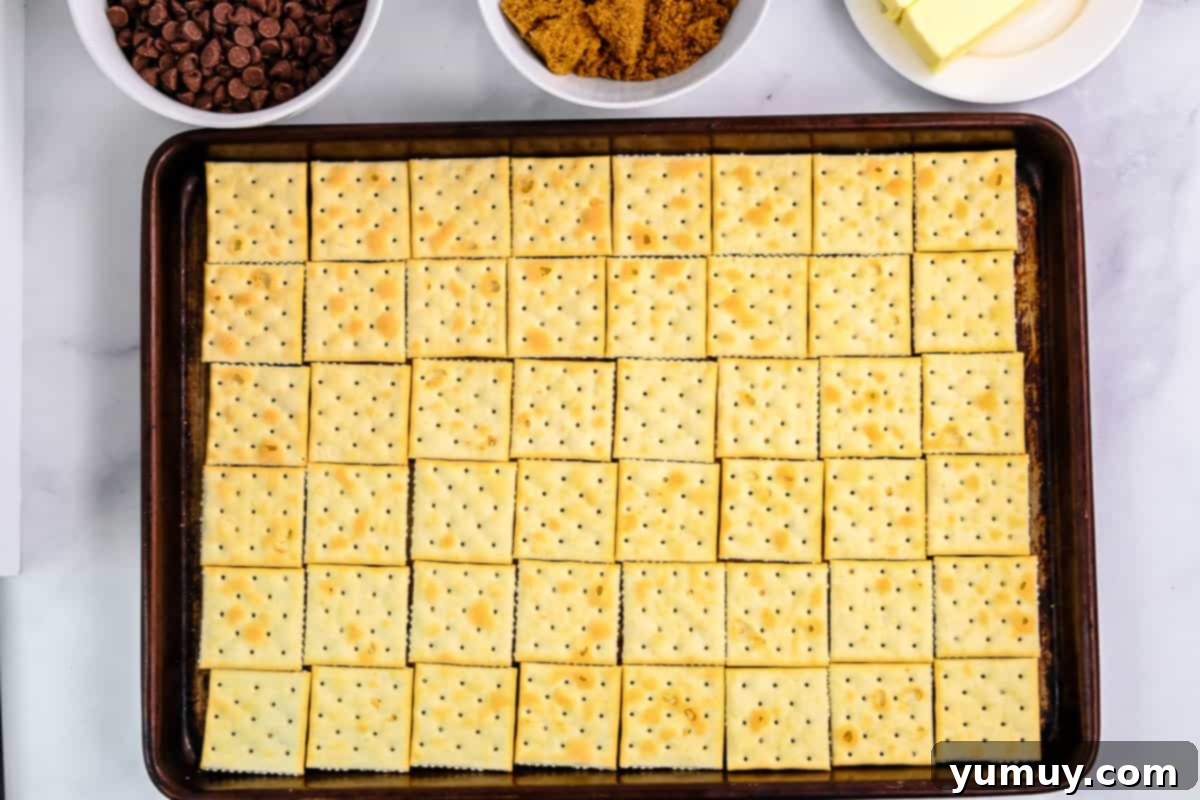
Step 2: Lay Out the Crackers
Once your baking sheet is prepped, meticulously arrange a single sleeve of saltine crackers (approximately 40 crackers) across the entire surface. Ensure that the crackers are laid out in an even, single layer, covering the whole sheet. You want them to be close together but not significantly overlapping, as this forms the essential crunchy base for your Christmas crack. A uniform layer allows the toffee to distribute evenly and bake consistently.

Step 3: Craft the Caramel Toffee Base
In a medium-sized saucepan, combine 1 cup of unsalted butter (two sticks) with 1 cup of packed brown sugar. Place the saucepan over medium-low heat. Stir the mixture occasionally as the butter melts, ensuring the sugar begins to dissolve into the liquid butter. Once melted and combined, increase the heat to medium-high. Bring the mixture to a full, rolling boil. At this stage, it’s crucial to stir continuously and vigorously for approximately 2 minutes. This constant agitation helps the butter and sugar emulsify, thickening the mixture into a luscious, uniform caramel that will bind perfectly to your crackers and prevent separation.
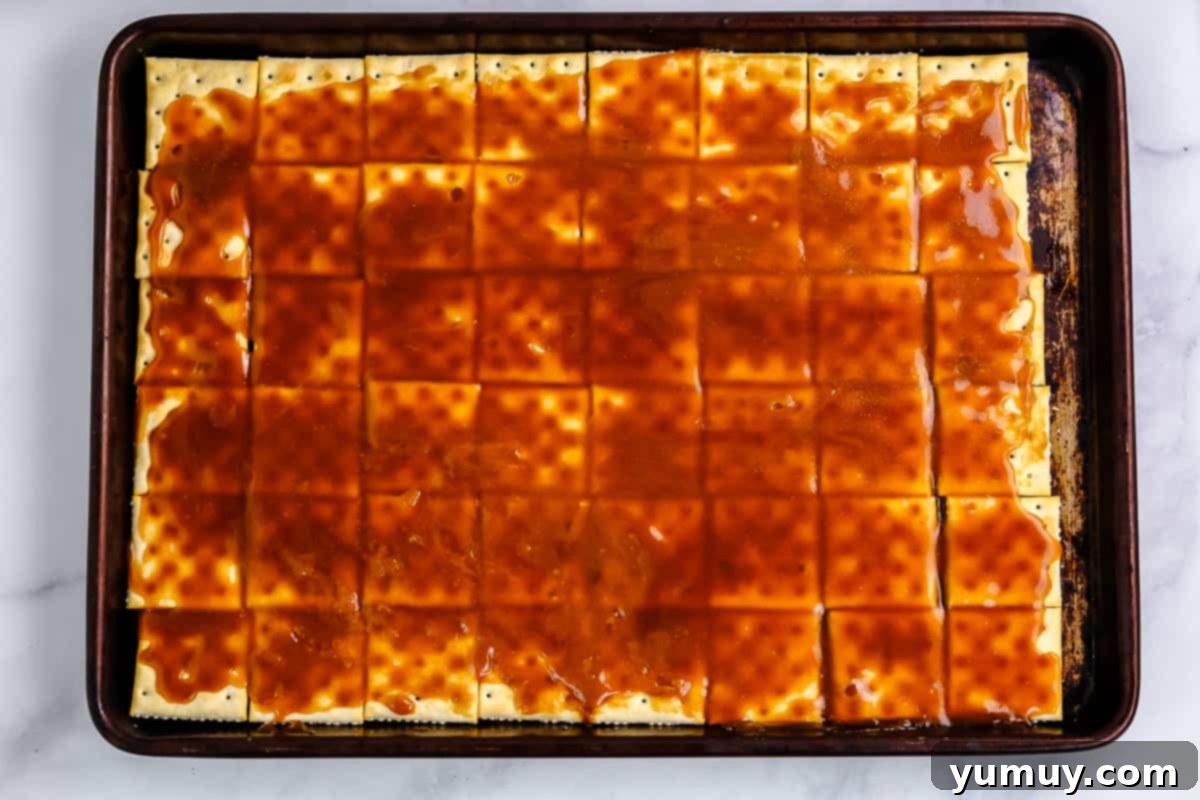
Step 4: Evenly Spread the Caramel Toffee
As soon as the toffee mixture has boiled for the recommended time and achieved its thickened state, carefully and quickly pour the hot caramel over the prepared saltine crackers on your baking sheet. Working swiftly, use a heat-resistant spatula or a knife to gently spread the rich, golden mixture across all the crackers. Ensure every cracker is coated evenly with the molten toffee, creating a continuous, delightful layer that will soon transform into the signature crunch of Christmas crack.
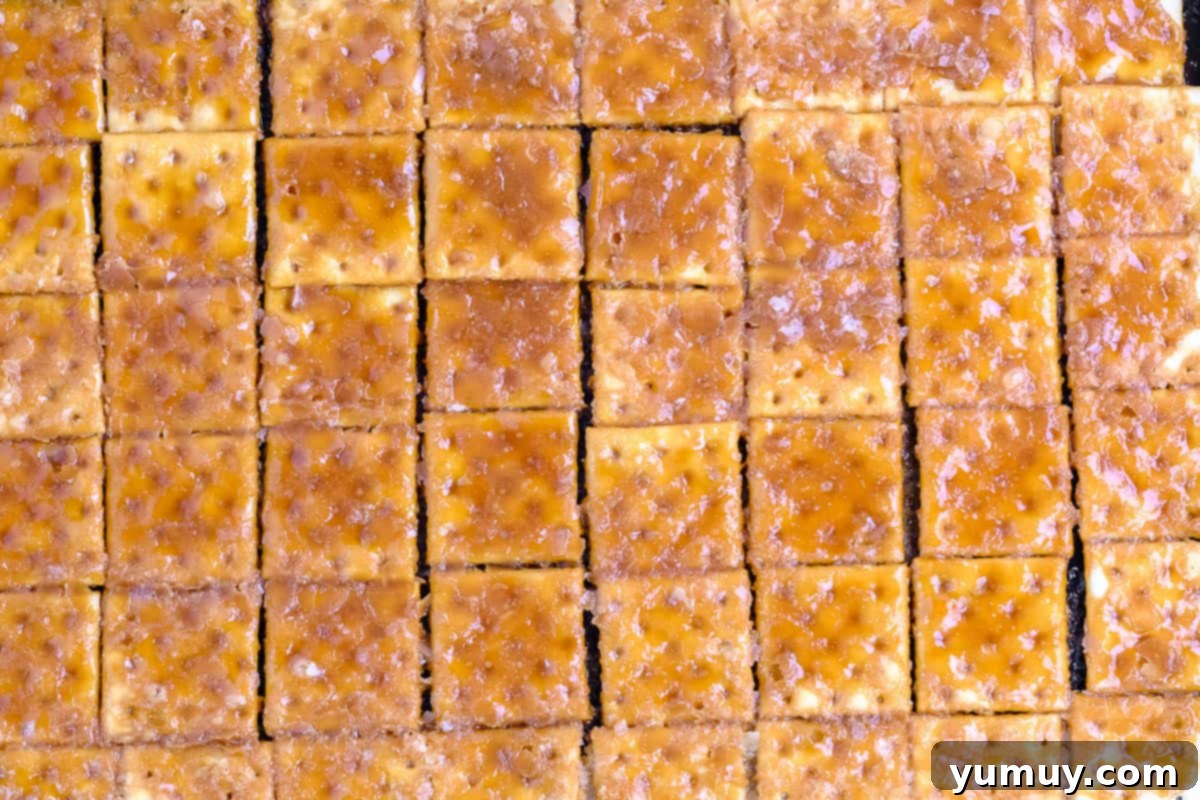
Step 5: Bake for Optimal Toffee Setting
Transfer the baking sheet, now covered with toffee-coated crackers, to your preheated oven. Bake for a duration of 8-10 minutes. During this baking period, the caramel will bubble and fully infuse into the crackers, transforming them into a brittle, candy-like base. A crucial reminder for achieving that desired crisp texture: ensure the toffee layer is actively boiling and bubbling for a full 3 minutes during this bake time. This ensures it sets up perfectly crisp rather than becoming chewy, delivering the satisfying snap that defines true Christmas crack.
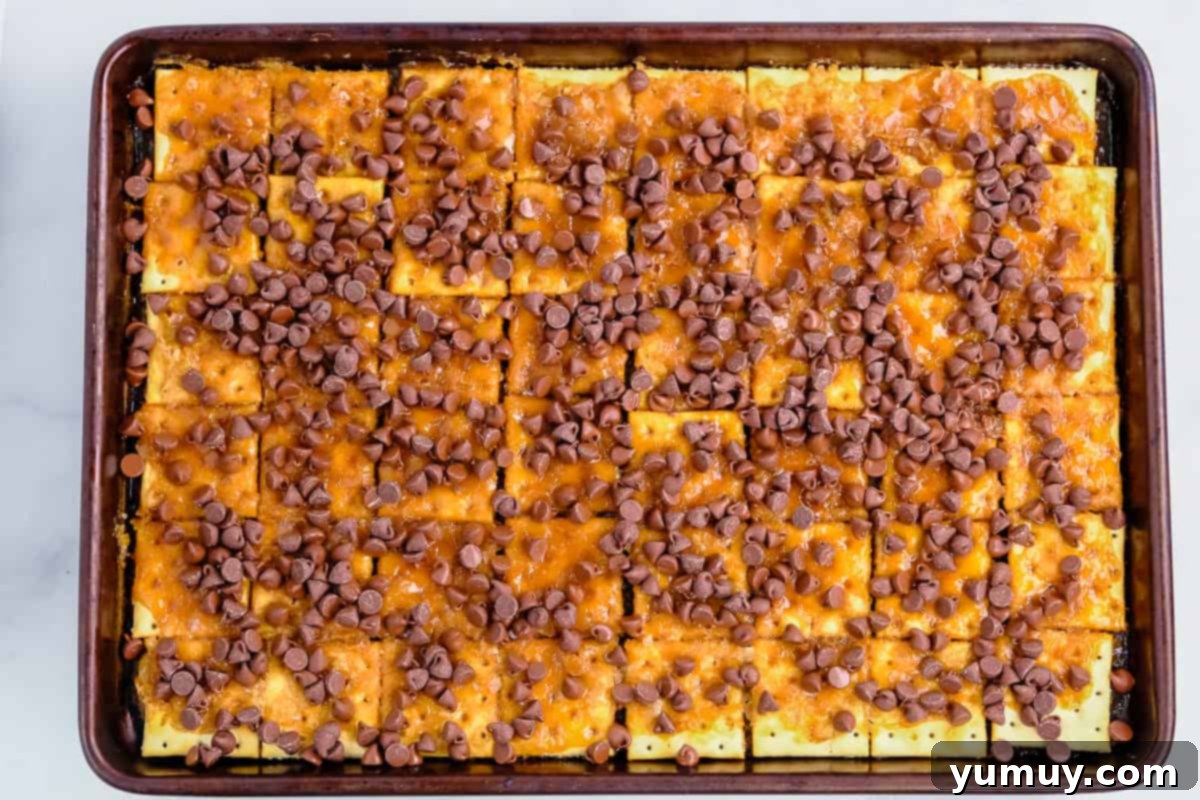
Step 6: Add the Delicious Chocolate Chips
Once the baking time is complete, carefully remove the hot pan from the oven. Immediately and evenly sprinkle 2 cups of your chosen chocolate chips (semisweet, milk, dark, or white) over the entire surface of the hot, caramel-coated crackers. The residual heat from the toffee and the crackers will begin to gently melt the chocolate chips, preparing them for the next spreading step. This quick action ensures the chocolate melts smoothly and adheres well to the warm toffee.
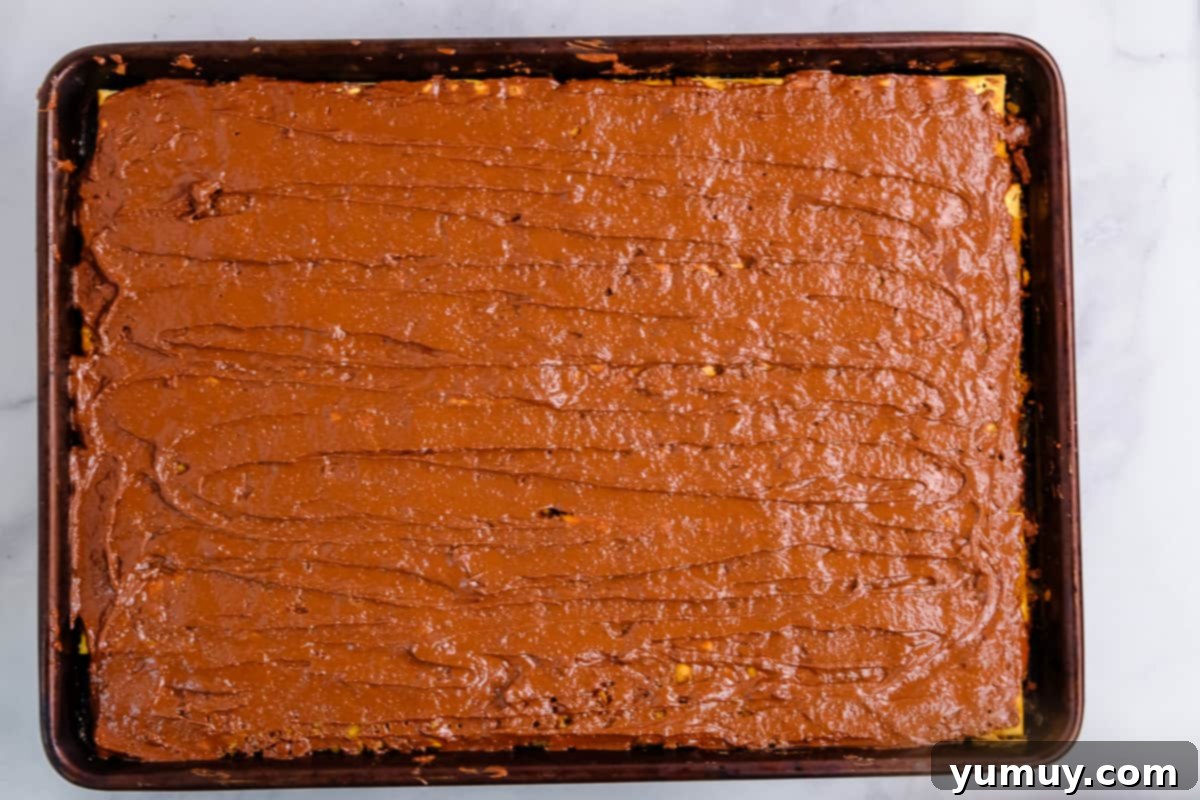
Step 7: Spread the Melted Chocolate Layer
To ensure your chocolate chips are perfectly soft and pliable, place the baking sheet back into the warm oven for just 2 more minutes. This brief period will finish melting the chocolate to a spreadable consistency without burning. Once removed, use a knife or an offset spatula to gently and smoothly spread the melted chocolate across the entire surface of the toffee-covered crackers, creating a luxurious, even layer. For optimal results, allow the melted chocolate to rest for 1-2 minutes before adding any toppings. This slight cooling helps the chocolate firm up just enough so that sprinkles or candies don’t sink or bleed their vibrant colors, maintaining a beautiful, clear design.
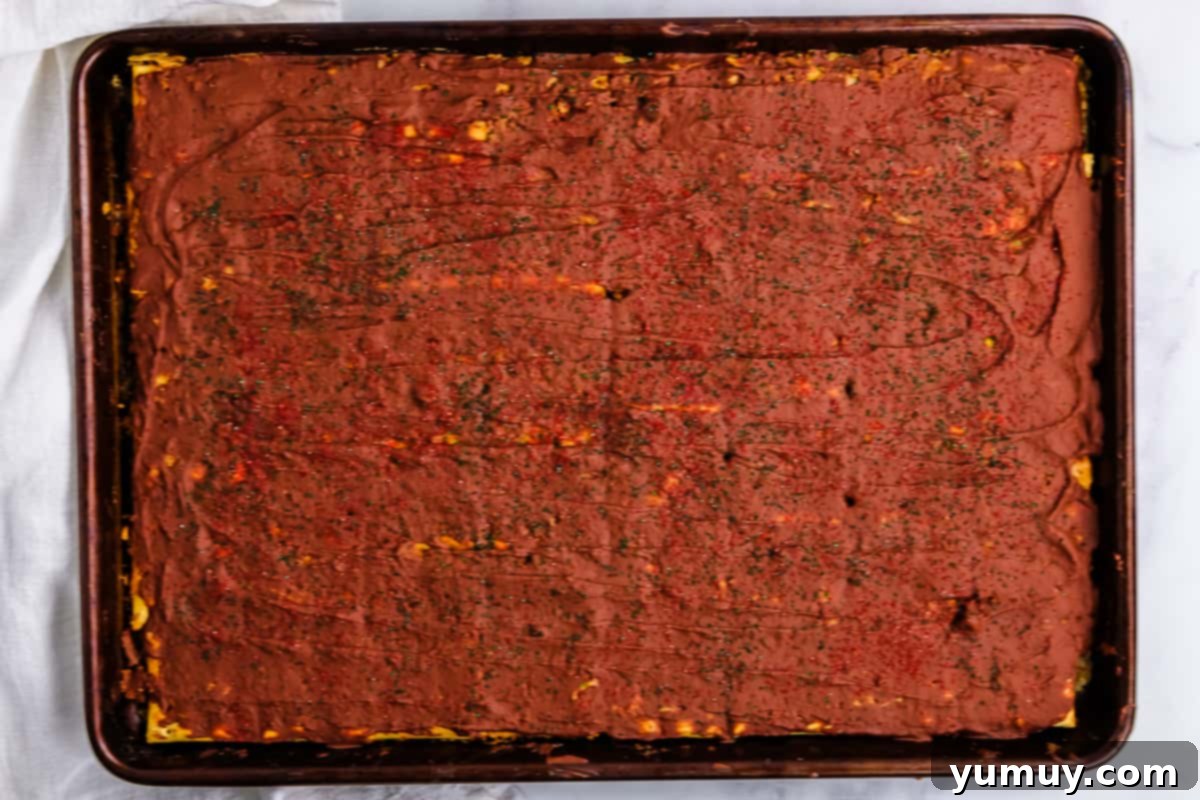
Step 8: Final Touches and Chilling
Now for the festive flourish! If desired, generously add seasonal sprinkles, crushed candy canes, or any other festive candies to the still-soft chocolate layer. Once decorated, carefully transfer the entire baking sheet to the freezer for a quick chill of 20 minutes. This chilling process is essential for rapidly firming up both the chocolate and the toffee, ensuring a clean break and a crisp texture when you’re ready to serve. Don’t skip this step for the best results.
Step 9: Break and Enjoy!
After 20 minutes in the freezer, your Christmas crack will be perfectly firm and ready. Remove the baking sheet and gently break the large sheet of candy into irregular, bite-sized pieces. The combination of sweet chocolate, buttery, crisp toffee, and salty crackers creates an utterly addictive treat. Serve it immediately or store it for later enjoyment, delighting everyone with this quintessential holiday candy!
How to Store and Freeze Christmas Crack for Lasting Freshness
One of the many charms of Christmas crack is its excellent shelf life, making it an ideal treat for holiday meal prep, gifting, and entertaining. When stored properly, you can enjoy its irresistible sweet, salty, and crunchy goodness for an extended period, ensuring that the holiday spirit (and delicious snacks) lasts well beyond Christmas day.
For short-term storage, place your festive Christmas crack in an airtight container and keep it at room temperature. In this environment, it will remain wonderfully fresh, crisp, and flavorful for a generous 7-10 days. This ample window gives you plenty of time to enjoy your new favorite Christmas snack, share it with guests, or distribute it as thoughtful homemade gifts.
If you’ve made a larger batch or wish to extend its freshness even further, this delightful toffee can be easily refrigerated or frozen. When opting for cold storage, layer the pieces of Christmas crack with parchment paper inside an airtight container. This simple trick prevents the pieces from sticking together and helps maintain their individual integrity. When refrigerated, the crack will stay fresh and delicious for several weeks. For long-term preservation, freezing is your best bet! In the freezer, your Christmas crack will remain perfectly fresh and crunchy for up to 2 months. The beauty of this treat is that it tastes equally fantastic straight out of the fridge or freezer, offering a refreshing and satisfying bite on demand. No thawing required, just grab a piece and enjoy!
More Christmas Recipes to Try!
Christmas Pretzel Bark
Cornflake Wreaths
Homemade Turtle Candies
Christmas Crack Chex Mix
Discover All Christmas Recipes!
We hope you love making and sharing this incredible Christmas crack recipe as much as we do. It truly is a holiday staple that brings joy and deliciousness to any festive occasion. Happy baking!
